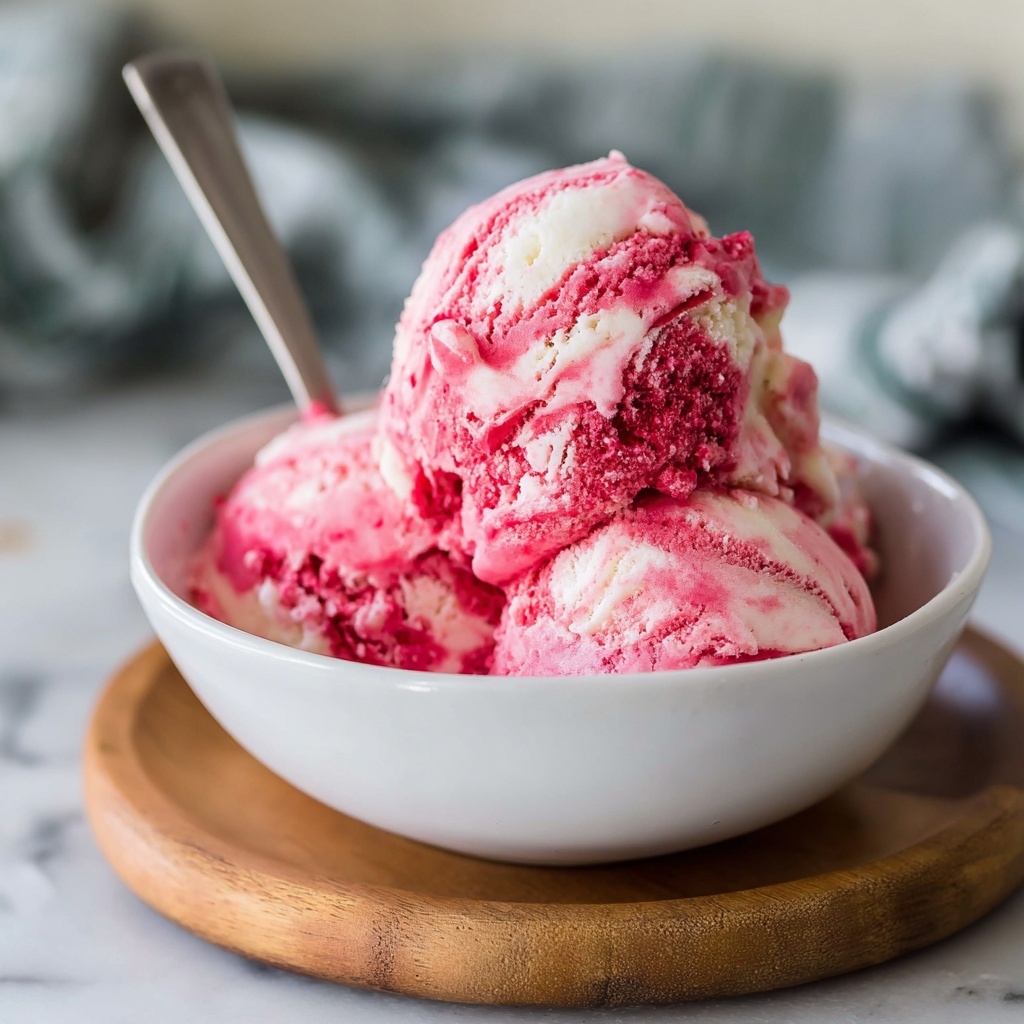
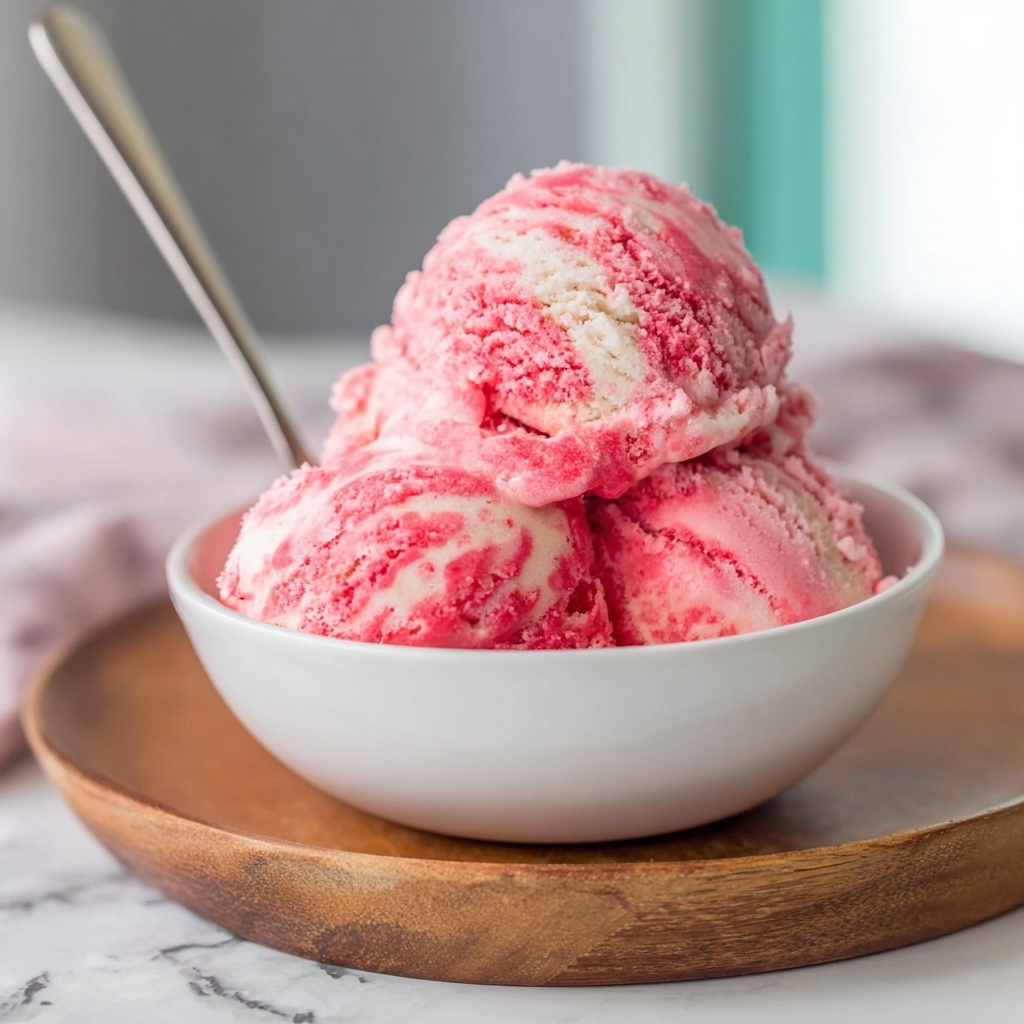
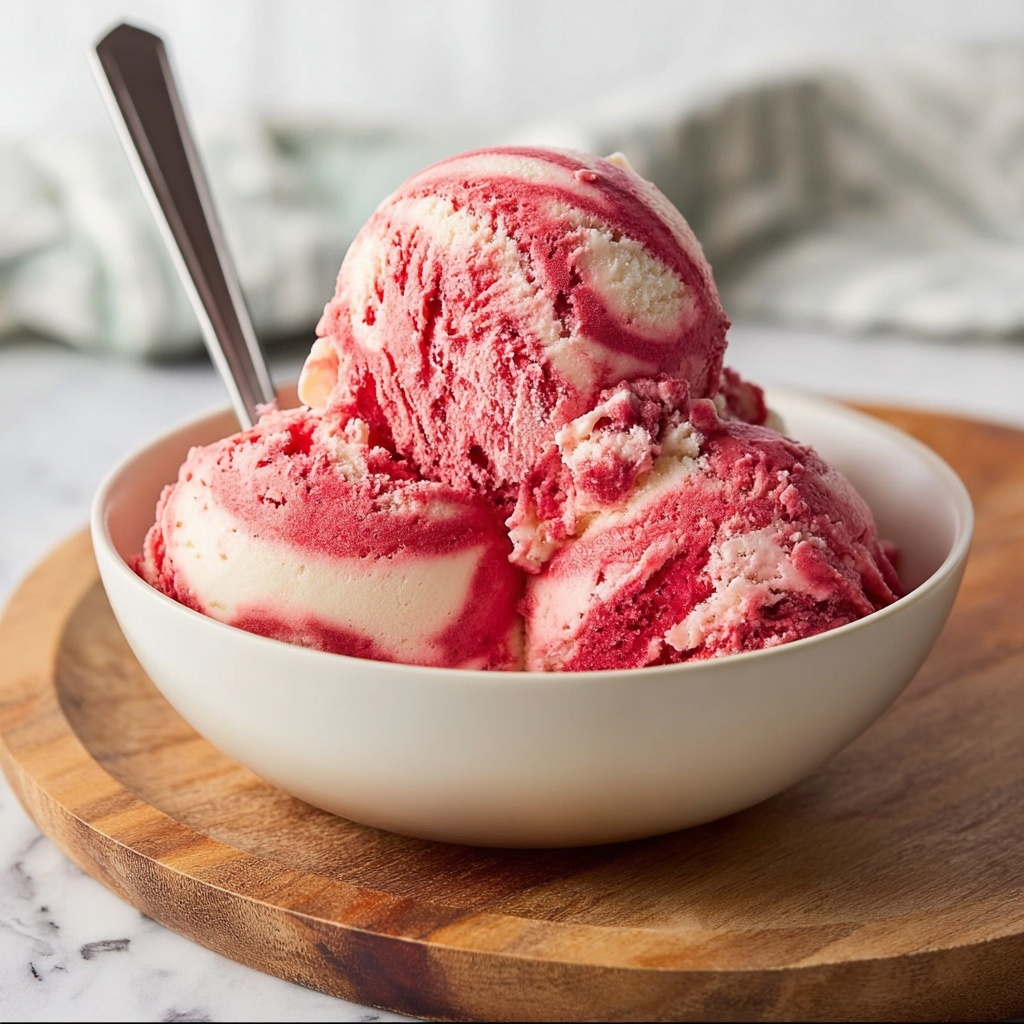
The Homemade Red Velvet Ice Cream Recipe is a stunning twist on classic red velvet flavors, transformed into a creamy, dreamy frozen delight. This luscious ice cream marries the tangy depth of cream cheese with just the right hint of cocoa and vibrant red coloring, creating a treat that is as visually striking as it is delicious. Whether you’re a red velvet lover or an ice cream enthusiast, this recipe will quickly become a treasured favorite to share at gatherings or to savor on a cozy night in.
Ingredients You’ll Need
Simple and thoughtful ingredients form the backbone of this recipe, each playing a crucial role in achieving the rich flavor, smooth texture, and signature color of the ice cream.
- Cream cheese (8 ounces): Provides a tangy richness and creamy base essential for that authentic red velvet taste.
- Heavy cream (1 cup): Adds sumptuous creaminess and a silky mouthfeel to the ice cream.
- Whole milk (1 cup): Lightens the texture slightly and balances the richness of cream cheese and butter.
- Granulated sugar (¾ cup): Sweetens the mixture to perfection without overpowering the other flavors.
- Red food coloring (4 teaspoons): Gives the iconic vivid red color that makes this ice cream instantly eye-catching.
- Unsweetened cocoa powder (1 tablespoon): Adds the subtle chocolate depth crucial to the red velvet flavor profile.
- Kosher salt (¼ teaspoon): Enhances all the flavors while balancing sweetness.
- Cream cheese (4 ounces): Used again for the luscious icing swirl that adds extra creaminess and tang.
- Unsalted butter (½ cup): Creates the perfect buttery texture for the icing swirl.
- Pure vanilla extract (1 teaspoon): Provides a warm aromatic note to enrich both ice cream and icing.
- Powdered sugar (2 cups): Sweetens and thickens the icing for smooth, fluffy swirls.
How to Make Homemade Red Velvet Ice Cream Recipe
Step 1: Blend the Base
Start by placing the cream cheese, heavy cream, whole milk, granulated sugar, red food coloring, cocoa powder, and kosher salt in a high-powered blender. Pulse until everything becomes a perfectly smooth and creamy mixture with an even red hue. This blending is key to ensuring all the flavors marry beautifully. Once combined, chill the mixture in the refrigerator for at least two hours or overnight, allowing the flavors to meld and the base to cool thoroughly before churning.
Step 2: Churn to Perfection
After chilling, pour your red velvet mixture into an ice cream maker. Follow the manufacturer’s instructions for your machine, usually churning for around 20-30 minutes until the texture becomes thick, smooth, and scoopable. This step transforms your blend into a luscious frozen treat, capturing that velvety texture that’s so irresistible.
Step 3: Prepare the Cream Cheese Icing
While the ice cream is spinning, get busy on the icing swirl. Using a stand mixer fitted with a paddle attachment, cream together the softened cream cheese, butter, and vanilla extract until light and fluffy. Slowly add the powdered sugar in halves, mixing well after each addition, until the icing is silky and spreads easily. This tangy frosting swirl adds a dynamic contrast to the ice cream’s smooth texture and rich flavor.
Step 4: Layer and Swirl
Once churning is complete, transfer half of the ice cream into a freezer-safe container. Dollop 5-6 spoonfuls of the prepared cream cheese icing over it. Use a knife to gently swirl through the layers—no need for perfection, a loose swirl works beautifully to ensure every bite has that indulgent touch. Add the remaining ice cream on top and repeat with more icing and swirling.
Step 5: Freeze and Set
Seal the container and let your Homemade Red Velvet Ice Cream Recipe freeze overnight. This resting period allows the flavors to fully develop and the texture to firm up to that perfect scoopable consistency. The next day, you’ll be rewarded with velvety, tangy, and vividly red ice cream that feels like a celebration in every bite.
How to Serve Homemade Red Velvet Ice Cream Recipe
Garnishes
A sprinkle of crushed red velvet cake crumbs, a drizzle of white chocolate sauce, or a few fresh raspberries make wonderful garnishes to amplify the ice cream’s festive vibe. Fresh mint leaves add not just color contrast but a refreshing aroma that complements the dessert’s richness wonderfully.
Side Dishes
Pairing this ice cream with warm desserts like chocolate brownies or red velvet cupcakes can take your dessert game to another level. The contrast of hot and cold creates a delightful texture and flavor balance. Alternatively, serve it alongside fresh strawberries or a light fruit salad for a refreshing combo.
Creative Ways to Present
Try serving scoops in elegant glass parfait dishes layered with cream cheese frosting and red velvet crumbs. Or make a decadent ice cream sandwich by putting scoops between two soft red velvet cookies. These playful presentations will wow your guests and make your Homemade Red Velvet Ice Cream Recipe truly unforgettable.
Make Ahead and Storage
Storing Leftovers
Keep any leftover Homemade Red Velvet Ice Cream Recipe in an airtight freezer-safe container to prevent freezer burn and flavor loss. It will stay delicious for up to two weeks, but for the best taste and texture, enjoy it within a week.
Freezing
Freeze the layered and swirled ice cream overnight as directed for optimal texture. If you want to store it longer, ensure the container is tightly sealed and consider placing a piece of parchment directly on the surface before closing the lid to avoid ice crystals forming.
Reheating
Because this is a frozen dessert, reheating is not applicable. Instead, simply let the ice cream sit at room temperature for 5-10 minutes before scooping to soften slightly and reveal its full creamy texture. This brief rest is all you need before digging in.
FAQs
Can I make this ice cream without an ice cream maker?
While an ice cream maker gives the best texture, you can still enjoy this recipe without one by freezing the mixture in a shallow container and stirring vigorously every 30 minutes for the first 2-3 hours. This helps break up ice crystals and keeps it creamy.
Is it possible to use natural food coloring?
Yes! Beet juice or powder can substitute red food coloring for a natural approach, though the color may be less vibrant. Adjust the amount gradually to achieve your desired shade.
Can I substitute the cream cheese icing with another topping?
Absolutely, though the cream cheese icing is part of what makes this recipe special. You could try whipped cream, marshmallow fluff, or even a chocolate ganache for a different but delicious twist.
How should I serve the ice cream if it’s too hard straight from the freezer?
Allow the ice cream to soften at room temperature for several minutes before scooping. Using a warm ice cream scoop or dipping your scoop in hot water can also help make serving easier.
Will this recipe work with low-fat dairy?
For best results, full-fat cream and milk are recommended to maintain the richness and texture expected from this recipe. Using low-fat dairy might result in a less creamy and more icy texture.
Final Thoughts
There is something magically satisfying about making your own ice cream, especially when it’s a luscious dessert like this Homemade Red Velvet Ice Cream Recipe. It’s a beautiful way to bring warmth, joy, and a splash of color to any occasion. Give it a try, and I promise this recipe will become one of those lovely treats you turn to again and again.
Print
Homemade Red Velvet Ice Cream Recipe
- Prep Time: 10 minutes
- Cook Time: 60 minutes (includes ice cream churning and preparation steps)
- Total Time: 10 minutes prep + 2 hours chilling + 60 minutes churning + overnight freezing (~12 hours total)
- Yield: 12 servings (approximately 1.5 quarts)
- Category: Dessert
- Method: Churning
- Cuisine: American
Description
This Homemade Red Velvet Ice Cream recipe combines the classic flavors of red velvet cake with creamy, smooth ice cream. Featuring a rich and tangy cream cheese base, infused with cocoa and vibrant red food coloring, it’s swirled with a luscious cream cheese buttercream icing for an indulgent dessert perfect for any occasion.
Ingredients
Ice Cream Base
- 8 ounces cream cheese (227 grams, room temperature, 1 brick)
- 1 cup heavy cream (227 grams)
- 1 cup whole milk (227 grams)
- ¾ cups granulated sugar (150 grams)
- 4 teaspoons red food coloring (19 grams)
- 1 tablespoon unsweetened cocoa powder (5 grams)
- ¼ teaspoon kosher salt
Cream Cheese Icing
- 4 ounces cream cheese (113 grams, room temperature, ½ brick)
- ½ cup unsalted butter (113 grams, room temperature, 1 stick)
- 1 teaspoon pure vanilla extract (4 grams)
- 2 cups powdered sugar (226 grams)
Instructions
- Prepare the Ice Cream Base: Place the cream cheese, heavy cream, whole milk, granulated sugar, red food coloring, cocoa powder, and kosher salt into a high-powered blender. Pulse the mixture until it is fully combined and smooth. Pour the mixture into a large bowl and refrigerate for at least 2 hours or up to overnight to chill thoroughly.
- Churn the Ice Cream: Once chilled, pour the ice cream base into an ice cream maker. Process the mixture according to the manufacturer’s instructions, typically until it reaches a soft-serve consistency.
- Make the Cream Cheese Icing: While the ice cream churns, prepare the icing. In the bowl of a stand mixer fitted with the paddle attachment, cream together the cream cheese, unsalted butter, and vanilla extract until smooth and fluffy. Gradually add the powdered sugar in ½ cup increments, mixing well after each addition until the icing is fully combined and light.
- Layer and Swirl the Ice Cream: Once the ice cream is ready, transfer half of it to a freezer-safe container. Spoon 5 to 6 dollops of the cream cheese icing over the ice cream layer. Using a knife, gently swirl the icing into the ice cream to create marbled ribbons. Add the remaining ice cream on top and repeat with more icing and swirling.
- Freeze Before Serving: Cover the container and freeze the layered and swirled ice cream overnight to allow it to firm up completely for the best texture when served.
Notes
- Ensure the cream cheese and butter are at room temperature for smooth blending and creaming.
- Use a high-powered blender to avoid lumps in the ice cream base.
- The red food coloring can be adjusted to achieve your preferred shade of red.
- Allow the ice cream to freeze overnight for optimal scoopability and flavor melding.
- If you don’t have an ice cream maker, you can freeze the mixture and stir every 30 minutes until firm, but the texture may be less creamy.