“`html
If you’ve ever wanted to master a luscious, fluffy topping that elevates everything from pies to fresh fruit, then you’re going to love this Easy Homemade Whipped Cream with Optional Stabilizer Recipe. It’s a perfectly rich and silky whipped cream that holds its shape beautifully if you choose to add the stabilizer, making it ideal for decorating and serving over time—without the worry of it melting or weeping. Whether you’re seeking a quick dollop or a beautifully piped swirl, this recipe delivers that classic creamy texture with a touch of vanilla goodness, making every bite feel indulgent and just like it came from a bakery.
Ingredients You’ll Need
Getting homemade whipped cream right is all about simple ingredients that pack a punch in flavor and texture. Each ingredient here is carefully chosen to nourish the cream’s airy body and bring out a sweet, aromatic balance, with or without the stabilizer.
- 1 cup heavy / thickened cream or whipping cream, cold: This is the star that whips into soft peaks, providing the rich, creamy base; be sure it’s not pouring cream for the perfect hold.
- 1/2 cup icing sugar/powdered sugar, sifted: Adds delicate sweetness and smoothness without graininess; you can swap 2 tablespoons with white sugar if you prefer a subtler sugar presence.
- 1 teaspoon vanilla extract: The classic economical flavor boost that beautifully complements cream.
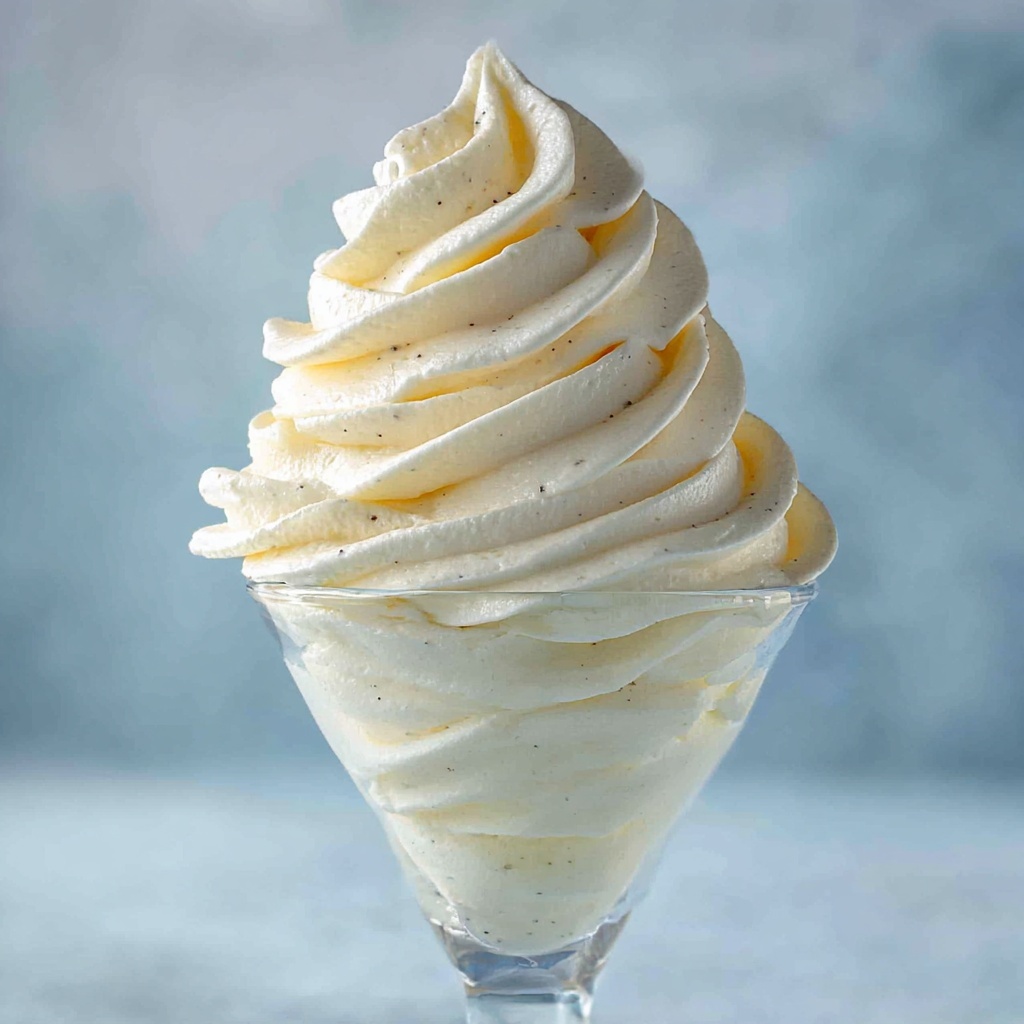
- 1 teaspoon vanilla bean paste: A luxurious upgrade with visible specks of vanilla for richer aroma and taste.
- 1 vanilla pod, seeds scraped: The premium choice that delivers the purest vanilla essence for those special occasions.
- Optional stabilizer (like mascarpone): Use this if you want your whipped cream to hold its shape longer without weeping, excellent for piping and decorating.
How to Make Easy Homemade Whipped Cream with Optional Stabilizer Recipe
Step 1: Prepare Your Ingredients and Equipment
Start by chilling your mixing bowl and beaters in the fridge. Cold equipment helps the cream whip up faster and results in more stable peaks. Measure out your cream and sugar, and have your choice of vanilla ready to add that irresistible flavor boost.
Step 2: Whip the Cream
Pour the cold heavy cream into your chilled bowl along with the icing sugar and the vanilla option you prefer. If you’re adding a stabilizer like mascarpone, include it now. Using an electric hand mixer on medium-high speed, gradually whip the mixture. Move the beaters around the bowl to ensure even whipping and prevent overworking any portion.
Step 3: Decide on the Stiffness
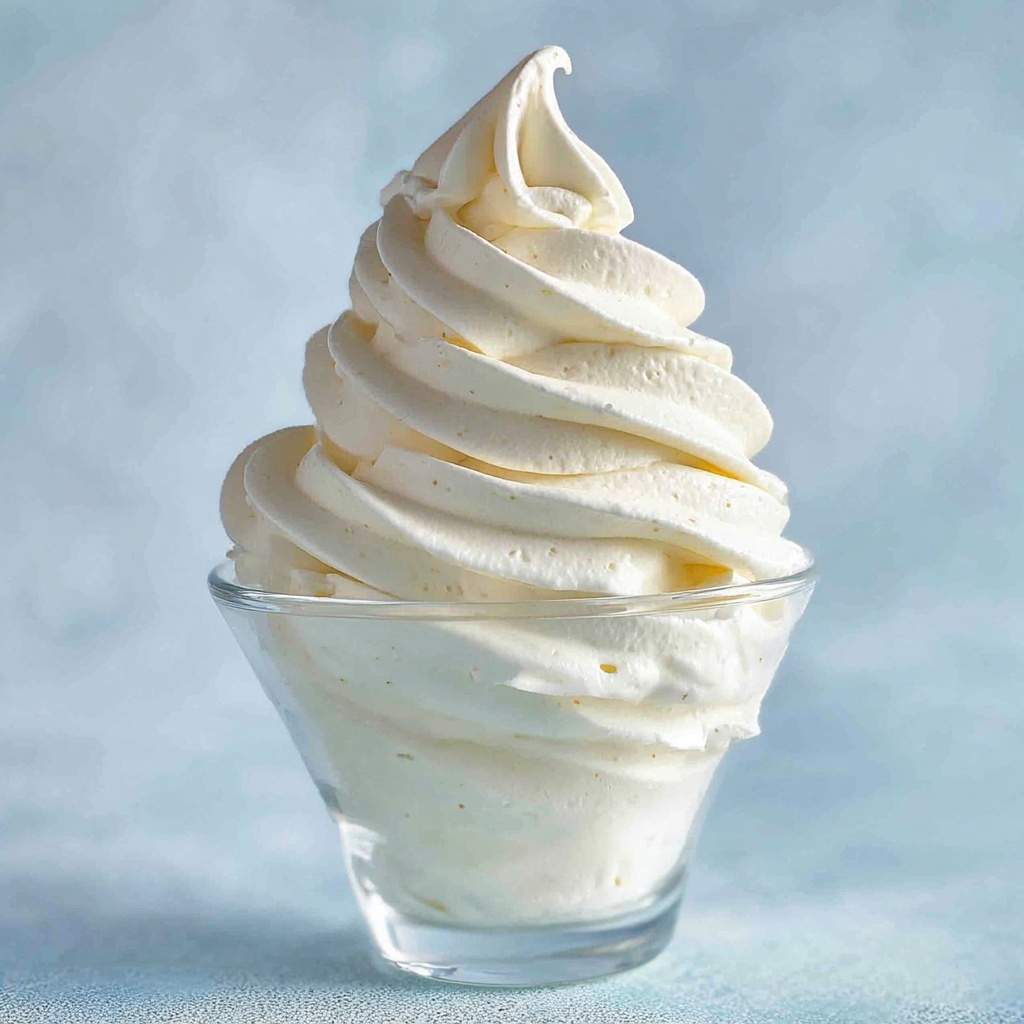
For soft peaks, whip for about 1 1/2 minutes—this gives a lovely dollop that’s ideal for topping fresh fruit or stirring into drinks. For firm, stiff peaks perfect for piping onto cakes and pastries, continue whipping for around 2 minutes. Remember, if you’re making a larger batch, plan for more whipping time to reach the desired consistency.
Step 4: Ready to Use
Once the whipped cream holds the texture you want, use it right away or store it carefully if using the stabilizer. You can transfer it into a piping bag fitted with your chosen nozzle for elegant decoration or simply spoon it onto desserts to finish them off beautifully.
How to Serve Easy Homemade Whipped Cream with Optional Stabilizer Recipe
Garnishes
A swirl of whipped cream is the perfect canvas for toppings like a sprinkling of cinnamon, grated chocolate, or fresh berries. These garnishes add an exciting burst of color and flavor, making simple plates look utterly irresistible.
Side Dishes
This whipped cream pairs wonderfully with pies, cakes, waffles, and even hot cocoa. Its creamy texture balances the tartness of fruit desserts and the richness of chocolate, creating a harmonious bite every time.
Creative Ways to Present
Try layering the whipped cream in clear glasses with fruit and crumbled cookies for a quick parfait. Or pipe elegant rosettes atop cupcakes and tarts. The optional stabilizer means you can prepare this in advance and keep the design crisp and fresh-looking for hours.
Make Ahead and Storage
Storing Leftovers
If you have any leftover whipped cream, keep it in an airtight container in the fridge, ideally with the stabilizer to maintain firmness. Give it a gentle whisk by hand before serving if it settles or weeps slightly.
Freezing
While whipped cream doesn’t freeze perfectly fluffy, stabilized whipped cream can be frozen in dollops on a baking sheet, then transferred to a freezer bag for up to one month. Thaw in the fridge and lightly re-whip if needed before use.
Reheating
Whipped cream is never reheated as it’s best served cold. If it loses texture, a quick gentle re-whip can sometimes revive its fluffiness, especially if stabilized.
FAQs
Can I use regular pouring cream instead of heavy cream?
Regular pouring cream is too thin and won’t whip properly. Use heavy or thickened cream to get those light, fluffy peaks essential to this recipe.
What is the purpose of using a stabilizer?
The stabilizer helps your whipped cream hold its shape longer without melting or weeping, which is fantastic for decorating cakes or serving ahead of time.
Can I flavor the whipped cream with something other than vanilla?
Absolutely! You can add cocoa powder, cinnamon, or even citrus zest to customize your whipped cream, though vanilla is the most classic and versatile flavor.
How do I know when I’ve reached stiff peaks?
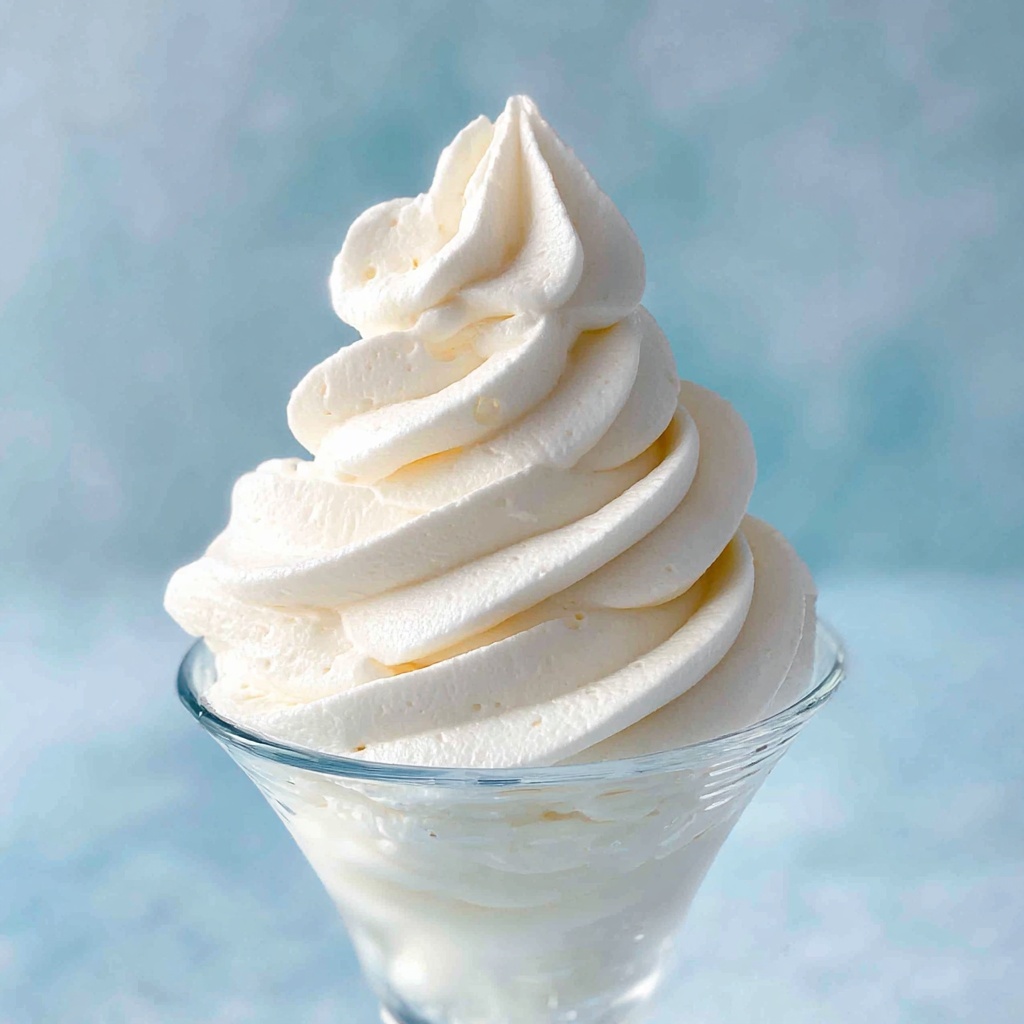
When you lift the beaters out of the whipped cream, the peaks should stand up straight without collapsing for stiff peaks, perfect for piping and decorating.
Is it necessary to sift the icing sugar?
Sifting ensures the sugar blends smoothly without lumps, giving your whipped cream a silky texture and consistent sweetness.
Final Thoughts
There’s something so celebratory about homemade whipped cream, especially one you can rely on to hold its shape thanks to this Easy Homemade Whipped Cream with Optional Stabilizer Recipe. It’s versatile, uncomplicated, and completely elevates your desserts to new heights. I hope you enjoy making and sharing this little cloud of creamy perfection as much as I do. Give it a whirl—you won’t regret it!
“`
Print
Easy Homemade Whipped Cream with Optional Stabilizer Recipe
- Prep Time: 5 minutes
- Cook Time: N/A
- Total Time: 5 minutes
- Yield: 2.2 cups
- Category: Dessert Topping
- Method: Blending
- Cuisine: Universal
- Diet: Vegetarian
Description
This classic whipped cream recipe includes options for a stabilized version, perfect for piping, spreading, or dolloping on desserts. Made with cold heavy cream, powdered sugar, and vanilla, it whips up quickly to a fluffy, creamy texture with choices ranging from soft to stiff peaks.
Ingredients
Whipped Cream
- 1 cup heavy/thickened cream or whipping cream, cold (NOT pouring cream)
- 1/2 cup icing sugar/powdered sugar, sifted (substitute 2 tbsp white sugar if preferred)
- 1 tsp vanilla extract (economical option)
- OR 1 tsp vanilla bean paste (recommended “good” option)
- OR seeds from 1 vanilla pod (premium option)
- Optional: mascarpone cheese (if making stabilized cream, quantity as desired)
Instructions
- Prepare the ingredients: Ensure the cream is cold for the best whipping results. Choose your vanilla flavoring: vanilla extract, vanilla bean paste, or vanilla pod seeds. Sift the icing sugar to avoid lumps.
- Whip the cream: Place the cold cream, sifted icing sugar, chosen vanilla, and mascarpone if stabilizing, into a mixing bowl. Using an electric beater on medium-high speed, whip the mixture, moving the beaters around the bowl evenly.
- Check stiffness: Whip for about 1 1/2 minutes for soft peaks, which hold gentle dollops, or whip for around 2 minutes for stiff peaks, ideal for piping decorations. If you increase quantity, extend whipping time accordingly.
- Use the whipped cream: Once the desired stiffness is achieved, use a piping bag fitted with your chosen nozzle to pipe cream onto cakes or desserts. Alternatively, spread it over pies or dollop onto fresh fruit for a delicious finish.
Notes
- Always use cold heavy/thickened or whipping cream, not pouring cream, to ensure proper whipping.
- Sifting the icing sugar prevents grainy texture and lumps.
- Mascarpone can be added for stabilized cream that holds shape longer, especially useful for piping.
- The type of vanilla used can affect flavor and cost: vanilla extract is economical, vanilla bean paste offers great flavor, and vanilla pod seeds give a premium taste with visible specks.
- Whipping time varies with the amount of cream; larger batches require longer whipping to reach desired peaks.
- Soft peaks work well for dolloping and spreading, while stiff peaks are best for decorative piping.