When it comes to preparing a show-stopping centerpiece for your next gathering, nothing beats the rich, succulent flavors of a perfectly glazed ham. If you want to minimize day-of stress and maximize flavor, then The Complete Guide to Making Perfect Glazed Ham the Day Before Recipe is your new best friend in the kitchen. This method ensures that all the sweet, smoky, and savory notes meld beautifully overnight, resulting in a juicy, tender ham that tastes like it’s been slow-cooked with love. Trust me—taking the time to prepare it ahead not only elevates the taste but also frees up your schedule for other holiday preparations or weekend hosting duties.
Ingredients You’ll Need
Believe it or not, creating a mouthwatering glazed ham is all about a handful of simple yet essential ingredients. Each one plays a crucial role—whether it’s building flavor, enhancing juiciness, or giving that irresistible glossy finish that makes everyone’s eyes light up.
- Bone-in Ham: Opting for a bone-in ham (half or full leg) adds more depth of flavor and moisture than boneless varieties.
- Brown Sugar: This adds a rich sweetness and caramelizes beautifully to create the signature glaze.
- Honey or Maple Syrup: For natural sweetness that also helps the glaze develop a sticky, shiny coating.
- Dijon Mustard: A little tangy punch that balances and deepens the flavor profile.
- Cloves or Whole Spices: Classic aromatics that infuse a warm, inviting scent to the ham.
- Pineapple Juice or Orange Juice: Citrus juices tenderize the meat and add subtle fruity notes.
- Ground Cinnamon or Nutmeg: Optional spices to add a hint of warmth and complexity.
How to Make The Complete Guide to Making Perfect Glazed Ham the Day Before Recipe
Step 1: Choose and Prepare Your Ham
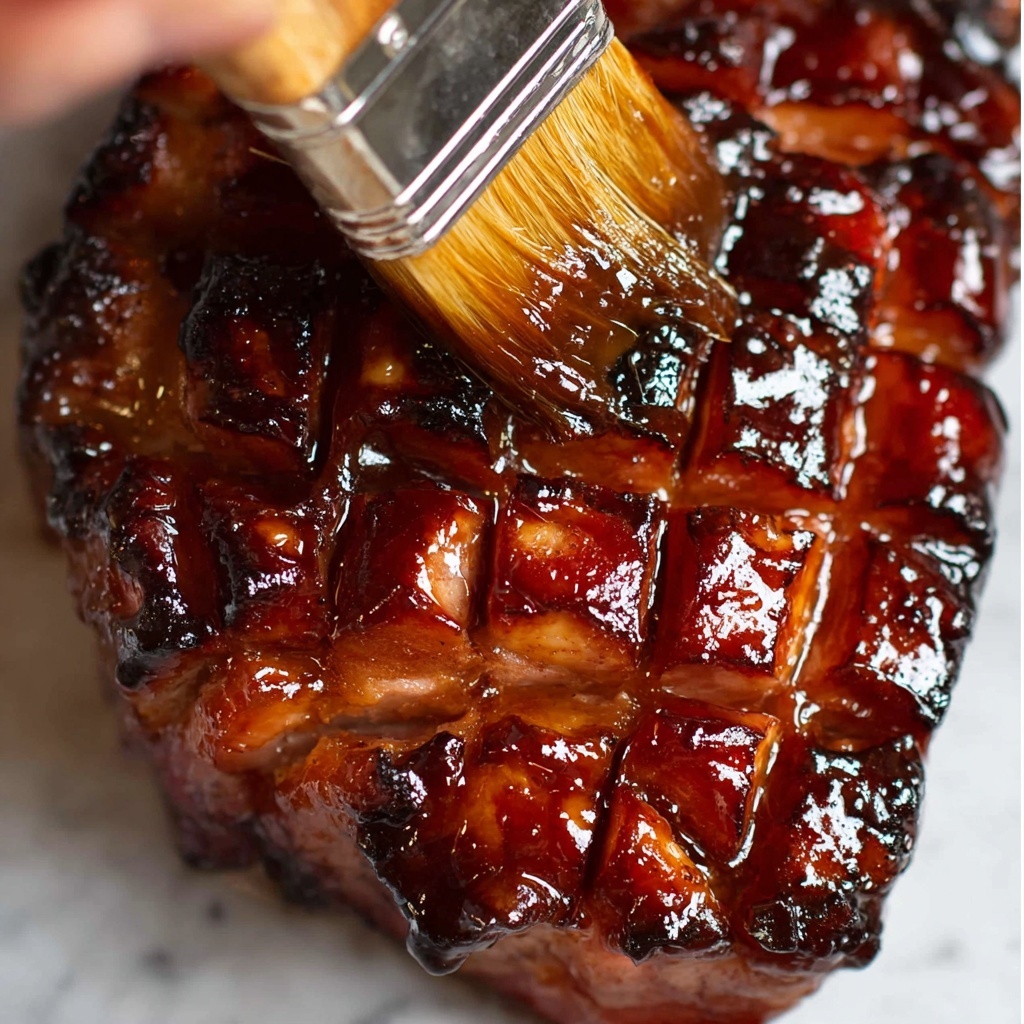
The secret to a perfect glazed ham starts with selecting the right cut. A bone-in ham leg is ideal because the bone helps retain moisture, making each slice tender and juicy. Carefully score the surface of the ham in a diamond pattern to allow the glaze to seep deeply into the meat. This simple step transforms each bite into a flavor-packed experience.
Step 2: Craft the Glaze
Mix together brown sugar, honey or maple syrup, Dijon mustard, your chosen spices, and fruit juice to create a harmonious balance of sweet, tangy, and aromatic elements. This glaze mixture is what turns the ham from ordinary to extraordinary. The fun part is that you can tweak the sweetness or spice levels according to your personal taste—making it as bold or subtle as you like.
Step 3: Apply the Glaze and Refrigerate Overnight
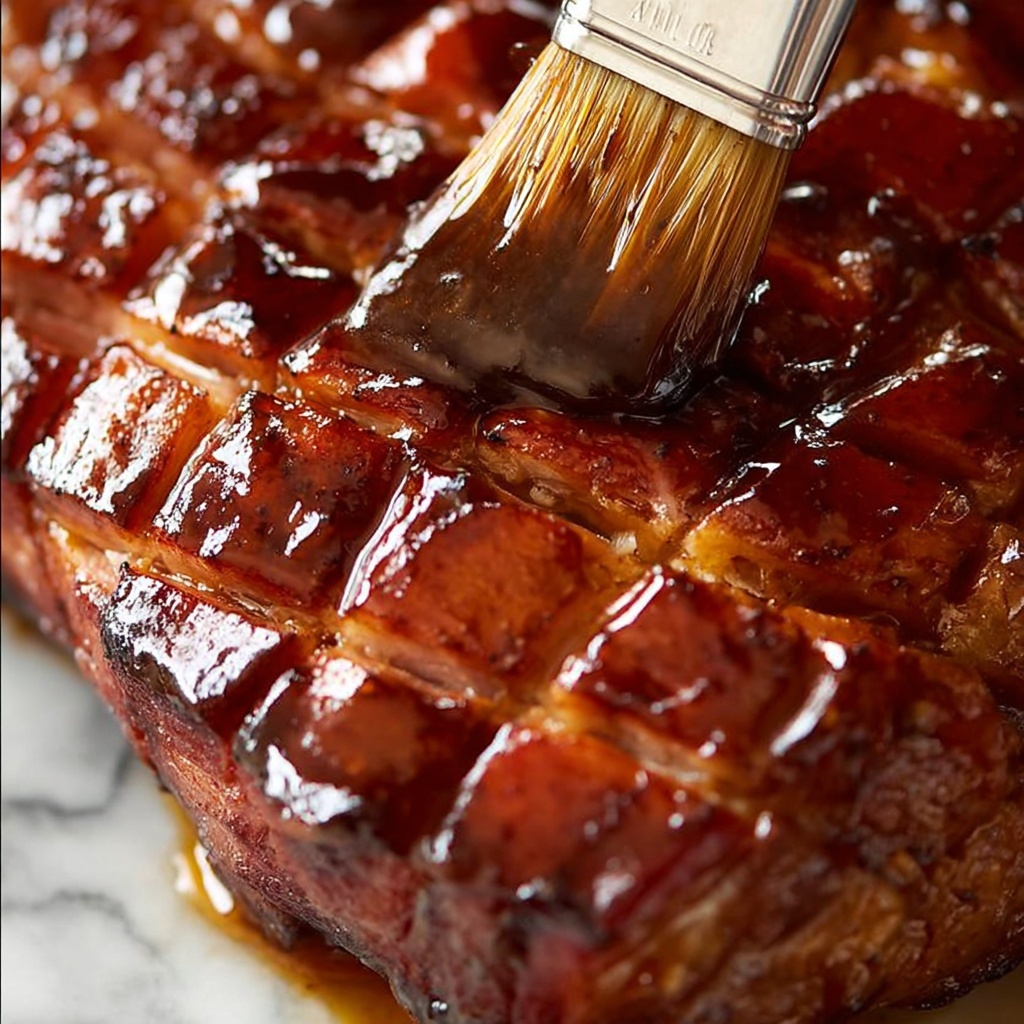
Brush the glaze generously over the scored ham, making sure it seeps into the cuts. Then, cover the ham tightly with foil and refrigerate it overnight. This step is crucial because marinating your ham with the glaze allows the flavors to really penetrate the meat, ensuring every slice bursts with deliciousness.
Step 4: Bake Until Glorious
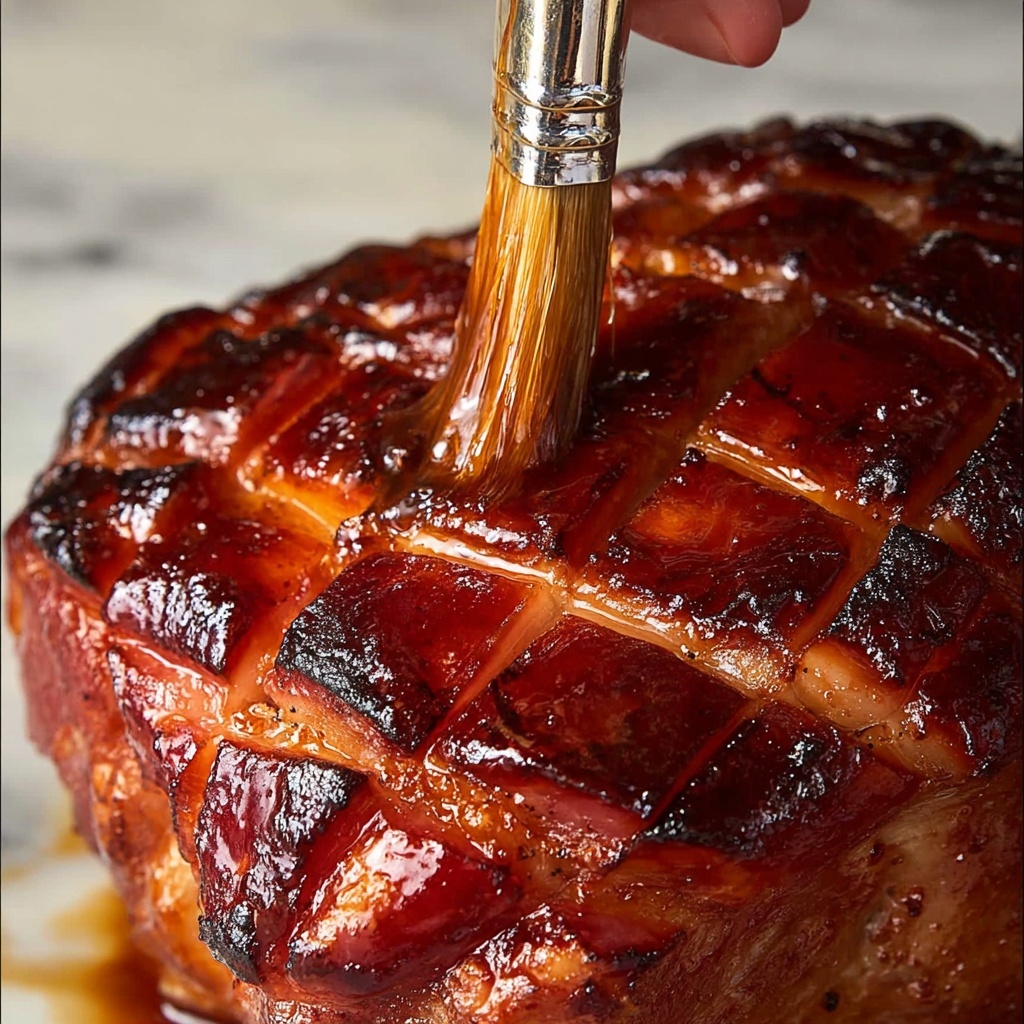
Remove the ham from the fridge, let it come to room temperature, and preheat your oven to a moderate heat. Place the ham in a roasting pan, brush with more glaze, cover loosely with foil, and roast for about 40 minutes, basting periodically. As the ham bakes, the sugars caramelize and form that beautiful, sticky crust that we associate with a perfect glaze.
Step 5: Final Glaze and Rest
During the last 10 minutes of baking, remove the foil and apply a final coat of glaze. This will deepen the color and add extra shine. Once out of the oven, let the ham rest for 10 to 15 minutes before slicing—this helps lock in the juices so every bite is perfect.
How to Serve The Complete Guide to Making Perfect Glazed Ham the Day Before Recipe
Garnishes
Presentation is half the fun! Sprinkle freshly chopped parsley or rosemary over the ham to bring a lively pop of green that contrasts beautifully with the ham’s warm hues. You can also garnish with whole cloves stuck into the scored diamonds for a rustic, festive touch.
Side Dishes
A glazed ham pairs wonderfully with creamy mashed potatoes, roasted seasonal vegetables, or a crisp, tangy coleslaw. The richness of the ham balances perfectly with fresh, bright or buttery sides, creating a rounded and satisfying meal your guests will remember.
Creative Ways to Present
Slice the ham thin and arrange it on a large wooden board alongside cheeses, fresh fruit, and nuts for a gorgeous charcuterie-inspired platter. Alternatively, create sliders using soft rolls and tangy mustard or chutney for a casual twist that’s guaranteed to be a crowd-pleaser.
Make Ahead and Storage
Storing Leftovers
Wrap leftover glazed ham tightly in plastic wrap or aluminum foil, then store it in the refrigerator for up to five days. Proper wrapping is key to keeping the ham moist and preventing it from picking up other fridge odors.
Freezing
If you want to keep leftovers longer, slice the ham and place portions in airtight freezer bags or containers. Freeze for up to two months. When ready to use, thaw slowly in the refrigerator overnight to maintain texture and flavor.
Reheating
Reheat slices gently in a covered dish in a low oven or microwave with a splash of water or broth to keep the meat from drying out. Basting with leftover glaze during reheating can revive that signature sticky sweetness and shine.
FAQs
Can I use a boneless ham for this recipe?
While boneless ham works, bone-in is preferred because the bone helps keep the meat juicy and adds flavor during cooking.
Is it necessary to prepare the ham the day before?
Yes, preparing the ham the day before allows the glaze to penetrate deeply and boosts flavor, making the ham moist and delicious.
Can I make the glaze in advance?
Absolutely! Making the glaze ahead saves time and intensifies the flavors. Just store it in an airtight container in the fridge until needed.
What is the best way to reheat leftover glazed ham?
Reheat gently in the oven or microwave with a little moisture and additional glaze to keep the ham tender and flavorful.
Can I customize the glaze flavors?
Definitely! You can adjust the sweetness, spices, or acidity to fit your taste by adding ingredients like mustard, cloves, or different juices.
Final Thoughts
I cannot recommend The Complete Guide to Making Perfect Glazed Ham the Day Before Recipe enough for anyone who loves effortless elegance paired with incredible flavor. Taking the extra step of preparing your ham ahead of time is the key to unlocking that perfect balance of juicy, tender meat and sticky, sweet glaze. It’s a recipe that makes entertaining easier and mealtime more memorable—so I hope you’ll give it a try and enjoy every delicious bite as much as I do.
Print
The Complete Guide to Making Perfect Glazed Ham the Day Before Recipe
- Prep Time: 5 minutes
- Cook Time: 40 minutes
- Total Time: 45 minutes active + overnight resting
- Yield: Serves 8-12 people depending on ham size
- Category: Main Dish
- Method: Baking
- Cuisine: American
Description
This glazed ham recipe is perfect for preparing the day before your event, ensuring a flavorful and tender ham with a beautiful caramelized glaze. Using a bone-in ham leg enhances the taste and texture, delivering a classic holiday or special occasion centerpiece with minimal effort on the day of serving.
Ingredients
Ham
- 1 bone-in half or full ham leg (about 5–10 pounds depending on choice)
Glaze
- 1 cup brown sugar
- 1/2 cup honey or maple syrup
- 1/4 cup Dijon mustard
- 1/4 cup apple cider vinegar
- Optional: cloves or ground cinnamon for added spice
Instructions
- Prepare the ham: Remove the ham from its packaging and score the surface in a diamond pattern if desired to allow the glaze to penetrate better. Place the ham in a large roasting pan.
- Make the glaze: In a small saucepan, combine brown sugar, honey or maple syrup, Dijon mustard, and apple cider vinegar. Heat gently over medium heat, stirring constantly until the sugar dissolves and the mixture is smooth and slightly thickened.
- Apply the glaze: Brush the glaze generously over the ham, making sure to cover all scored surfaces and edges. Reserve some glaze for later.
- Roast the ham: Preheat your oven to 325°F (163°C). Place the ham in the oven and roast for approximately 40 minutes, basting with the reserved glaze every 15 minutes to build up a glossy caramelized coating.
- Rest and store: After roasting, remove the ham from the oven and let it rest uncovered at room temperature for about 30 minutes, then cover loosely with foil and refrigerate overnight. This resting allows flavors to meld and makes slicing easier the next day.
- Reheat before serving: On the day of serving, preheat the oven to 275°F (135°C). Place the ham in a roasting pan, brush with more glaze if desired, cover with foil, and warm for about 20-30 minutes until heated through.
Notes
- Bone-in ham is recommended as it retains moisture and yields better flavor than boneless.
- Scoring the ham helps the glaze penetrate and enhances presentation.
- Glaze can be adjusted with spices such as cloves or cinnamon for a warm aromatic profile.
- Allowing the ham to rest and refrigerate overnight intensifies the flavor and improves slicing.
- Reheat gently to avoid drying out the ham.