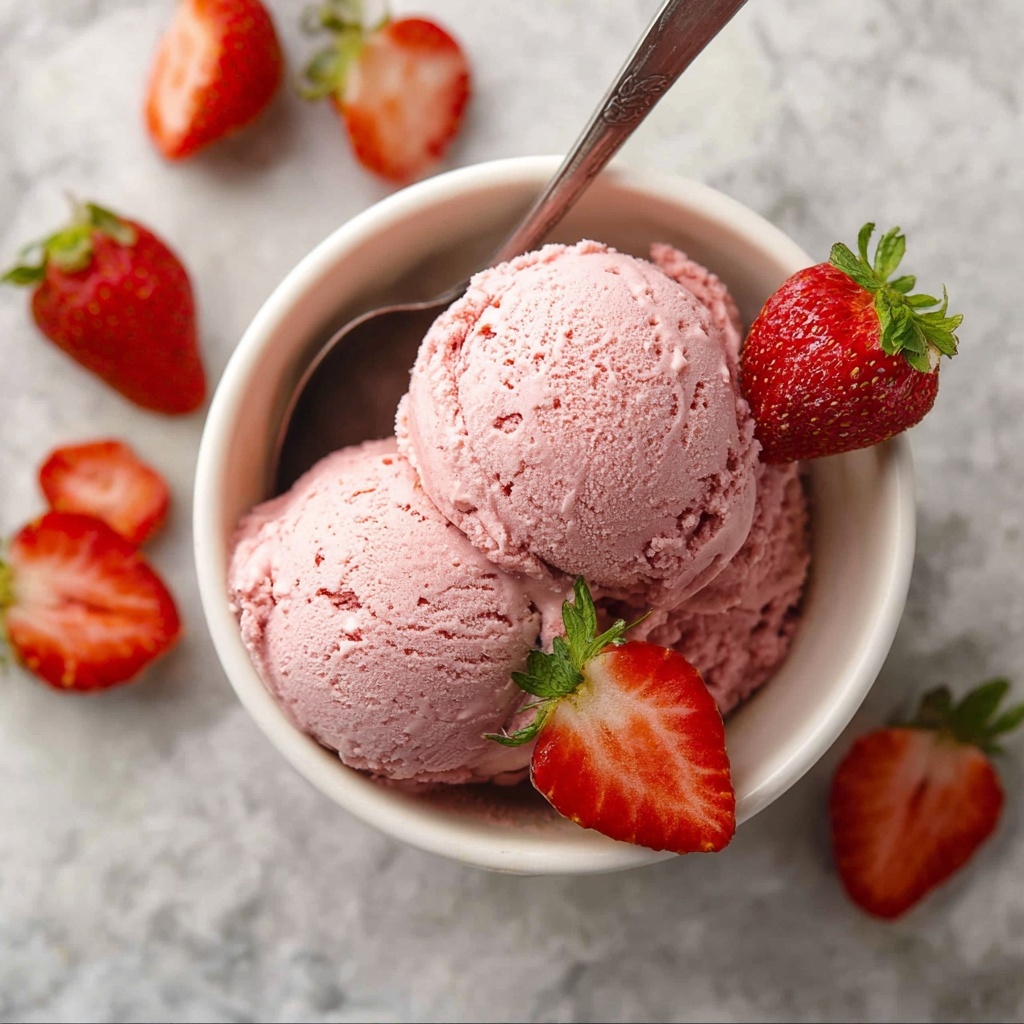
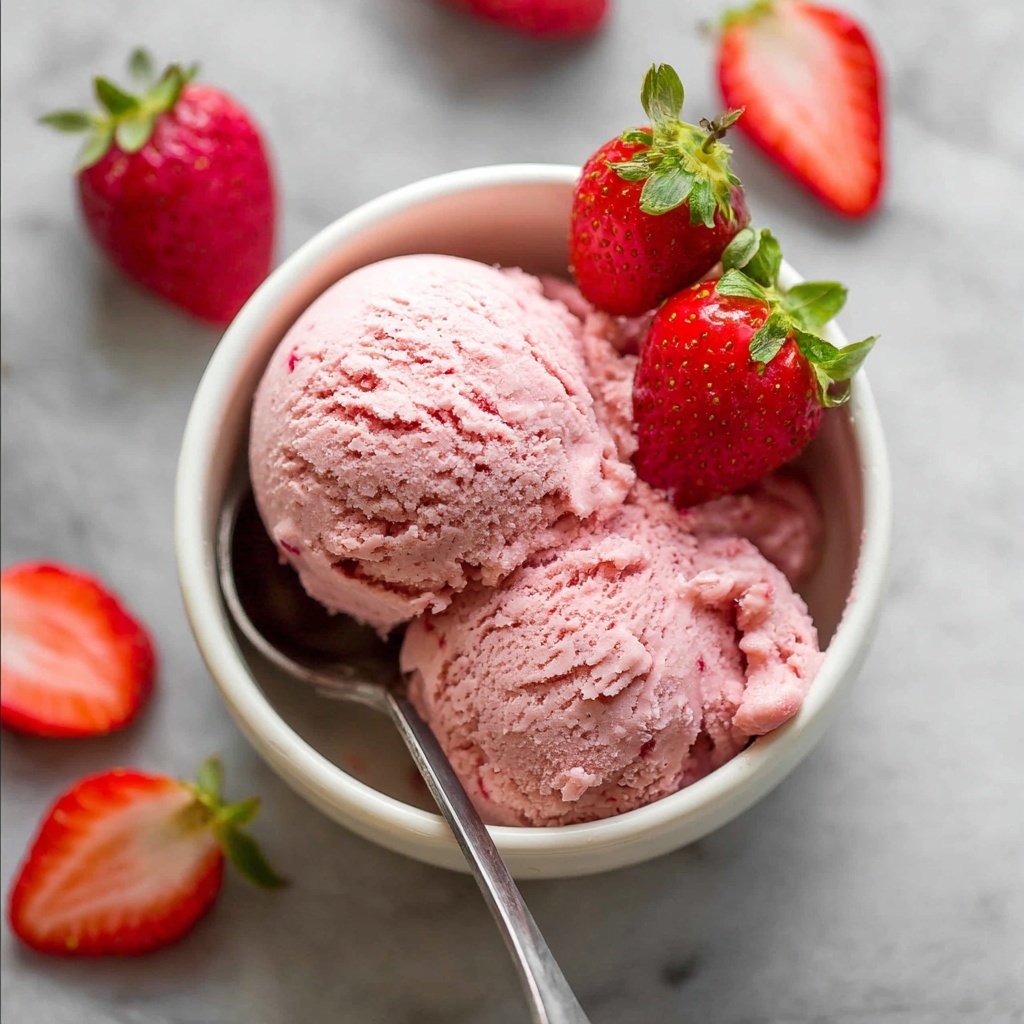
If you’ve ever dreamed of creating a luscious, creamy treat in your kitchen without the fuss of an ice cream machine, then this Strawberry No-Churn Ice Cream Recipe is your new best friend. Bursting with the natural sweetness of ripe strawberries and the rich creaminess that we all crave, this recipe transforms just a handful of simple ingredients into a dreamy dessert perfect for any occasion. Whether you’re hosting a summer party, seeking a refreshing finish to dinner, or just craving something special, this homemade ice cream is incredibly easy to whip up and will wow everyone who tastes it.
Ingredients You’ll Need
Gathering the right ingredients is the first step to pure ice cream bliss. Each element in this recipe plays a vital role in flavor, texture, and that signature strawberry pink hue that makes this dessert so inviting.
- Ripe Strawberries (1 kg / 2 lb): These bring fresh, juicy sweetness and gorgeous color to your ice cream.
- White Sugar (1 tbsp): Just a touch to enhance the natural fruit sweetness without overpowering.
- Vanilla Extract (1 tsp, optional): Adds a warm, aromatic note that complements the strawberries beautifully.
- Sweetened Condensed Milk (1 can, 395g / 13 oz): This rich and creamy ingredient is the magic that creates ice cream’s smooth texture without churning.
- Full-Fat Cream for Whipping (2 cups / 500 ml): Whipped to soft peaks, this gives the ice cream its airy, melt-in-your-mouth consistency.
How to Make Strawberry No-Churn Ice Cream Recipe
Step 1: Prepare the Strawberries
Start by washing your strawberries and hulling them to remove the green tops. Cut them in halves or quarters depending on their size. Toss the berries with a tablespoon of white sugar to coax out their natural juices, and if you like, blend or mash them slightly for a mix of smooth and chunky texture. Adding vanilla extract here is optional but highly recommended to deepen the flavor profile. Let this mixture sit for about 10 minutes so the sugar can work its magic and the strawberries get wonderfully syrupy.
Step 2: Whip the Cream
While the strawberries macerate, pour your full-fat cream into a chilled bowl and whip it until you see soft peaks form. This fluffy cream is what gives your no-churn ice cream its delightful lightness. Be careful not to overwhip—soft peaks mean when you lift the whisk, the cream holds a gentle point before folding back in.
Step 3: Combine and Fold
Next, gently fold the sweetened condensed milk into the whipped cream until well combined, creating a luscious, velvety base. Then, stir in your prepared strawberry mixture carefully to maintain as much airy volume as possible. The folding technique is key here to keep your ice cream light and creamy rather than dense.
Step 4: Freeze Until Set
Transfer your luscious mixture into a loaf pan or airtight container. Cover it tightly with plastic wrap or a lid to prevent icy crystals from forming. Pop it into your freezer for at least 6 hours, but overnight is best to achieve that perfectly firm yet scoopable texture we all adore.
How to Serve Strawberry No-Churn Ice Cream Recipe
Garnishes
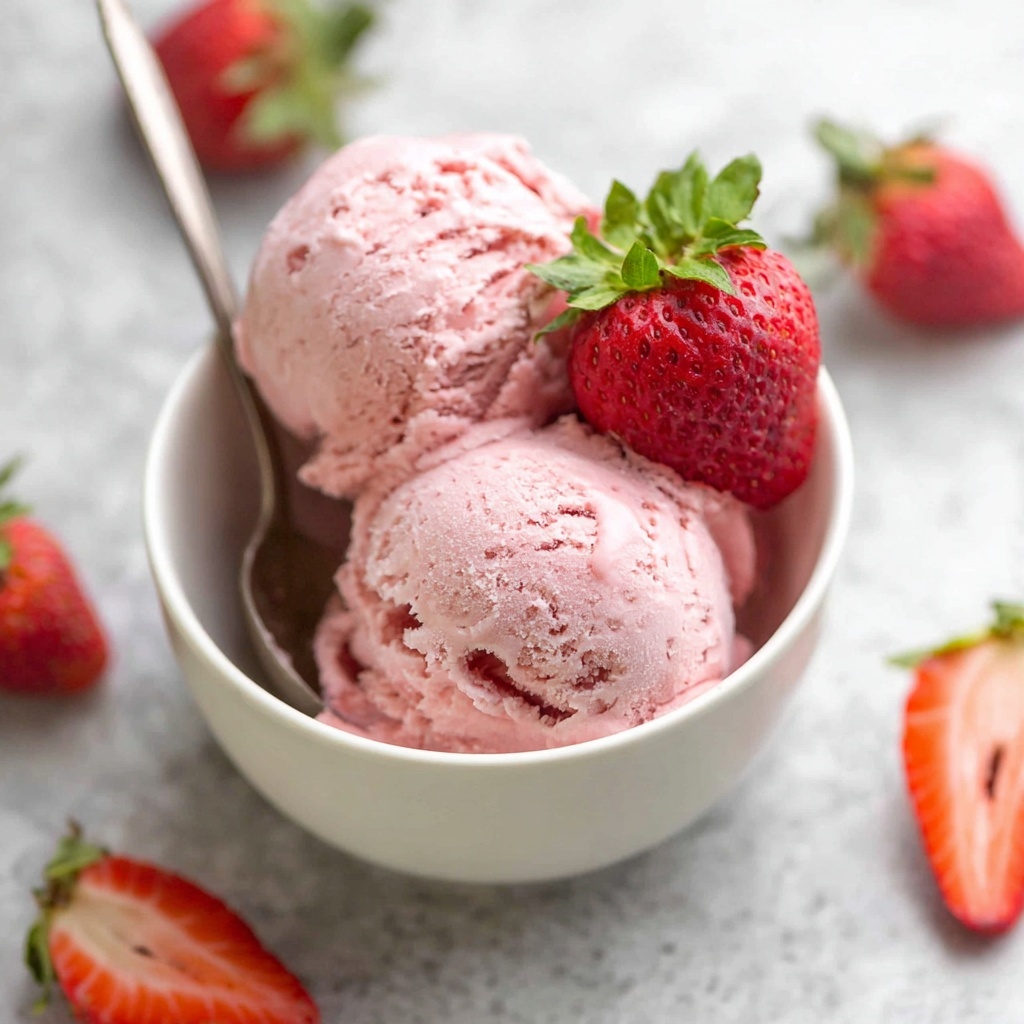
To take your serving game to the next level, try fresh strawberry slices on top or a drizzle of homemade strawberry syrup. A sprinkle of chopped mint or a few dark chocolate shavings adds a lovely contrast in flavor and a visual pop that will impress your guests.
Side Dishes
This ice cream pairs wonderfully with warm desserts like brownie sundaes or freshly baked shortcakes. You can also serve it alongside a crisp fruit tart for a complementary burst of texture and flavor. Its creamy sweetness also balances well with tangy citrus or tart berries.
Creative Ways to Present
Think beyond the bowl — serve scoops of this strawberry no-churn delight inside hollowed-out strawberries or waffle cones for a charming handheld treat. Layer it in parfait glasses with granola and fresh fruit for a beautiful, layered dessert that’s as fun to eat as it is to look at.
Make Ahead and Storage
Storing Leftovers
Any leftovers of your strawberry no-churn ice cream should be stored in an airtight container to keep it creamy and prevent ice crystals. Press a piece of parchment paper directly on the surface before sealing to help preserve freshness.
Freezing
As this is a no-churn recipe, freezing is a crucial step. Your ice cream will keep well for up to two weeks in the freezer without losing its texture or flavor. Just be sure to tightly seal it after each use.
Reheating
Ice cream is best enjoyed cold so reheating is not applicable here. However, if it becomes too hard from freezing, simply leave it on the counter for 5 to 10 minutes before scooping to soften slightly.
FAQs
Can I use frozen strawberries for this recipe?
Yes, frozen strawberries work well but be sure to thaw and drain them before using to avoid excess liquid that can affect texture.
Is this recipe suitable for dairy-free diets?
This version uses dairy ingredients, but you can experiment with coconut cream and dairy-free condensed milk alternatives for a vegan-friendly take.
How long does it take to make this strawberry no-churn ice cream recipe?
Prep takes about 20 minutes, and freezing requires at least 6 hours, but planning ahead for overnight freezing is ideal for the best texture.
Can I add mix-ins like chocolate chips or nuts?
Absolutely! Fold in your favorite mix-ins gently at the end to keep the creamy texture intact.
What if my ice cream is too icy after freezing?
That can happen if it’s not sealed tightly. Make sure your container is airtight and try adding a bit more sweetened condensed milk next time for creaminess.
Final Thoughts
There’s nothing quite like the joy of homemade ice cream, especially when you can create it effortlessly without special equipment. This Strawberry No-Churn Ice Cream Recipe is a shining example of simplicity meeting sensational flavor. I encourage you to give it a try—you’ll end up with a dessert so delicious and creamy, it might just become your new favorite summer tradition.
Print
Strawberry No-Churn Ice Cream Recipe
- Prep Time: 20 minutes
- Cook Time: 0 minutes
- Total Time: 6 hours 20 minutes (including freezing time)
- Yield: 6 to 8 servings
- Category: Dessert
- Method: No-Cook
- Cuisine: American
- Diet: Vegetarian
Description
This delicious no-churn strawberry ice cream recipe is perfect for a quick and easy homemade dessert. Using ripe strawberries, sweetened condensed milk, and whipped cream, it requires no ice cream maker, making it accessible for anyone to prepare a creamy, fruity treat. The natural sweetness of the strawberries combined with the smooth texture of the whipped cream and vanilla creates a refreshing and indulgent ice cream perfect for warm days or anytime you crave a cool dessert.
Ingredients
Strawberries
- 1 kg (2 lb) ripe strawberries, hulled and halved
- 1 tbsp white sugar
Ice Cream Base
- 1 can (395g / 13 oz) sweetened condensed milk
- 2 cups (500 ml) full-fat cream, for whipping
- 1 tsp vanilla extract (optional)
Instructions
- Prepare the Strawberries: In a bowl, combine the halved strawberries with white sugar. Let them sit for about 20 minutes to macerate and release their natural juices. Then, blend the strawberries into a smooth puree or leave some chunks if you prefer texture in your ice cream.
- Whip the Cream: In a chilled bowl, whip the full-fat cream until stiff peaks form. This step is essential for the creamy texture of the ice cream, so ensure the cream is cold and be careful not to overwhip.
- Combine and Freeze: Gently fold the sweetened condensed milk and vanilla extract into the whipped cream. Then add the strawberry puree, folding carefully to combine without deflating the cream. Pour the mixture into a freezer-safe container and smooth the top. Freeze for at least 4-6 hours or until firm, preferably overnight, before serving.
Notes
- For best results, use ripe and sweet strawberries to maximize natural flavor and sweetness.
- You can substitute some of the strawberries with other berries or fruit for a unique twist.
- If you prefer a stronger vanilla flavor, increase the vanilla extract to 2 teaspoons.
- No ice cream maker is needed for this recipe, making it simple and convenient to prepare.
- Let the ice cream sit at room temperature for a few minutes before scooping to soften slightly for easier serving.