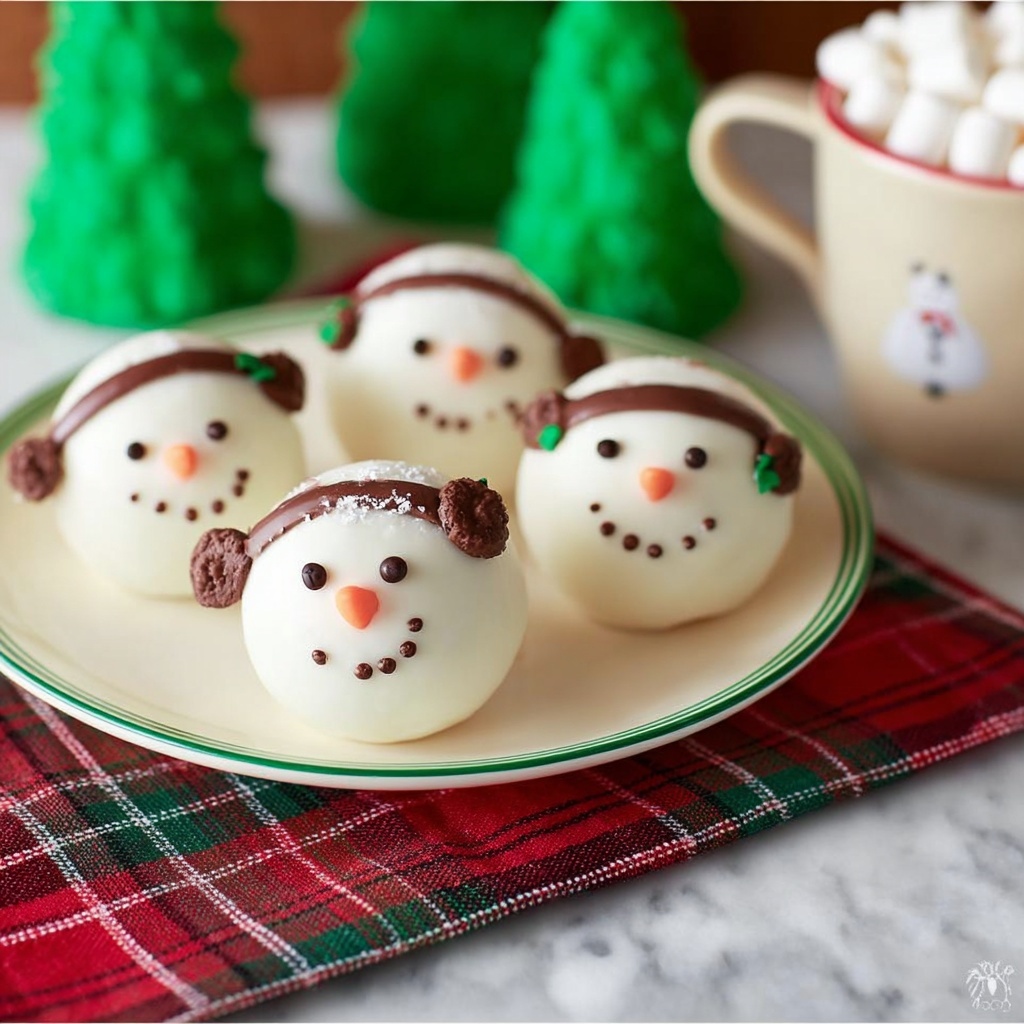
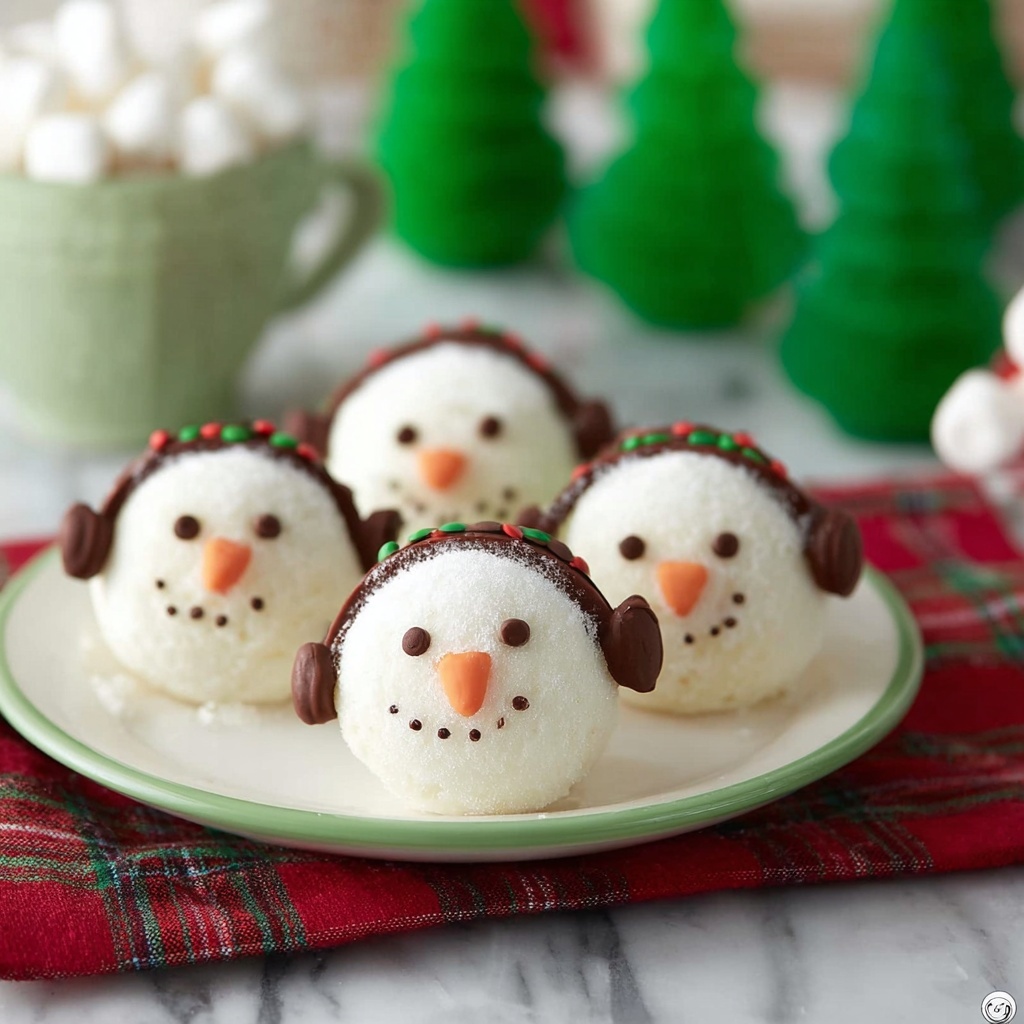
If you are looking to add a sprinkle of magic to your cozy winter nights, the Snowman Hot Chocolate Bombs Recipe is an absolute must-try! These charming little spheres are not just adorable but also pack a delightful surprise inside—a rich hot cocoa mix and mini marshmallows that melt into a creamy, indulgent drink when you pour hot milk over them. Whether you’re aiming to impress guests or simply want to treat yourself to a festive and fun chocolatey adventure, these snowman-shaped hot chocolate bombs will warm hearts and bring smiles all around.
Ingredients You’ll Need
This recipe is surprisingly simple, requiring just a handful of ingredients that each play a key role in creating those perfect, glossy hot chocolate bombs. From creamy white chocolate to the playful orange and chocolate icings, every component brings taste, texture, and that whimsical snowman charm to life.
- 1 – 30 oz Ghirardelli white chocolate melting wafers: Smooth and creamy, these are perfect for making sturdy yet melt-in-your-mouth chocolate shells.
- 2 cups milk hot cocoa mix: This is the delicious filling that will dissolve into rich, comforting hot chocolate.
- 1 tube orange icing: Vibrant for creating cute carrot noses on your snowmen.
- 1 tube chocolate icing: Ideal for detailing eyes, mouths, and buttons, giving your snowmen personality.
- 2 cups mini marshmallows: Adds fluffy, sweet texture inside that melts beautifully in hot milk.
How to Make Snowman Hot Chocolate Bombs Recipe
Step 1: Prepare the Silicone Molds
Begin by carefully cutting your silicone sphere molds so each half-sphere is separate. This makes handling the molds much easier and more precise as you coat them with white chocolate. A neat trick is wiping the inside of each mold with a clean towel to ensure your chocolate shells come out shiny and smooth.
Step 2: Melt the White Chocolate
Pour your Ghirardelli white chocolate melting wafers into a heat-safe bowl, then melt them in the microwave in increments of 45 seconds. Stir between each interval until the chocolate is silky, fully melted, and ready for coating. This slow melting prevents burning and guarantees that velvety texture.
Step 3: Coat the Molds with Chocolate
Spoon about 1 to 2 tablespoons of melted chocolate into each mold, then swirl it around precisely to coat every inch of the interior. This step is crucial because thin spots can cause leaks, so don’t rush. After coating, lightly shake the excess chocolate back into the bowl before refrigerating the molds for 5-10 minutes to let them set firmly.
Step 4: Remove and Prepare for Filling
Once the chocolate has hardened, gently peel the silicone away to reveal perfectly shaped, half-sphere chocolate shells. Place these on a lined cookie sheet and repeat until all molds are used. You should have about 8 half-spheres ready to become snowmen.
Step 5: Fill and Seal the Bombs
Scoop some melted chocolate into a piping bag with the tip cut off for easy precision. Place a couple of tablespoons of hot cocoa mix and a handful of mini marshmallows inside four of your chocolate halves. Then pipe melted chocolate along the edge of each filled half and carefully press an unfilled half on top, sealing the edges to form a complete sphere. Set them in the fridge to chill and firm up.
Step 6: Decorate Your Snowmen
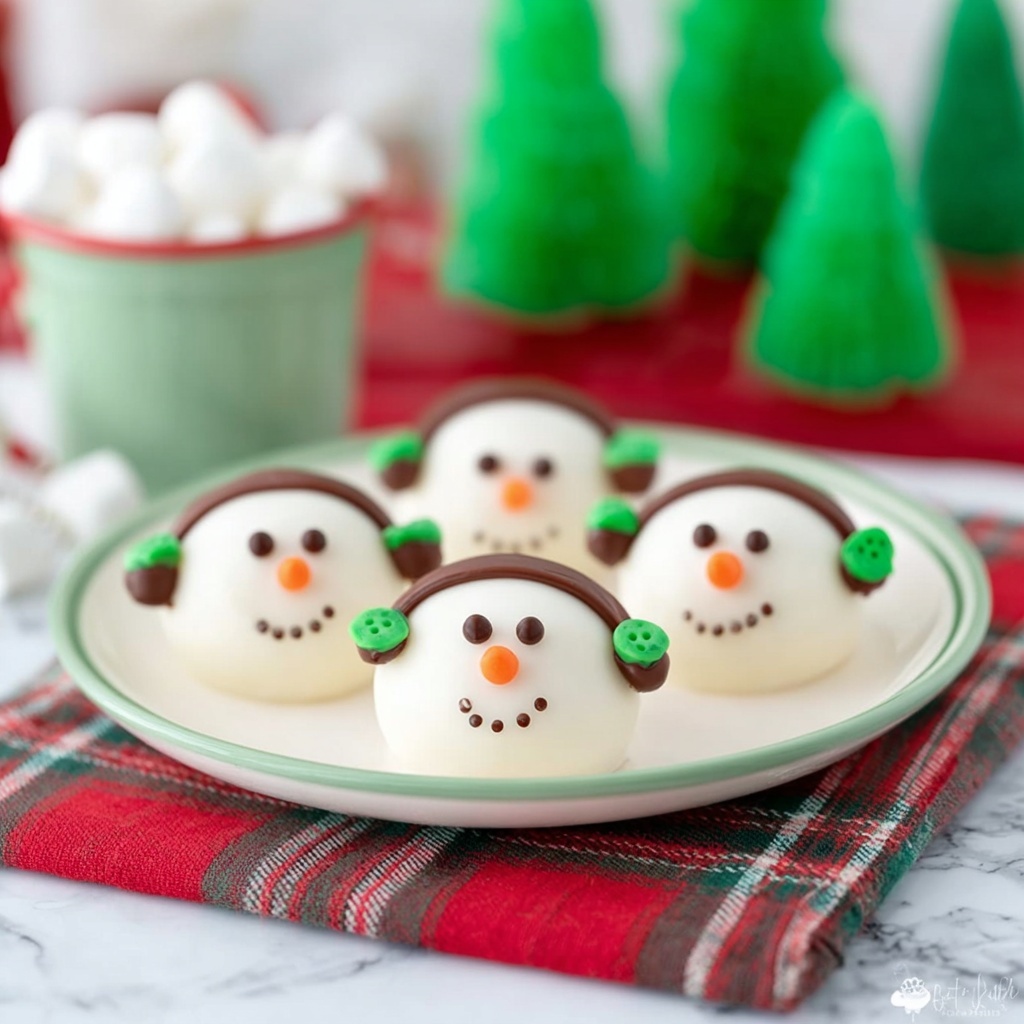
Finally, use the orange icing to create tiny carrot noses on each snowman’s face. Then pull out your tube of chocolate icing to dot eyes, buttons, and smiles, bringing these adorable winter characters to life. Let your creativity shine here—each snowman gets its own personality!
How to Serve Snowman Hot Chocolate Bombs Recipe
Garnishes
Serving these Snowman Hot Chocolate Bombs is almost as fun as making them! A sprinkle of crushed peppermint candy or cinnamon on top of the finished hot cocoa adds a festive touch and cranks up the flavor. A mini candy cane hooked on the rim creates a charming finishing flourish.
Side Dishes
Pair your steaming hot chocolate with a side of buttery sugar cookies or soft gingerbread men for a true winter wonderland snack spread. The cookies’ sweetness complements the rich chocolate beautifully and adds an inviting, homey feel to your treat time.
Creative Ways to Present
Want to impress guests or gift these delights? Place each Snowman Hot Chocolate Bomb in a clear cellophane bag tied with colorful ribbon or nestled in a small festive mug. Present them on a holiday-themed tray or alongside handmade tags—presentation can be just as heartwarming as the taste.
Make Ahead and Storage
Storing Leftovers
If you have any Snowman Hot Chocolate Bombs left after the festivities, store them in an airtight container at room temperature away from heat and sunlight. They’ll keep their shape and flavor nicely for up to two weeks, ready for a quick indulgence.
Freezing
You can freeze unopened chocolate bombs for longer storage. Wrap each in plastic wrap and place inside a freezer-safe bag or box. When you’re ready to use, thaw at room temperature to avoid condensation which might cause the chocolate to bloom.
Reheating
Hot chocolate bombs are meant to be enjoyed by melting in hot milk, not reheated like leftovers. Simply place one in a mug and pour hot milk over it for an instant creamy, dreamy delight. No need for microwaves or stovetops here!
FAQs
Can I use dark or milk chocolate instead of white?
Absolutely! While white chocolate makes for a classic snowy look, dark or milk chocolate melts just as well and provides a richer cocoa flavor. You might want to adjust the decoration colors if you use darker shells.
How do I prevent the chocolate from cracking when removing the mold?
Wiping your molds dry and making sure chocolate is fully set before peeling are key. Take your time when removing the silicone gently from the edges to avoid cracks or breaks.
What’s the best way to transport these if giving as gifts?
Packaging each bomb in sturdy boxes with padding is ideal. Avoid stacking and keep them cool to prevent melting, especially if shipping or traveling some distance.
Can I make these vegan or dairy-free?
Yes! Use dairy-free chocolate wafers and a dairy-free hot cocoa mix to make this recipe vegan. Marshmallows can be tricky, so look for vegan marshmallow brands to keep everything plant-based.
Are there alternatives to mini marshmallows inside?
Definitely! You can try bits of crushed candy cane, caramel bits, or even white chocolate chips for fun surprises inside your Snowman Hot Chocolate Bombs Recipe.
Final Thoughts
There’s something truly special about crafting and enjoying your own Snowman Hot Chocolate Bombs Recipe. It brings a bit of festive joy into the kitchen and endears anyone lucky enough to sip the resulting cup of comfort. These delightful treats are perfect for making memories with friends and family—so why not dive in and start creating your own magical snowman cocoa bombs today?
Print
Snowman Hot Chocolate Bombs Recipe
- Prep Time: 15 minutes
- Cook Time: 10 minutes
- Total Time: 25 minutes
- Yield: 10 hot chocolate bombs
- Category: Dessert
- Method: No-Cook
- Cuisine: American
Description
Create festive and fun Snowman Hot Chocolate Bombs with smooth white chocolate shells filled with marshmallows and decadent hot cocoa mix. These delightful treats melt in a cup of warm milk to reveal a delicious, rich hot chocolate and a cute snowman design made with colorful icings.
Ingredients
Chocolate Shell
- 30 oz Ghirardelli white chocolate melting wafers
Filling
- 2 cups milk hot cocoa mix
- 2 cups mini marshmallows
Decoration
- 1 tube orange icing
- 1 tube chocolate icing
Instructions
- Prepare Molds: Cut the silicone sphere molds so each mold is separate for easier handling during chocolate application.
- Clean Molds: Wipe the inside of each silicone mold with a paper towel or clean kitchen towel to ensure a shiny finish on the chocolate shell.
- Melt Chocolate: Place Ghirardelli white chocolate wafers in a heat-safe bowl and microwave in 45-second intervals, stirring thoroughly after each interval until the chocolate is fully melted and smooth.
- Coat Molds: Spoon about 1-2 tablespoons of melted chocolate into each mold. Swirl the chocolate around to coat the entire interior surface evenly.
- Remove Excess Chocolate: Lightly shake the mold to pour excess chocolate back into the bowl, ensuring a thin, even shell.
- Chill Shells: Place the coated molds in the refrigerator for 5-10 minutes to allow the chocolate to harden.
- Demold Shells: Gently peel the silicone mold away from the hardened chocolate to reveal smooth chocolate half-spheres.
- Assemble Halves: Place the chocolate halves on a cookie sheet, ready for filling and joining.
- Prepare Piping Bag: Scoop some melted chocolate into a piping bag and cut the tip to seal the chocolate shells together later.
- Fill Shells: Place 1-2 tablespoons of mini marshmallows and 2 tablespoons of hot cocoa mix inside one half of each chocolate sphere.
- Seal Bombs: Use the melted chocolate in the piping bag to carefully pipe around the edges of the filled half-sphere and press the other half on top to seal completely.
- Decorate: Once sealed, decorate the hot chocolate bombs with orange and chocolate icing to create charming snowman faces.
Notes
- Heating chocolate slowly and stirring frequently prevents burning.
- Use a light hand when swirling chocolate inside molds for an even coating.
- Ensure chocolate shells are fully set before removing molds to avoid breakage.
- Store finished bombs in a cool, dry place until ready to use.
- To enjoy, drop a hot chocolate bomb into a mug of hot milk and watch the snowman reveal unfold.