If you’ve ever wished for a vibrant, tangy, and perfectly balanced sauce to brighten up your meals, this Homemade Sweet and Sour Sauce Recipe is about to become your new kitchen superstar. With its lively blend of pineapple juice, brown sugar, and a touch of soy sauce, this sauce captures that nostalgic flavor that pairs beautifully with everything from crispy chicken to stir-fried veggies. Trust me, once you try this easy, fresh version, store-bought bottles will feel like a distant memory.
Ingredients You’ll Need
These ingredients are wonderfully simple but each plays a crucial role in crafting the perfect sweet and sour sauce. Together, they balance sweetness, tanginess, and a hint of savoriness to create that irresistible flavor profile we all love.
- 100% pineapple juice: The natural sweetness and fruity tang from pineapple juice form the vibrant base of the sauce.
- Brown sugar: Adds deep, molasses-rich sweetness and helps caramelize the sauce for a glossy finish.
- Ketchup: Brings a subtle tomato tang and richness to elevate the overall flavor complexity.
- Soy sauce: Introduces a salty umami depth, balancing the sweetness perfectly.
- White vinegar: Provides the sharp acidic punch that defines the ‘sour’ in sweet and sour.
- Corn starch: Acts as a thickening agent to give the sauce that luscious, clingy texture.
- Water: Dilutes the corn starch and helps create a smooth slurry for thickening without lumps.
How to Make Homemade Sweet and Sour Sauce Recipe
Step 1: Combine the Flavors
Start by pouring the pineapple juice, brown sugar, ketchup, soy sauce, and white vinegar into a large saucepan. This mix is where the magic begins—each ingredient mingles to build a complex flavor that’s both sweet and tangy.
Step 2: Simmer and Sweeten
Place the saucepan over medium heat and bring the sauce to a gentle simmer, stirring frequently. This step not only dissolves the brown sugar but also melds the flavors smoothly, creating a lush and fragrant base.
Step 3: Prepare the Thickening Slurry
In a separate small bowl, whisk the corn starch and water together until fully combined, making a smooth slurry. Slowly pour this mixture into your simmering sauce while whisking constantly to prevent lumps and ensure the sauce thickens evenly.
Step 4: Thicken the Sauce
Turn the heat down to low and let the sauce cook for another 1 to 3 minutes. Keep whisking often to maintain that glossy, velvety texture everyone craves in a sweet and sour sauce.
Step 5: Serve Hot and Fresh
Once thickened to your liking, remove the saucepan from the heat. This Homemade Sweet and Sour Sauce Recipe is now ready to pour over your favorite dishes or to be used as a dipping sauce for a delightful burst of flavor.
How to Serve Homemade Sweet and Sour Sauce Recipe
Garnishes
Adding fresh garnishes can elevate the sauce presentation and taste. Try sprinkling chopped green onions or freshly grated ginger on top for a bright, fresh kick that complements the sauce’s sweetness.
Side Dishes
This sauce pairs wonderfully with a variety of sides. Think fluffy jasmine rice, crunchy stir-fried vegetables, or even crispy spring rolls—the sauce’s tangy sweetness livens them up perfectly.
Creative Ways to Present
Beyond the classics, use this sauce as a glaze for baked tofu or grilled chicken skewers. Drizzle it over steamed dumplings, or even toss it with roasted cauliflower for a fun, saucy twist. The possibilities are endless and delicious!
Make Ahead and Storage
Storing Leftovers
You can easily store leftover sauce in an airtight container in the refrigerator for up to a week. This makes weeknight dinners a breeze when you need that quick punch of sweet and sour flavor ready to go.
Freezing
For longer storage, freezing is a great option. Simply pour the sauce into freezer-safe containers or zip-top bags. When frozen, it will keep well for up to three months without losing its vibrant taste.
Reheating
To reheat, defrost the sauce in the refrigerator overnight if frozen. Warm it gently on the stove over low heat, stirring occasionally to restore the silky texture. Avoid high heat to prevent the sauce from breaking or becoming too thick.
FAQs
Can I use fresh pineapple instead of pineapple juice?
Absolutely! If you have fresh pineapple on hand, you can blend it into a juice or finely crush it and strain the juice out. Fresh pineapple will add a naturally sweeter and slightly more textured flavor to your sauce.
Is this sauce gluten-free?
It can be, as long as you use gluten-free soy sauce. Many regular soy sauces contain wheat, so checking the label or opting for tamari ensures the sauce stays gluten-free.
Can I adjust the sweetness or sourness?
Definitely. This recipe is very flexible. If you like it sweeter, add a tad more brown sugar. If you prefer it tangier, increase the white vinegar slightly. Taste as you go to find your perfect balance.
Can I use this sauce as a marinade?
Yes, this homemade sweet and sour sauce works wonderfully as a marinade for chicken, pork, or tofu. Just let your protein soak for at least 30 minutes before cooking for maximum flavor infusion.
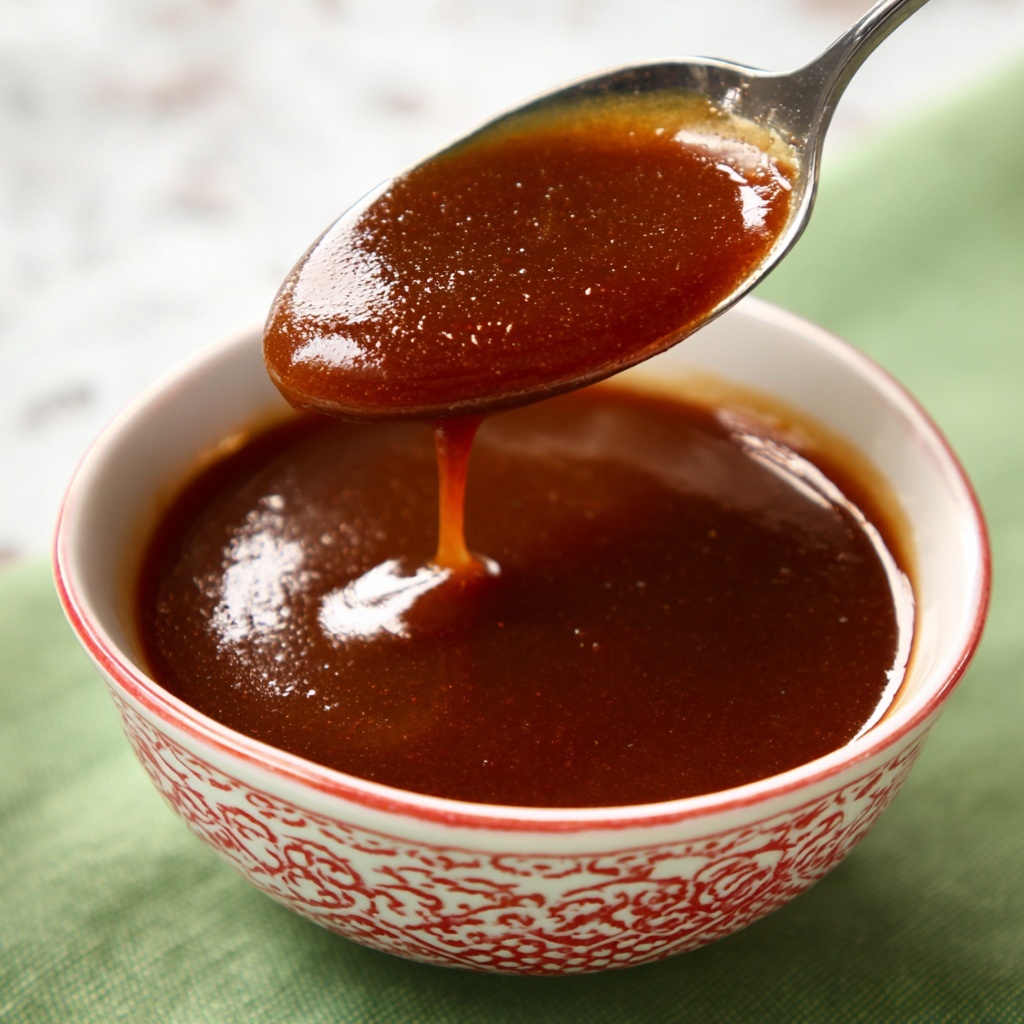
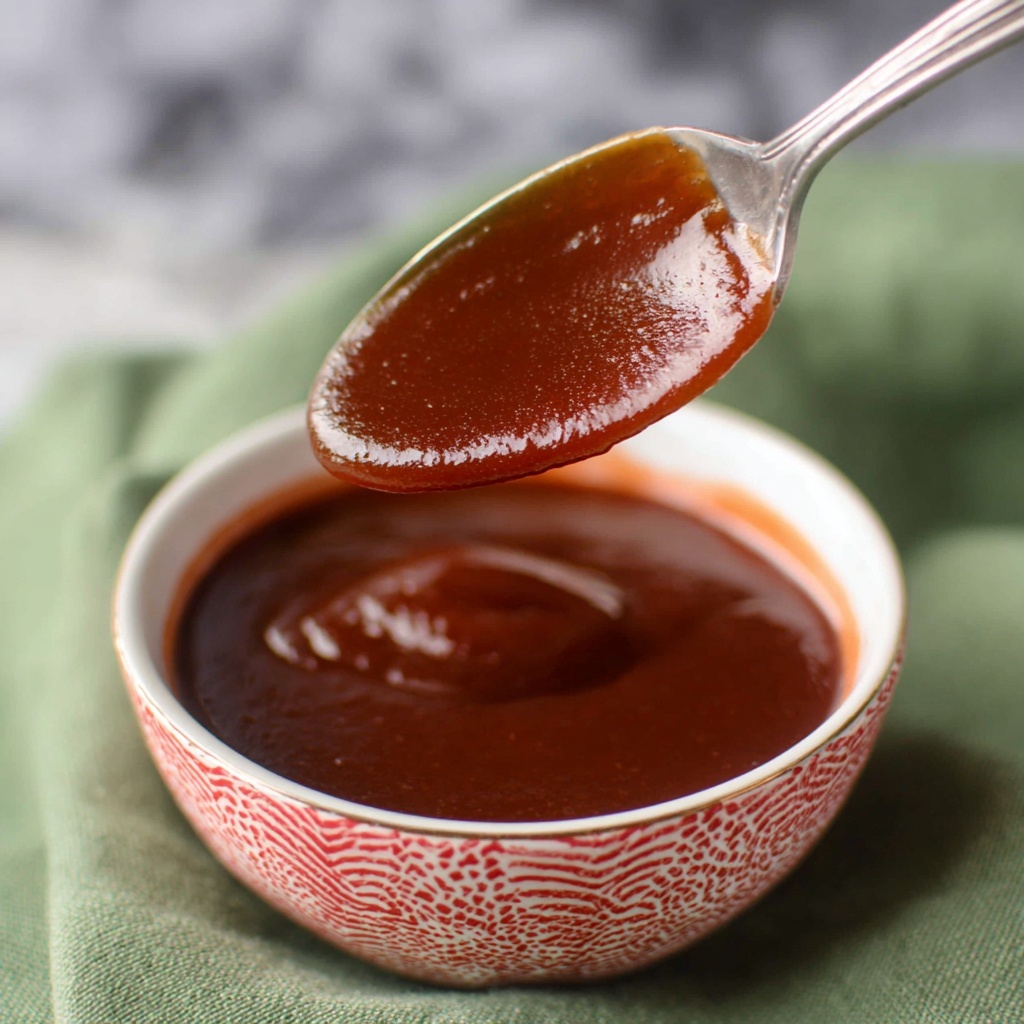
How thick should the sauce be?
The sauce should be thick enough to coat the back of a spoon and cling to your food without being gummy. If it gets too thick, simply whisk in a small amount of water to loosen it up.
Final Thoughts
There’s something truly satisfying about making your own Homemade Sweet and Sour Sauce Recipe—it’s fresh, flavorful, and infinitely customizable. Whether you pour it over crispy chicken or use it as a lively dip, this sauce will brighten your meals and bring smiles all around the table. Give it a try and watch it become a beloved staple in your kitchen!
Print
Homemade Sweet and Sour Sauce Recipe
- Prep Time: 5 minutes
- Cook Time: 10 minutes
- Total Time: 15 minutes
- Yield: 8 servings
- Category: Sauce
- Method: Stovetop
- Cuisine: Asian-inspired
Description
This homemade sweet and sour sauce is a tangy and flavorful condiment perfect for dipping or drizzling over your favorite dishes. Made with pineapple juice, brown sugar, and a blend of classic seasonings, it’s quick to prepare and thickens to a glossy finish that enhances stir-fries, nuggets, and more.
Ingredients
Sweet and Sour Sauce Ingredients
- 1 cup 100% pineapple juice
- ¾ cup brown sugar
- 3 tablespoons ketchup
- 2 tablespoons soy sauce
- 2 tablespoons white vinegar
- 2 tablespoons cornstarch
- 2 tablespoons water
Instructions
- Combine Base Ingredients: In a large saucepan, combine the pineapple juice, brown sugar, ketchup, soy sauce, and white vinegar to create the flavorful base of the sauce.
- Simmer and Dissolve Sugar: Bring the mixture to a simmer over medium heat while stirring frequently until the sugar is fully dissolved, ensuring a smooth sauce.
- Mix Cornstarch Slurry: In a small bowl, whisk together the cornstarch and water to create a slurry that will thicken the sauce.
- Incorporate Slurry and Thicken: Slowly pour the cornstarch slurry into the simmering sauce while whisking constantly to prevent lumps. Reduce the heat to low and continue cooking for 1-3 minutes until the sauce thickens to a glossy consistency.
- Finish and Serve: Remove the saucepan from heat and serve the hot sweet and sour sauce immediately as a dip or drizzle over your favorite dishes.
Notes
- For a gluten-free version, substitute soy sauce with tamari or coconut aminos.
- If a thicker sauce is desired, increase cornstarch slightly but add gradually to avoid over-thickening.
- Adjust sweetness or tanginess by varying the amount of brown sugar or vinegar according to taste.
- Store any leftovers in an airtight container in the refrigerator for up to one week.