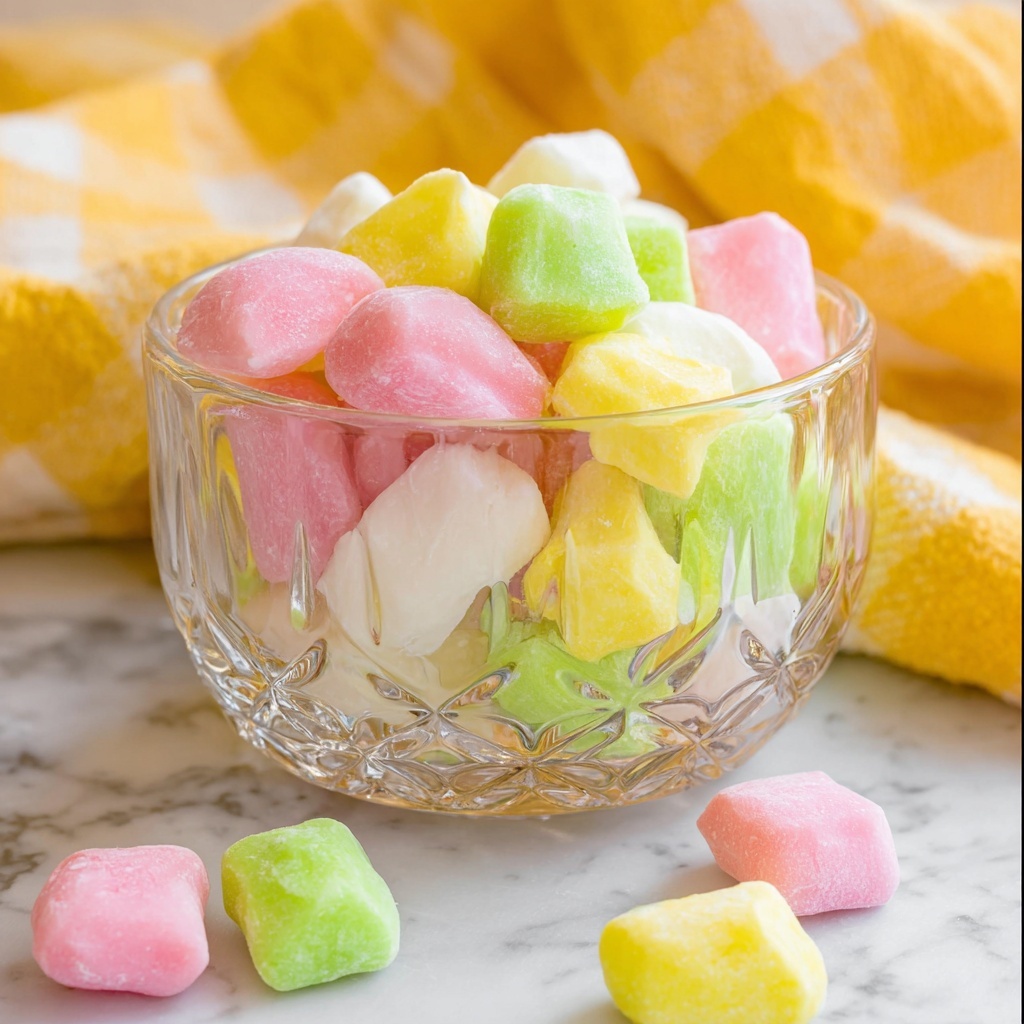
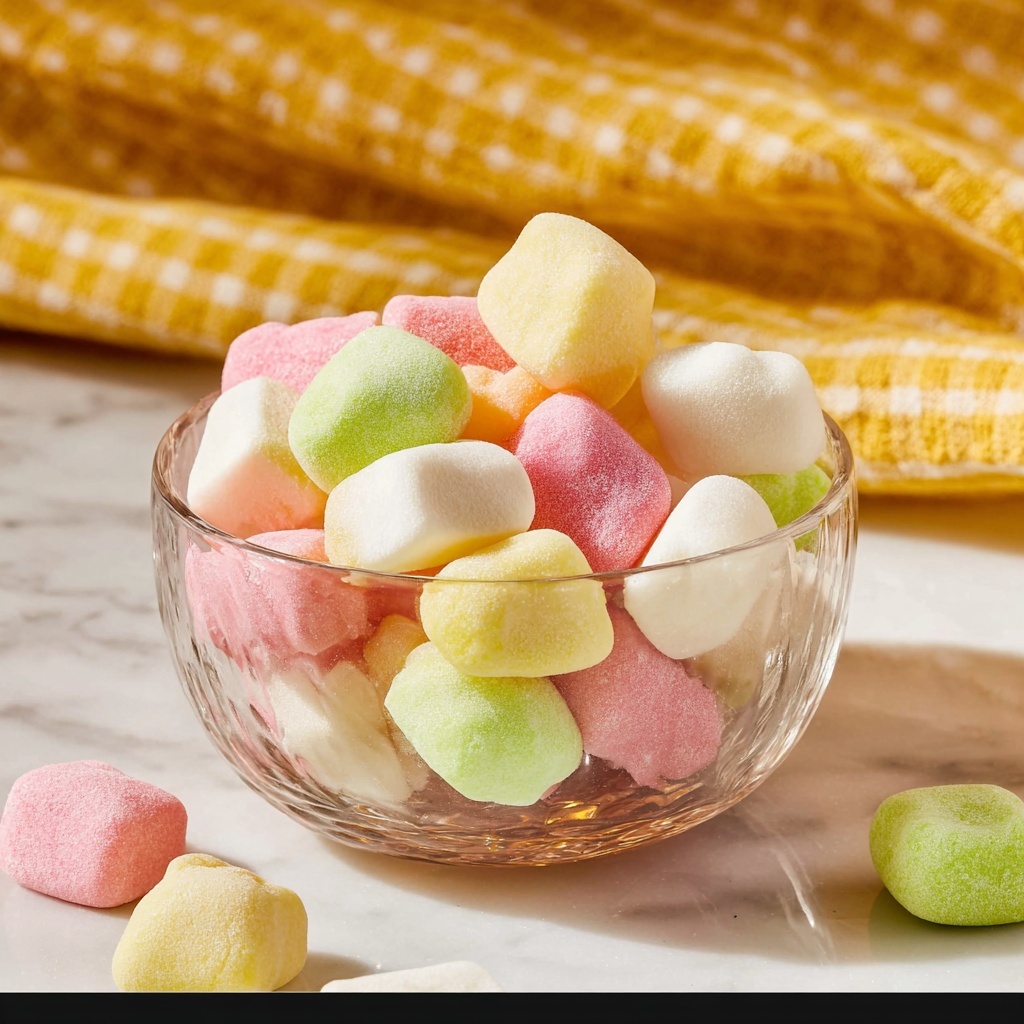
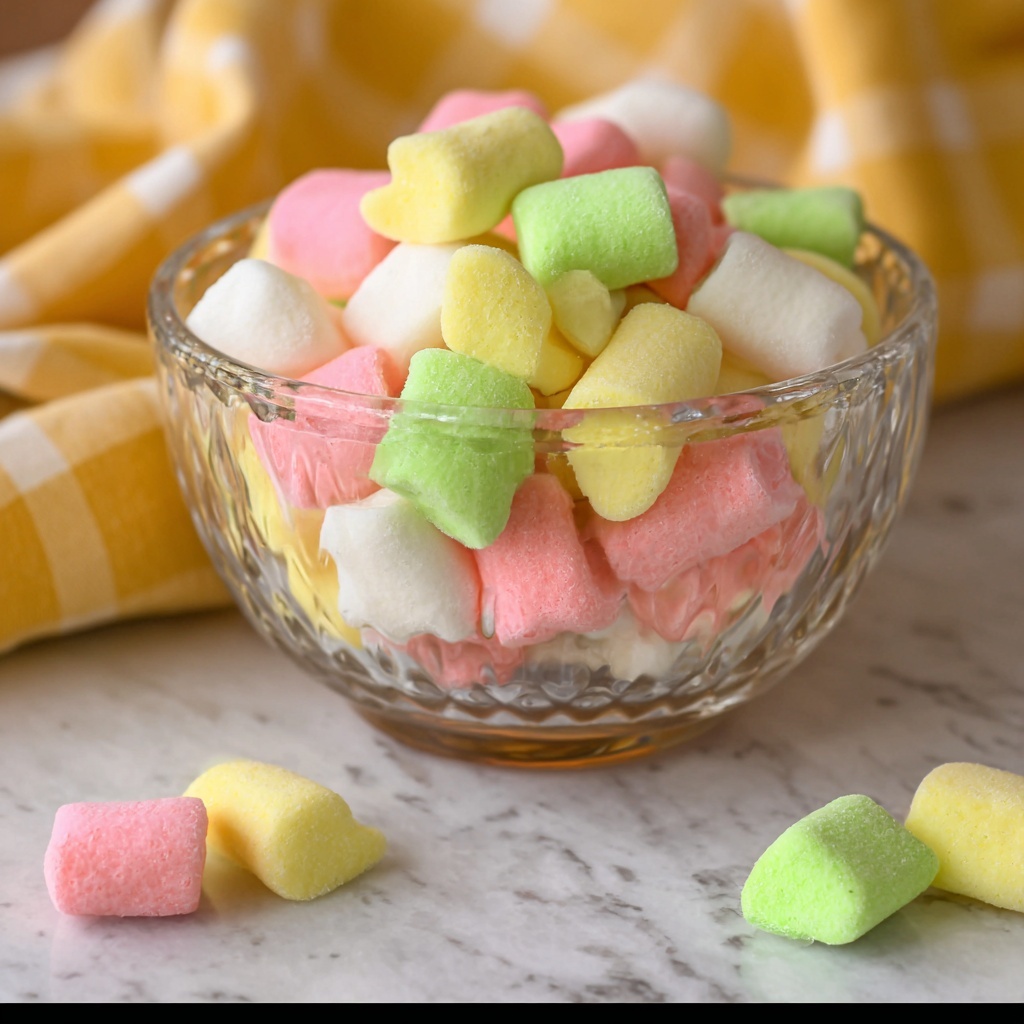
If you have a sweet tooth for delicate, melt-in-your-mouth treats, you are going to adore this Butter Mints Recipe. These tiny, buttery mints come together effortlessly yet deliver a perfect balance of creamy, sugary, and refreshingly minty flavors. They are soft, pastel-colored gems that brighten any occasion—from holiday parties to casual coffee breaks. Trust me, once you make these nostalgic little sweets, they’ll become your go-to recipe for effortless elegance and delightful taste.
Ingredients You’ll Need
Getting ready to whip up this Butter Mints Recipe is a breeze because the ingredients are simple but pack a punch in flavor and texture. Each component plays a crucial role, from richness to the refreshing coolness of mint, and even optional pastel shades that make them irresistibly cute.
- Unsalted butter (½ cup): Using room temperature butter ensures the mints have a smooth, creamy texture that melts in your mouth.
- Powdered sugar (4 cups, sifted): This fine sugar is essential for sweetness and creating that soft, powdery consistency mints are famous for.
- Heavy cream (2 tablespoons): Adds moisture and helps form a pliable dough that is just right—not too dry, not too sticky.
- Vanilla extract (½ teaspoon): A hint of vanilla deepens the flavor and adds warmth without overpowering the peppermint.
- Peppermint extract (½ teaspoon): The star of the recipe that brings the unmistakable cool and fresh minty flavor everyone loves.
- Salt (⅛ teaspoon): Just a pinch to balance sweetness and bring out richness.
- Food coloring (optional): Red, green, and yellow water-based food coloring add a charming pastel touch if you want your mints to look extra festive.
How to Make Butter Mints Recipe
Step 1: Cream the Butter
Start by beating the unsalted butter in a large mixing bowl with a hand or stand mixer until it’s perfectly smooth and creamy. This step sets the foundation for a luscious texture, ensuring your mints don’t end up gritty or tough.
Step 2: Incorporate the Powdered Sugar Gradually
Slowly add the sifted powdered sugar one cup at a time, mixing on a low speed. This gradual approach prevents a sugar cloud and helps everything blend uniformly, creating a silky dough that’s sweet but soft.
Step 3: Add the Cream, Extracts, and Salt
Next, pour in the heavy cream, vanilla extract, peppermint extract, and salt. Mix until the dough becomes smooth and starts to come together. If it’s too dry and crumbly, add a few extra drops of heavy cream until the texture is just right to handle comfortably.
Step 4: Divide and Color the Dough
Divide the dough evenly into four portions. Keep one plain for classic white butter mints. For the others, add a tiny drop of red, green, and yellow food coloring respectively to each portion. Knead each until the colors are evenly distributed. This step adds a playful pastel palette that’s perfect for parties or gifts.
Step 5: Shape Your Mints
Roll each portion into thin ropes about half an inch thick. Using a sharp knife, cut the ropes into bite-sized pieces roughly half an inch long. These small pieces are just the right size to pop in your mouth and savor.
Step 6: Dry the Mints
Lay the little mints on a parchment-lined baking sheet in a single layer, making sure they don’t touch. Let them dry at room temperature for 12 to 24 hours. This drying transforms the sticky dough into the perfect firm but tender texture that melts delightfully upon eating.
Step 7: Store and Enjoy
Once dried, gather your treasures into an airtight container to keep them fresh. Now you have homemade Butter Mints ready to enjoy or surprise your friends with!
How to Serve Butter Mints Recipe
Garnishes
Butter mints look adorable on their own, but you can dress them up by arranging them in decorative glass jars or on serving platters with sprigs of fresh mint for added aroma and elegance. Tiny edible silver pearls or a light dusting of extra powdered sugar can add a charming sparkle for special occasions.
Side Dishes
These buttery delights pair beautifully with a hot cup of tea or coffee, providing a fresh, sweet finish to your drink. They’re also excellent alongside cookies or small pastries when serving dessert, offering a cool minty contrast that pleasantly cleanses the palate.
Creative Ways to Present
Consider gifting these Butter Mints by placing them in pastel-colored mini tins or clear cellophane bags tied with festive ribbons. Another fun idea is to use them as edible decoration for cupcakes or layered in a candy buffet for celebrations—everyone will admire both the look and the taste!
Make Ahead and Storage
Storing Leftovers
Butter Mints keep well in an airtight container at room temperature for up to two weeks. Just make sure they are fully dried before storing to avoid any stickiness or smudging. This makes them a perfect make-ahead treat for upcoming events or gatherings.
Freezing
If you want to keep your mints fresh for even longer, freeze them in a tightly sealed container. When properly wrapped, they can last up to three months. To enjoy, thaw at room temperature for a few hours before serving to bring back their delicate melt-in-your-mouth texture.
Reheating
Since Butter Mints are best enjoyed cool and firm, reheating is not recommended. Instead, allow them to come to room temperature naturally after refrigeration or freezing to preserve their signature softness and refreshing flavor.
FAQs
Can I make Butter Mints without food coloring?
Absolutely! The food coloring is optional and primarily for visual appeal. The classic white mints taste just as delicious and have that timeless, elegant look.
How long does it take for the mints to dry properly?
Typically, it takes between 12 to 24 hours at room temperature for the mints to dry to the perfect firm consistency. Patience is key to achieving that ideal melt-in-the-mouth texture.
What if my dough is too sticky or too dry?
If the dough feels sticky, add a touch more powdered sugar; if it’s too dry, slowly add a teaspoon of heavy cream at a time until it reaches a soft, pliable consistency ideal for shaping.
Can I use a different extract instead of peppermint?
Yes, you can experiment! Vanilla, almond, or lemon extracts all work well though peppermint provides that classic refreshing flavor closely associated with Butter Mints.
Is it possible to make these sugar-free or with alternative sweeteners?
This recipe relies on powdered sugar for texture and sweetness, so substituting it is tricky. There may be sugar-free powdered sweeteners, but results can vary. Proceed carefully if adjusting!
Final Thoughts
Making these melt-in-your-mouth Butter Mints Recipe is truly a joyful experience that combines simplicity with elegance. Whether you want to impress guests or enjoy a sweet minty treat any time, this recipe won’t disappoint. So, roll up your sleeves, gather your ingredients, and discover how easy and rewarding homemade Butter Mints can be—you’ll be hooked from the very first bite!
Print
Butter Mints Recipe
- Prep Time: 20 minutes
- Cook Time: 0 minutes
- Total Time: 12 to 24 hours (including drying time)
- Yield: Approximately 100 butter mints
- Category: Candy
- Method: No-Cook
- Cuisine: American
- Diet: Vegetarian
Description
These classic Butter Mints are creamy, smooth, and melt in your mouth with a refreshing peppermint flavor. Perfect for holiday gatherings or anytime you want a delicate, pastel-colored mint candy that you can prepare easily at home without baking.
Ingredients
Main Ingredients
- ½ cup unsalted butter (1 stick, room temperature)
- 4 cups powdered sugar (sifted)
- 2 Tablespoons heavy cream
- ½ teaspoon vanilla extract
- ½ teaspoon peppermint extract
- ⅛ teaspoon salt
Optional Ingredients
- Red, green, and yellow water-based food coloring
Instructions
- Beat the Butter: In a large mixing bowl, beat the unsalted butter with a hand or stand mixer until smooth and creamy, creating a soft base for the mints.
- Add Powdered Sugar: Gradually add the powdered sugar, one cup at a time, mixing on low speed after each addition until fully incorporated into the butter.
- Mix Cream and Extracts: Add the heavy cream, vanilla extract, peppermint extract, and salt to the mixture. Continue mixing until the dough comes together smooth. If it feels too dry, add a few drops of heavy cream for a pliable consistency.
- Divide the Dough: Divide the dough into four equal portions. Leave one portion white and set aside for natural color.
- Color the Dough (Optional): Add tiny drops of red, green, and yellow food coloring to the remaining three portions respectively, kneading each portion until the color is evenly distributed and the desired pastel hues are reached.
- Shape the Mints: Roll each portion of dough into thin ropes about ½ inch in diameter. Using a sharp knife, cut these ropes into small pieces approximately ½ inch long.
- Dry the Mints: Place the cut mints on a parchment-lined baking sheet, ensuring they are not touching. Let them air dry at room temperature for 12 to 24 hours, allowing them to firm up completely.
- Store and Serve: Once the mints are dry and firm, transfer them to an airtight container for storage. Enjoy your homemade butter mints!
Notes
- Ensure butter is at room temperature to facilitate easier mixing.
- Sifting the powdered sugar helps prevent lumps and ensures a smooth dough.
- Adjust the amount of heavy cream carefully; too much will make the dough sticky.
- The air drying process is essential for the mints to harden properly, do not skip it.
- Use parchment paper to prevent sticking during the drying phase.
- You can store the mints at room temperature in an airtight container for up to two weeks.
- If desired, experiment with different pastel colors and flavors using various extracts.