If you’ve been on the hunt for that perfectly smooth, luscious dessert to satisfy your sweet tooth, then look no further. This Homemade Vanilla Pudding Recipe is a timeless crowd-pleaser that feels like a warm hug in a bowl. Crafted with simple, wholesome ingredients, it has the perfect balance of creamy richness and delicate vanilla flavor that makes every spoonful utterly irresistible. Whether you’re craving a comforting treat for yourself or want to wow friends at your next gathering, this pudding is sure to become a beloved classic in your recipe collection.

Ingredients You’ll Need
The magic of this pudding lies in its straightforward ingredients list—each item plays a key role in creating the silky texture, vibrant color, and deeply satisfying flavor you’ll adore. Using whole milk ensures the pudding is creamy and rich, while cornstarch acts as the gentle thickener. Egg yolks add a luxurious silkiness, and pure vanilla extract gives the pudding its iconic aroma. Let’s take a look:
- 3 cups whole milk: Provides the creamy base that makes this pudding indulgently smooth.
- 3 heaping tablespoons cornstarch: This natural thickener ensures the pudding sets with that perfect custardy consistency.
- ½ cup granulated sugar: Sweetens the pudding just right; increase to ¾ cup if you prefer a sweeter finish.
- ⅛ teaspoon salt: Just a pinch to brighten the flavors and balance the sweetness.
- 3 large egg yolks: Important for richness and that melt-in-your-mouth texture.
- 1 tablespoon butter: Adds a velvety finish and slight richness to the pudding.
- 1 teaspoon pure vanilla extract: Or substitute with vanilla bean paste for an even more aromatic punch.
How to Make Homemade Vanilla Pudding Recipe
Step 1: Prepare the Egg Yolks
Start by beating the egg yolks in a heat-proof bowl and set them aside. This step is crucial because the yolks will later be tempered with hot milk to create that silky texture without scrambling.
Step 2: Mix Cornstarch with Milk
In a 3-4 quart saucepan, whisk together the cornstarch and half a cup of the milk until smooth. Then add the remaining milk, sugar, and salt, whisking everything until it’s fully combined. This ensures your pudding base is uniform with no lumps.
Step 3: Heat the Milk Mixture
Place the saucepan over medium-high heat and bring the mixture to a boil, whisking constantly. This constant whisking prevents the milk from scorching and keeps the texture perfectly smooth.
Step 4: Temper the Egg Yolks
Once the milk mixture is boiling, take the saucepan off the heat immediately. Slowly pour the hot milk in a thin stream into the beaten yolks, whisking constantly to avoid cooking the eggs too quickly. This gentle blending is what makes the pudding creamy and lump-free.
Step 5: Thicken the Pudding
Pour the combined mixture back into the saucepan and return it to medium to medium-high heat. Heat gently, whisking constantly for 2-3 minutes until the mixture thickens. Note it won’t be as thick as finished pudding, but it will start to coat your whisk.
Step 6: Finish with Butter and Vanilla
Remove the pudding from heat, then whisk in the butter and pure vanilla extract. The butter adds a beautiful richness while the vanilla brings that signature fragrant flavor. Let the pudding cool for 5 minutes before dividing it into individual dishes.
Step 7: Chill and Set
Refrigerate the pudding for at least one hour, though letting it chill overnight yields the best results. This chilling period lets the pudding set fully and deepens its flavors, ready for serving.
How to Serve Homemade Vanilla Pudding Recipe
Garnishes
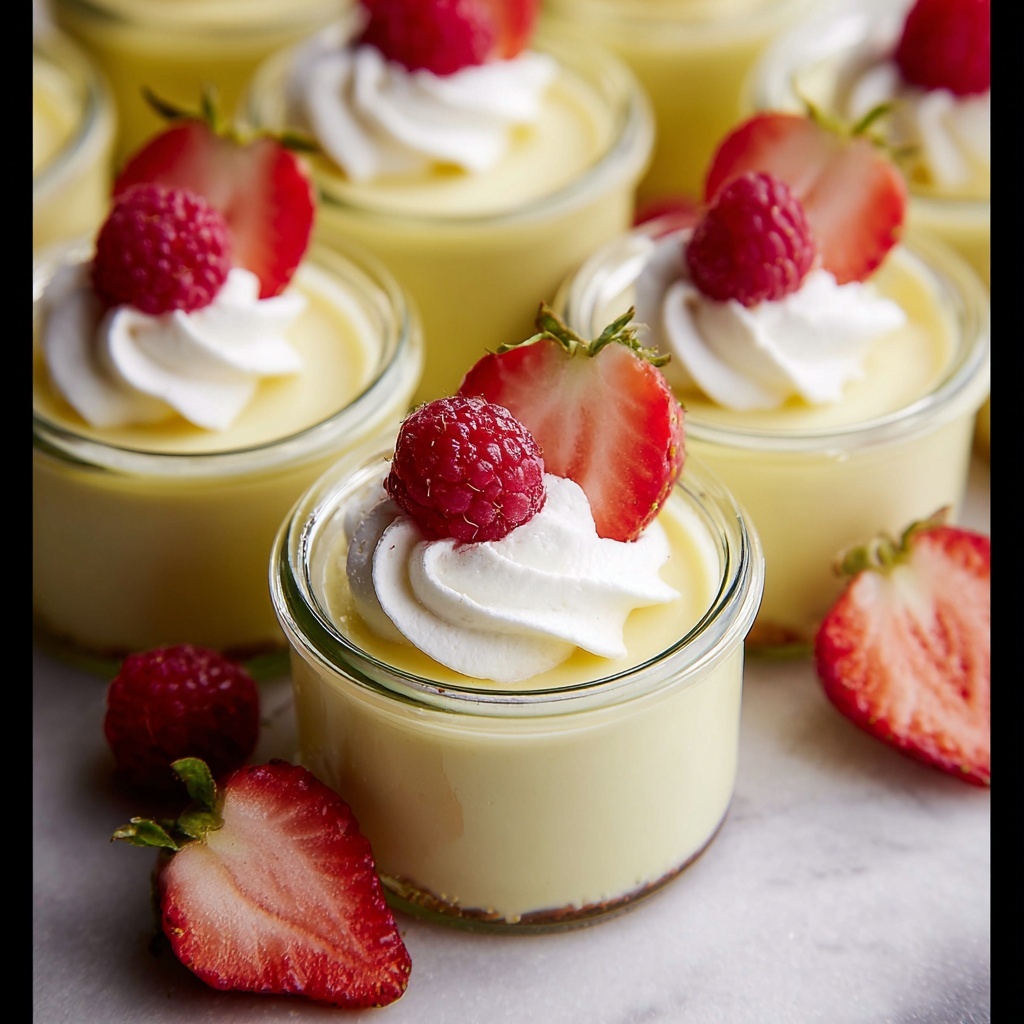
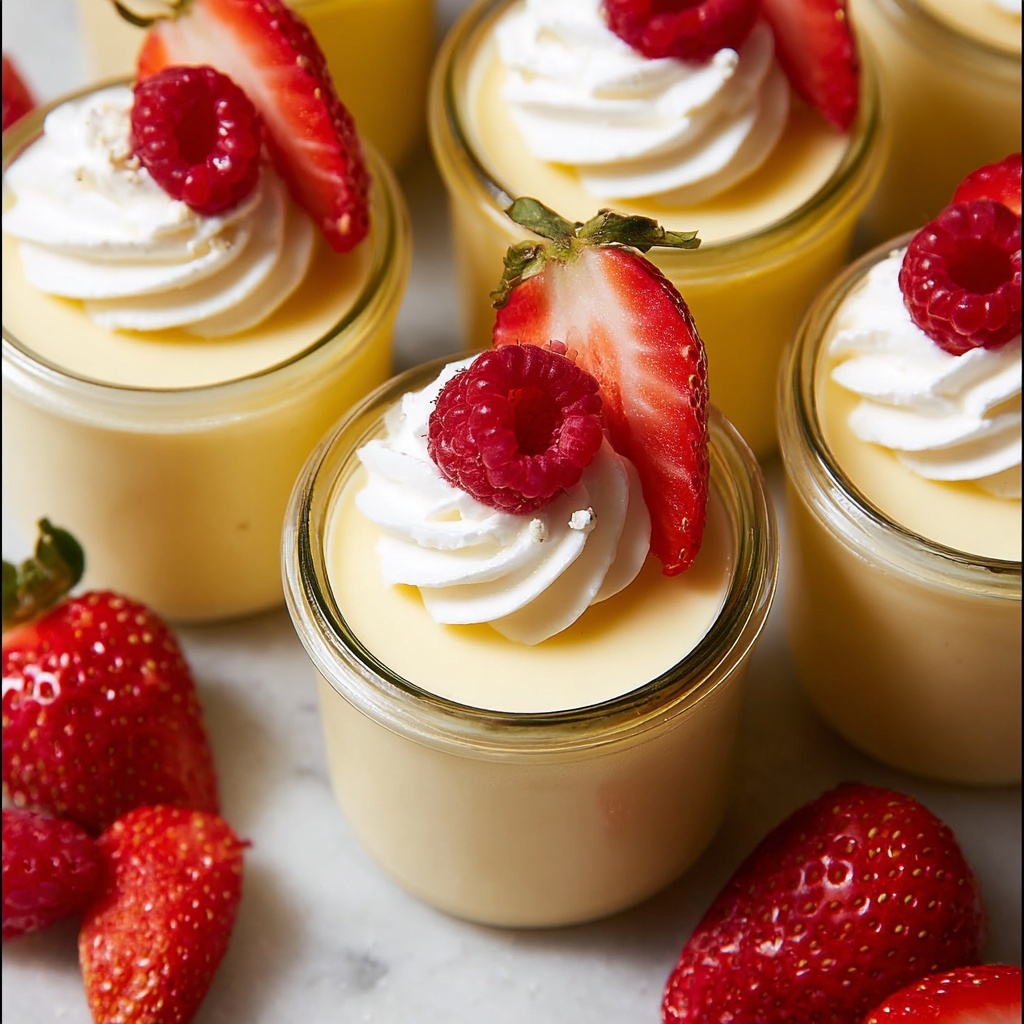
Vanilla pudding is wonderfully versatile when it comes to garnishes. Fresh berries like raspberries or blueberries add a lovely tartness and vibrant color contrast. Shaved chocolate, a sprinkle of cinnamon, or toasted coconut flakes can bring exciting textures and additional flavor layers. For a classic touch, a dollop of whipped cream never goes wrong.
Side Dishes
This pudding pairs beautifully with lighter sides such as crisp shortbread cookies or buttery biscotti. For a refreshing balance, serve alongside fresh fruit salad or a citrus compote to brighten each bite. These sides help elevate the dessert experience without overpowering the delicate vanilla flavor.
Creative Ways to Present
Consider layering the pudding with crushed cookies or fresh fruit in a parfait glass for a visually stunning presentation. You can also fill mini mason jars for a charming portable treat perfect for picnics or parties. Sprinkling edible flowers on top adds an elegant touch that’s sure to impress guests.
Make Ahead and Storage
Storing Leftovers
Store any leftover pudding in airtight containers in the refrigerator. Kept cold, the pudding remains creamy and fresh for up to five days, making it an excellent option for prepping dessert in advance without sacrificing quality.
Freezing
While you can technically freeze vanilla pudding, the texture might change slightly upon thawing due to the milk content. If you choose to freeze, use freezer-safe containers and consume within one month. Let it thaw overnight in the fridge and give it a gentle stir before serving.
Reheating
Reheat gently on the stove over low heat while stirring constantly to prevent curdling or burning. Avoid high heat to maintain the smooth texture. Alternatively, warm individual portions in the microwave at medium power in short bursts, stirring in between.
FAQs
Can I use milk alternatives for this pudding?
Yes, you can substitute the whole milk with creamy alternatives like oat milk or almond milk, but keep in mind the taste and texture may vary slightly. Full-fat milk alternatives work best for a richer pudding.
Why is my pudding grainy or lumpy?
Graininess often happens if the cornstarch isn’t completely whisked in or if the pudding cooked at too high heat. Whisking constantly and tempering the eggs carefully helps keep the pudding smooth and creamy.
Can I make this pudding vegan?
To make a vegan version, substitute the dairy milk with a plant-based option and use a cornstarch or arrowroot thickener. Instead of egg yolks, you might try silken tofu or a commercial egg replacer, though texture will differ.
How long does homemade pudding last?
Stored properly in the fridge, this pudding stays fresh for up to five days. Always keep it covered to prevent it from absorbing fridge odors and to maintain the smooth texture.
Can I add flavors other than vanilla?
Absolutely! Try stirring in some cocoa powder for a chocolate version, or a pinch of cinnamon or nutmeg for warm spice notes. You can even fold in fruit purées to create flavored layers that complement the classic vanilla base.
Final Thoughts
There’s something truly special about making your own creamy, dreamy vanilla pudding right at home. This Homemade Vanilla Pudding Recipe invites you to slow down, enjoy the process, and savor the result—a luscious treat that’s as comforting as it is delicious. Trust me, once you try this recipe, it will become one of your kitchen favorites to whip up for any occasion. So grab your ingredients and get ready to impress your taste buds!
Print
Homemade Vanilla Pudding Recipe
- Prep Time: 10 minutes
- Cook Time: 15 minutes
- Total Time: 25 minutes
- Yield: 6 servings
- Category: Dessert
- Method: Stovetop
- Cuisine: American
Description
This homemade vanilla pudding recipe is a creamy, classic dessert made from scratch using simple ingredients like whole milk, cornstarch, sugar, egg yolks, butter, and vanilla. The pudding is cooked gently on the stovetop to achieve a smooth, luscious texture, perfect for serving chilled as a comforting treat.
Ingredients
Liquid Ingredients
- 3 cups whole milk
- 1 tablespoon butter
- 1 teaspoon pure vanilla extract (OR vanilla bean paste)
Dry Ingredients
- 3 heaping tablespoons cornstarch
- ½ cup granulated sugar (use ¾ cup for a sweeter pudding)
- ⅛ teaspoon salt
Other Ingredients
- 3 large egg yolks
Instructions
- Prepare egg yolks: Beat the egg yolks in a heat-proof bowl and set aside to have them ready for tempering.
- Mix cornstarch and milk: In a 3-4 quart saucepan, whisk together the cornstarch and ½ cup of the milk until smooth. Add the remaining milk, sugar, and salt, whisking until fully combined.
- Heat milk mixture: Place the saucepan over medium-high heat and bring the mixture to a boil while whisking constantly to prevent lumps and scorching.
- Temper egg yolks: Once the milk mixture boils, immediately remove it from the heat. Slowly pour the hot mixture in a steady stream into the beaten egg yolks while whisking constantly to blend thoroughly and avoid cooking the eggs prematurely.
- Cook pudding: Pour the blended mixture back into the saucepan and return it to medium to medium-high heat. Heat gently while whisking constantly until the mixture thickens noticeably, about 2-3 minutes. The pudding will still be slightly thinner than the final texture.
- Finish pudding: Remove the saucepan from heat, then whisk in the butter and vanilla extract or paste. Allow the pudding to cool for 5 minutes.
- Chill and serve: Pour the pudding into individual serving dishes and refrigerate for at least one hour, preferably several hours or overnight, until fully chilled and set.
- Storage: Keep the pudding refrigerated and consume within 5 days for best freshness.
Notes
- Use ¾ cup sugar if you prefer a sweeter pudding.
- Whisk constantly during cooking to prevent lumps and burning at the bottom of the pan.
- Tempering the egg yolks with hot milk mixture prevents scrambling the eggs.
- For richer flavor, vanilla bean paste can be used instead of extract.
- Store pudding covered in the refrigerator to avoid forming a skin on top.
- Pudding can be served plain or topped with fresh fruit, whipped cream, or a sprinkle of cinnamon.