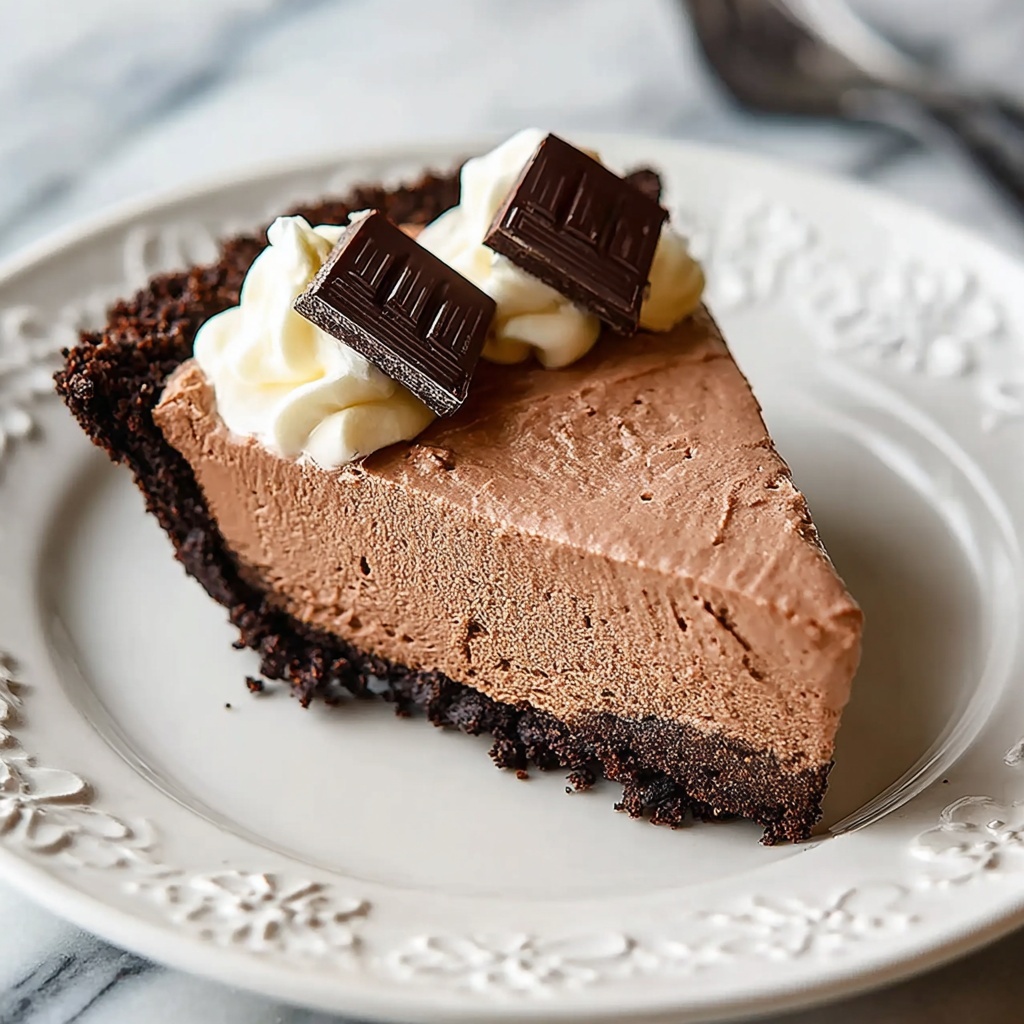
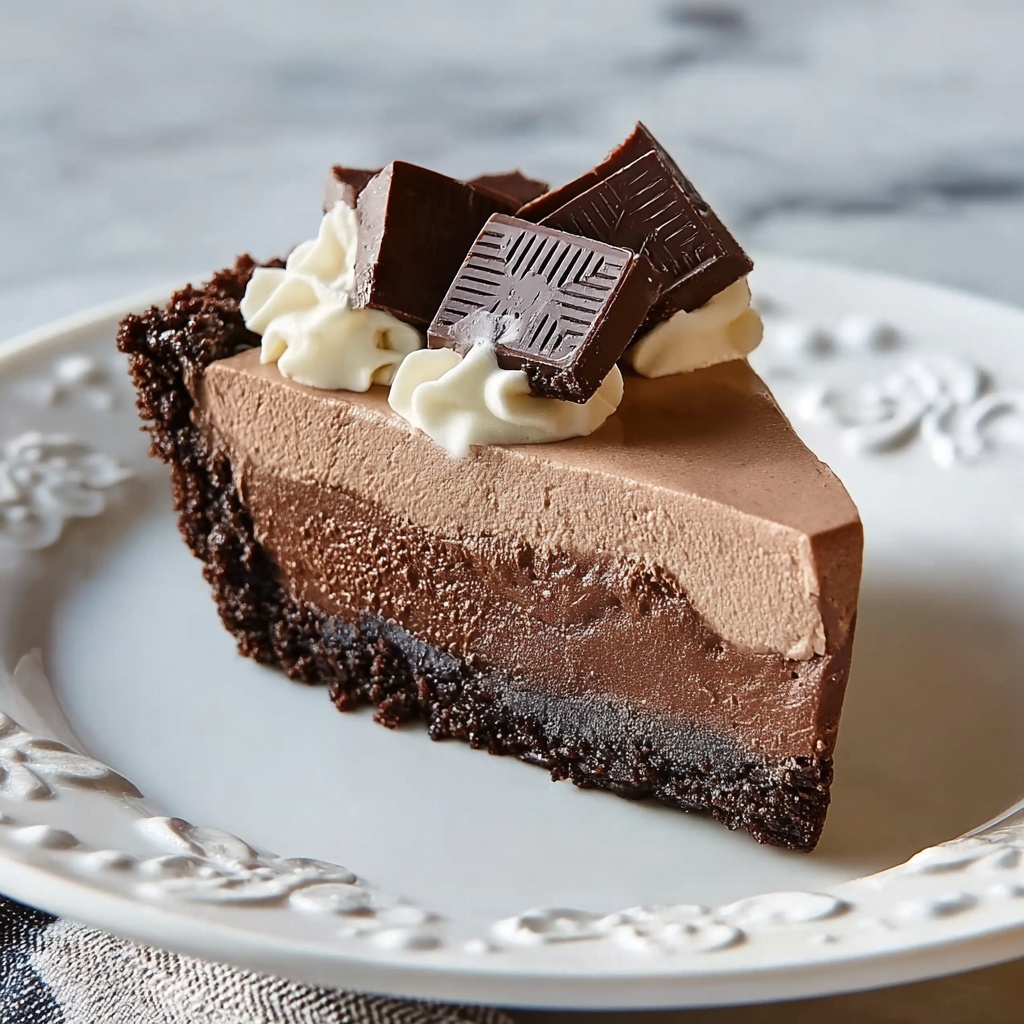
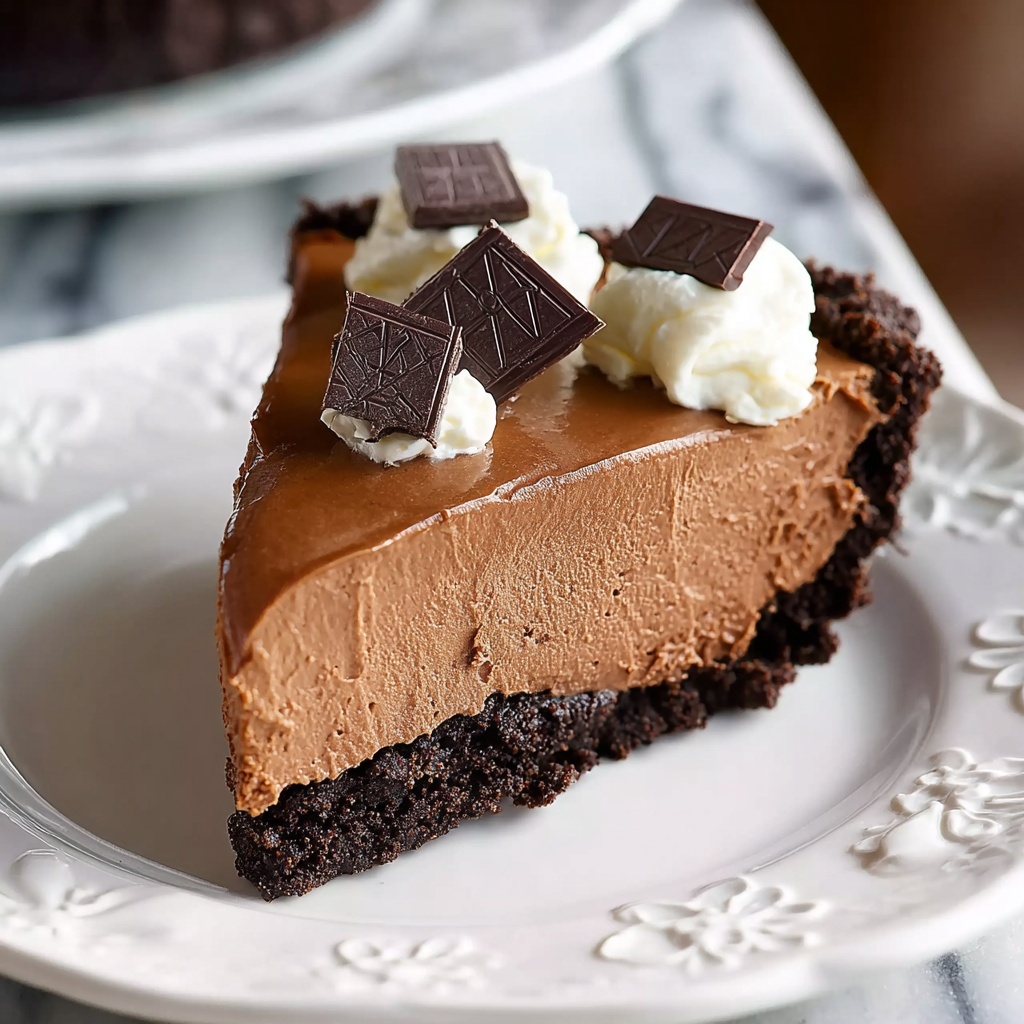
If you are searching for a show-stopping, luscious dessert that’s both indulgent and refreshingly cool, this Frozen Chocolate Pie Recipe is exactly what you need in your dessert lineup. With a crisp Oreo crust and a silky chocolate cream filling, this pie is a perfect balance of crunchy texture and smooth, velvety flavor that melts in your mouth. Whether you’re hosting a summer gathering or simply craving a delicious treat, this pie guarantees smiles and satisfied sweet cravings in every bite.
Ingredients You’ll Need
Getting started with this Frozen Chocolate Pie Recipe is delightfully simple. Each ingredient plays a key role, from the chocolate that brings richness to the filling to the crushed Oreos that create a perfectly textured crust. These components come together effortlessly, making the prep a breeze but still ensuring every flavor shines through.
- 18 Oreos, finely crushed: These create a sturdy and flavorful base with a hint of chocolate crunch.
- 3 tablespoons butter, melted: Acts as the binding agent for the crust, adding richness and helping it set firmly.
- 2 Symphony bars (4.25 oz each): Smooth, creamy chocolate that forms the decadent filling’s heart.
- 1/4 cup milk: Adds a little creaminess to the melted chocolate for a silky texture.
- 1 cup whipped cream: Makes the filling light and fluffy, balancing the intense chocolate.
- 1 teaspoon vanilla extract: Enhances all the chocolate flavors with a subtle warmth and depth.
How to Make Frozen Chocolate Pie Recipe
Step 1: Prepare the Crust
Start by preheating your oven to 375°F to get it ready for baking the crust. While it’s heating up, mix your finely crushed Oreos with the melted butter—this combination forms the base layer of your pie. Press the mixture firmly into a 9-inch pie plate, making sure it’s evenly distributed and packed down for a sturdy foundation.
Step 2: Bake and Cool Crust
Bake your Oreo crust for 8 to 10 minutes. This brief bake helps set the crust so it holds together nicely alongside the creamy filling. Once it’s out of the oven, allow the crust to cool completely to room temperature—this step is crucial to prevent the filling from melting upon contact.
Step 3: Prepare the Chocolate Filling
Place the Symphony chocolate bars and milk in a microwave-safe bowl. Heat them in short intervals, stirring gently in between, until the mixture is perfectly smooth and velvety. After melting, let this chocolate mixture cool slightly so it won’t deflate the whipped cream when combined.
Step 4: Fold in Whipped Cream
Whip your cream until stiff peaks form, which means it should stand firm when you lift your whisk. Gently fold the vanilla extract and the cooled chocolate mixture into the whipped cream. This technique keeps the filling airy and light while infusing it with rich chocolate flavor.
Step 5: Assemble and Freeze
Pour the fluffy chocolate filling into your cooled Oreo crust. Smooth it out evenly with a spatula, cover the pie with plastic wrap or foil, and place it in the freezer for at least three hours. This chilling time is what transforms the pie into the delightful frozen treat it’s meant to be.
Step 6: Prepare for Serving
Before serving your Frozen Chocolate Pie Recipe, let it sit at room temperature for about 10 minutes. This short wait softens the texture slightly, making it easier to slice and enjoy without losing its stunning frozen quality.
How to Serve Frozen Chocolate Pie Recipe
Garnishes
Enhance your dessert’s visual appeal and flavor by topping it with freshly whipped cream, chocolate shavings, or a sprinkle of crushed Oreos. A few fresh berries can add a lovely splash of color and a subtle contrasting tartness that brightens each bite.
Side Dishes
This pie pairs wonderfully with a simple cup of strong coffee or a rich espresso. For an extra indulgent experience, try serving it alongside a scoop of vanilla or mint chocolate chip ice cream to complement the chocolatey goodness with creamy, cool textures.
Creative Ways to Present
Serve slices of this Frozen Chocolate Pie Recipe on elegant dessert plates garnished with edible flowers or a drizzle of caramel or raspberry sauce. For festive occasions, individual mini pies in ramekins or mason jars also look charming and offer easy portioning for your guests.
Make Ahead and Storage
Storing Leftovers
Any leftover pie should be tightly covered with plastic wrap or stored in an airtight container in the freezer. This keeps the pie fresh and ready for a delicious treat anytime you crave it.
Freezing
This pie is designed to be kept frozen until serving. If you need to make it ahead of time, just follow the instructions through assembly and freeze it well. It will keep beautifully for up to two weeks without losing texture or flavor.
Reheating
Since this is a frozen dessert, reheating is not recommended. Instead, allow the pie to thaw slightly at room temperature for about 10 minutes to achieve the perfect, scoopable texture.
FAQs
Can I use a different cookie for the crust?
Absolutely! While Oreos provide a classic chocolate crunch, feel free to experiment with other cookies like graham crackers or chocolate wafers to change up the flavor and texture.
Is it possible to make this pie dairy-free?
You can swap the milk and whipped cream for dairy-free alternatives such as coconut milk and coconut whipped cream; just ensure the chocolate bars you use are dairy-free as well.
How long does the pie take to set in the freezer?
At least three hours are needed to let the pie freeze and firm up properly. If you want a firmer texture, you can leave it overnight without any issues.
Can I prepare this pie in advance for a party?
Yes! This Frozen Chocolate Pie Recipe is perfect for making ahead. Prepare it a day or two before your event and keep it in the freezer until you’re ready to serve.
What’s the best way to slice the pie?
Use a sharp knife warmed under hot water and wiped dry before slicing. This helps cut through the frozen filling smoothly without cracking the crust.
Final Thoughts
There is something truly magical about this Frozen Chocolate Pie Recipe that makes it a beloved treat for any occasion. It’s easy to whip up, incredibly delicious, and impresses every single time. I can’t wait for you to make it your own and enjoy that perfect harmony of crunchy crust and creamy, dreamy chocolate filling. Trust me, once you try this pie, it’s going to be a favorite you’ll want to make again and again.
Print
Frozen Chocolate Pie Recipe
- Prep Time: 30 minutes
- Cook Time: 10 minutes
- Total Time: 3 hours 40 minutes (including freezing)
- Yield: 8 servings
- Category: Dessert
- Method: Baking
- Cuisine: American
Description
This Frozen Chocolate Pie is a delicious no-bake dessert featuring a buttery Oreo crust filled with a creamy, chocolatey filling made from melted Symphony chocolate bars, whipped cream, and vanilla. It’s a perfect make-ahead treat that’s chilled until firm, offering a refreshing and indulgent finish to any meal.
Ingredients
Crust
- 18 Oreos, finely crushed
- 3 tablespoons butter, melted
Filling
- 2 Symphony bars (4.25 oz each)
- 1/4 cup milk
- 1 cup whipped cream
- 1 teaspoon vanilla extract
Instructions
- Preheat Oven. Preheat your oven to 375°F to prepare for baking the Oreo crust.
- Make the Crust. In a bowl, combine the finely crushed Oreos with the melted butter until well mixed. Press this mixture firmly and evenly into a 9-inch pie plate to form the crust.
- Bake the Crust. Bake the crust in the preheated oven for 8 to 10 minutes until it sets. Remove from the oven and allow it to cool completely before proceeding.
- Melt the Chocolate. In a microwave-safe bowl, melt the Symphony chocolate bars together with the milk. Heat in short intervals, stirring until the mixture is smooth. Allow it to cool slightly to avoid melting the whipped cream in the next step.
- Prepare the Filling. Whip the cream until stiff peaks form. Gently fold in the vanilla extract followed by the cooled chocolate mixture, blending everything carefully to keep the airy texture.
- Assemble the Pie. Pour the chocolate filling into the cooled Oreo crust. Cover the pie and place it in the freezer, freezing for at least 3 hours until firm.
- Serve. Before serving, let the pie sit at room temperature for about 10 minutes to soften slightly for the best texture and flavor.
Notes
- Ensure the crust is completely cooled before adding the filling to prevent melting.
- Use Symphony chocolate bars for the distinct creamy texture and flavor, but you can substitute with your favorite milk chocolate bars if unavailable.
- Letting the pie soften slightly before serving enhances the creamy texture.
- For easier crust pressing, you can use a flat-bottomed glass or measuring cup.