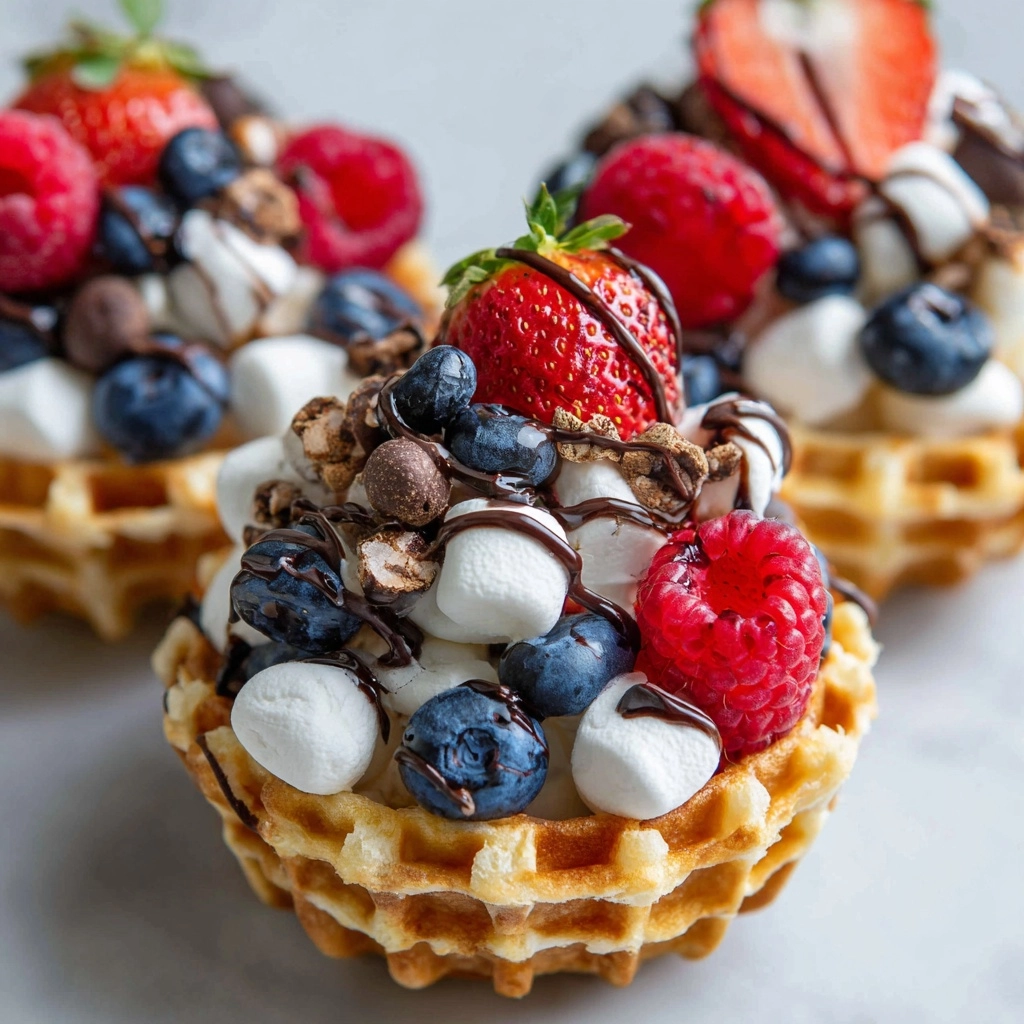
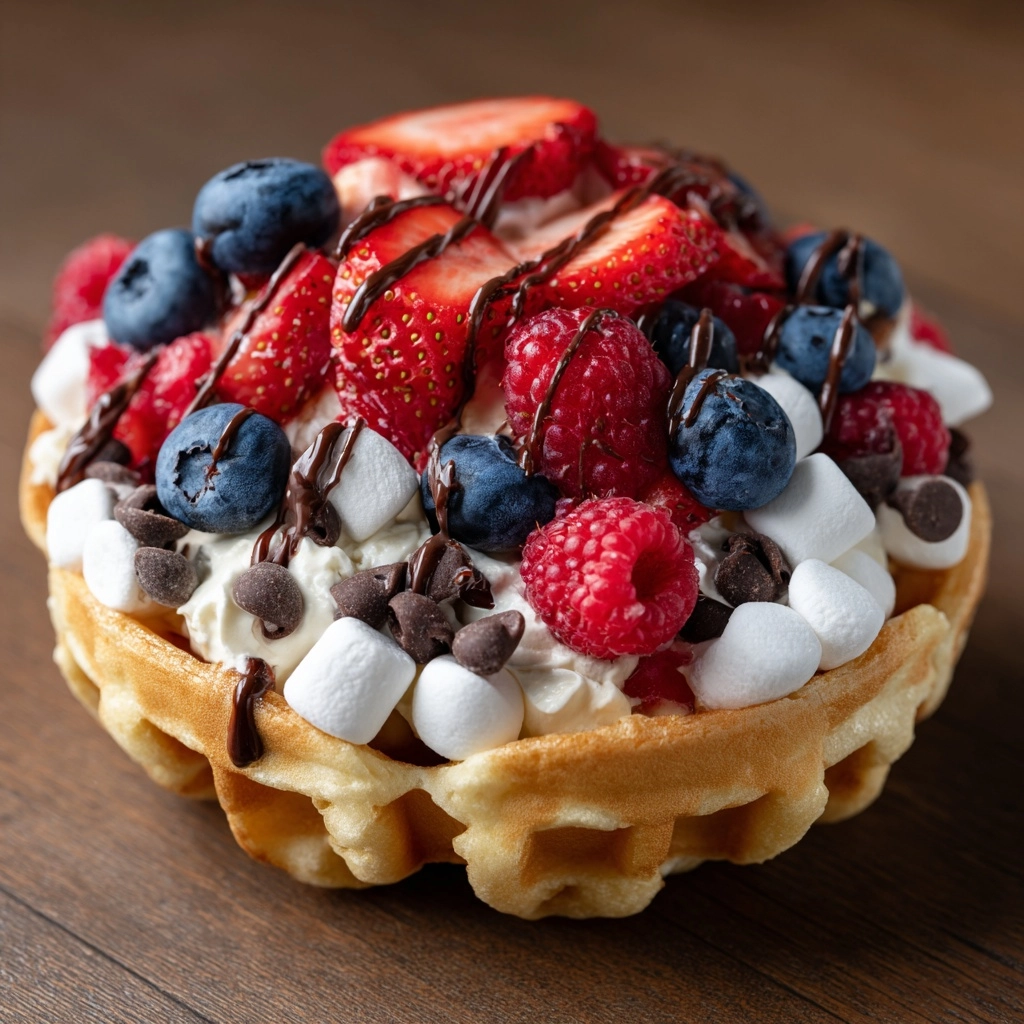
Meet your new favorite campfire treat: Campfire Cones! These irresistible little bundles of joy are a playful (and less-messy) twist on classic s’mores, stuffed to the brim with gooey marshmallows, melty chocolate, fruity bites, and crunchy surprises—then toasted until everything melds together in a symphony of flavor. Whether you’re gathering around the fire with family, enjoying a sunny backyard day, or looking to wow your next group of campers, Campfire Cones bring loads of fun, nostalgia, and hands-on deliciousness to any occasion. Trust me, these cones are about to become the must-have memory-maker of your outdoor adventures!
Ingredients You’ll Need
The beauty of Campfire Cones lies in their simplicity—each ingredient brings something essential to the magic. From sweet to crunchy, every layer counts, and you’ll love mixing and matching to your heart’s content!
- Sugar cones: The crispy outer shell, perfectly sized for holding all that deliciousness and sturdy enough to go right into the heat.
- Mini marshmallows: The heart of gooey goodness, melting into every nook and cranny of the cone.
- Semisweet chocolate chips: Because what’s a campfire treat without melty chocolate oozing through every bite?
- Peanut butter chips: A salty-sweet swirl that pairs perfectly with the chocolate and fruit.
- Sliced bananas: Creamy, tender, and so good when warm, bananas make each bite extra luxurious.
- Chopped strawberries: Fresh berry bursts that balance the sticky sweetness with bright, tangy flavor.
- Crushed graham crackers: That iconic campfire crunch, echoing classic s’mores but with a fun little twist.
- Aluminum foil: Essential for keeping your cones snuggly wrapped and mess-free while they melt over the flames.
How to Make Campfire Cones
Step 1: Prep Your Cones
Get your sugar cones ready and gather all your sweet add-ins on the counter or picnic table. Lay out your marshmallows, chocolate chips, peanut butter chips, bananas, strawberries, and crushed graham crackers in little bowls or piles—this makes the assembly super easy and fun for helpers of all ages!
Step 2: Fill with Deliciousness
Start layering the fillings inside each cone, packing them as tightly as you can without crushing the cone. Alternate the marshmallows, chocolate and peanut butter chips, fruit, and graham cracker crumbles, making sure every layer gets a bit of each flavor. It’s totally customizable, so feel free to get creative!
Step 3: Wrap It Up
Cut squares of aluminum foil large enough to completely wrap your filled sugar cones. Carefully wrap each cone, making sure to seal the edges tightly so none of the gooey filling escapes during roasting.
Step 4: Get Toasty
Place the foil-wrapped Campfire Cones on a grill grate over glowing campfire coals or directly onto hot embers. Turn them occasionally with tongs to ensure even melting. After about 5 to 7 minutes, everything inside should be perfectly gooey and melted!
Step 5: Unwrap & Enjoy
Let the cones cool just enough so you can handle them safely, then carefully unwrap. Dive in while they’re still warm for chocolatey, marshmallow-packed bites in every crunchy, fruity mouthful!
How to Serve Campfire Cones
Garnishes
Add a flourish to your Campfire Cones by sprinkling a little extra crushed graham cracker or drizzling a touch of chocolate or caramel sauce over the top right before serving. A dash of rainbow sprinkles is always a hit with kids (and grown-ups who love to play with their food!).
Side Dishes
These gooey cones pair perfectly with fresh summer berries, a scoop of ice cream, or even a bowl of cold fruit salad. If you’re hosting a backyard BBQ, serve Campfire Cones as a sweet treat after grilled burgers or veggie skewers.
Creative Ways to Present
For a crowd, set up a Campfire Cones bar—fill bowls with extra mix-ins like caramel chips, coconut flakes, or crumbled cookies and let everyone build their own masterpiece. Hand each guest a foil-wrapped cone with their name written on the foil for a personalized touch!
Make Ahead and Storage
Storing Leftovers
If you somehow have leftover Campfire Cones (which rarely happens!), let them cool completely, then store them in their foil wrappings at room temperature for up to a day. They’re best enjoyed fresh, but even the next day, they make a super tasty snack.
Freezing
You can freeze assembled, unbaked Campfire Cones in their foil for up to 2 weeks—just pop them into a zip-top freezer bag. When you’re ready to enjoy, cook them straight from frozen, adding 2-3 minutes to the heating time.
Reheating
To reheat, simply place the foil-wrapped cone back over the campfire or in the oven at 350°F for a few minutes, until everything is melted and warm again. Keep an eye out so the cones don’t over-toast or burn.
FAQs
Can I make Campfire Cones without a campfire?
Absolutely! You can heat your wrapped cones in a preheated oven at 350°F for about 8 minutes, or even toss them on a grill. They’re just as fun (and delicious) during a rainy day indoors!
What other fillings work well in Campfire Cones?
Endless possibilities—try adding caramel chips, Nutella, coconut flakes, mini cookies, butterscotch chips, or even chopped nuts for a personalized touch.
Are Campfire Cones allergy-friendly?
You can easily adjust the fixings to fit most allergies! Opt for dairy-free chocolate and marshmallows, swap out nut chips for safe alternatives, and pile on the fruit for a yummy allergy-friendly treat.
Can kids make Campfire Cones themselves?
Absolutely! This recipe is perfect for kids to help layer the ingredients into the cones. Just make sure an adult handles the campfire and hot foil for safety.
What’s the best way to serve these at a party?
Set up a “build-your-own” Campfire Cones station with lots of mix-ins, wrap each cone in foil, and then label them with names or fun stickers before warming on the grill or fire.
Final Thoughts
Campfire Cones are the ultimate way to bring a little joy (and maybe a bit of chocolate on your chin) to any outdoor get-together. They’re endlessly adaptable, crowd-pleasing, and so simple to make. Next time your friends or family want something special and shareable, treat them to these sweet, toasty cones—you’ll make memories that last far longer than the last bite!
Print
Campfire Cones Recipe
- Prep Time: 10 minutes
- Cook Time: 7 minutes
- Total Time: 17 minutes
- Yield: 4 cones
- Category: Dessert
- Method: Campfire
- Cuisine: American
- Diet: Non-Vegetarian
Description
Campfire Cones are a fun and delicious twist on traditional s’mores, perfect for outdoor gatherings or camping trips. These sweet treats are easy to customize and even easier to enjoy!
Ingredients
Sugar Cone:
4 pieces
- Mini Marshmallows: 1 cup
- Semisweet Chocolate Chips: 1/2 cup
- Peanut Butter Chips: 1/2 cup
- Sliced Bananas: 1
- Chopped Strawberries: 1/2 cup
- Crushed Graham Crackers: 1/2 cup
- Aluminum Foil
Instructions
- Prepare Fillings: Fill each sugar cone with mini marshmallows, chocolate chips, peanut butter chips, banana slices, chopped strawberries, and crushed graham crackers.
- Wrap Cones: Wrap each filled cone tightly in aluminum foil.
- Cook Over Fire: Place the foil-wrapped cones on a grill grate over a campfire or hot coals for 5–7 minutes, turning occasionally, until ingredients are melted and gooey.
- Enjoy: Carefully unwrap and enjoy the warm, gooey campfire cones.
Notes
- You can customize with other fillings like caramel chips, Nutella, shredded coconut, or mini cookies.
- This recipe is perfect for kids and can be prepped ahead for convenience.
Nutrition
- Serving Size: 1 cone
- Calories: 285
- Sugar: 24g
- Sodium: 85mg
- Fat: 12g
- Saturated Fat: 6g
- Unsaturated Fat: 5g
- Trans Fat: 0g
- Carbohydrates: 39g
- Fiber: 2g
- Protein: 3g
- Cholesterol: 5mg