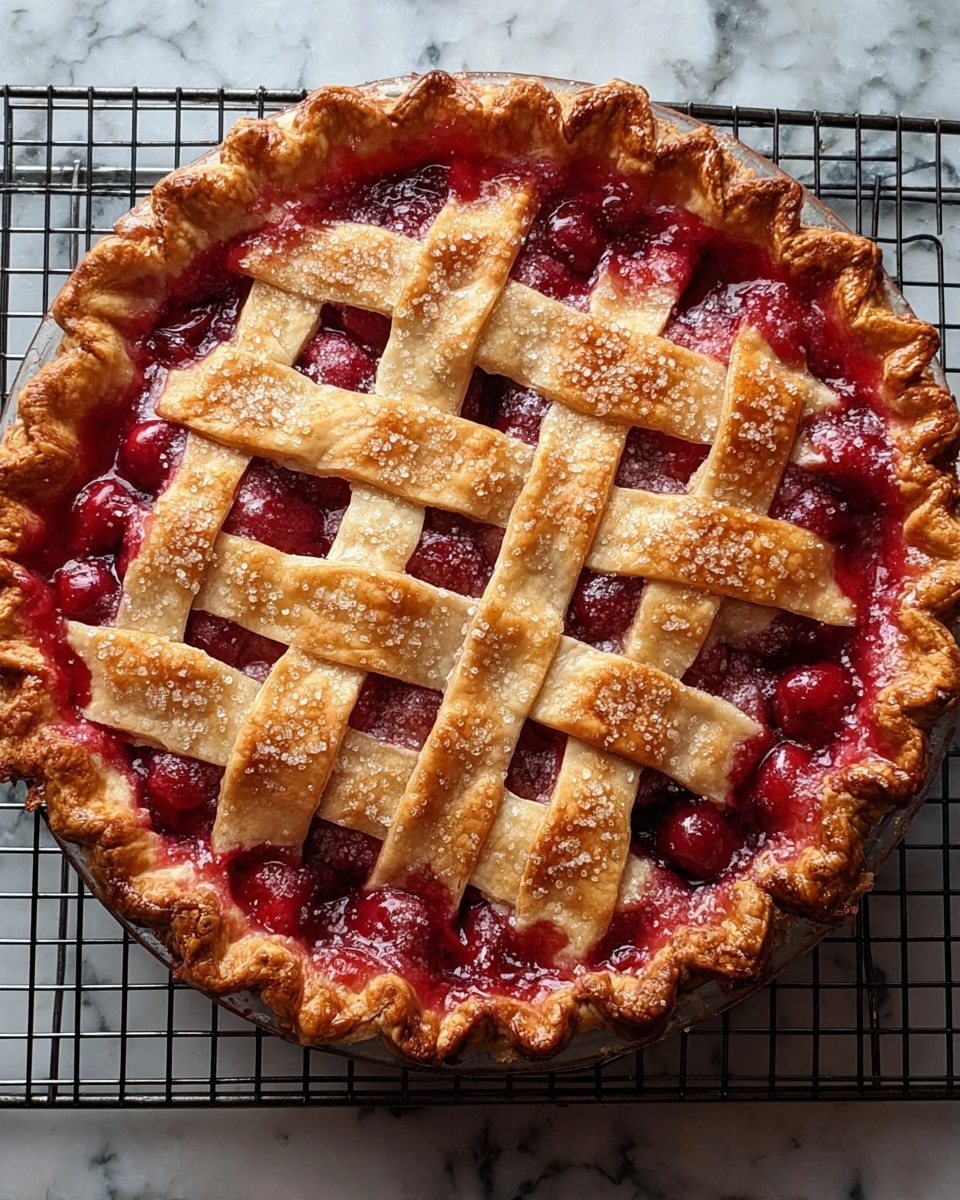
If there’s one dessert that captures the essence of summer’s sweetest moments, it’s this Baked Fresh Cherry Pie Recipe. Bursting with juicy cherries held together by a perfectly flaky crust, this pie brings a comforting, homey feeling to any table. Each bite offers that ideal balance of sweetness and tartness, elevated by a hint of almond and cinnamon, making it a true celebration of fresh fruit and classic baking. I can’t wait to share all the details so you can enjoy this timeless treat with your friends and family!
Ingredients You’ll Need
The magic behind a truly memorable cherry pie lies in using simple, high-quality ingredients that come together beautifully. Each component plays a vital role, from the fresh cherries providing bright flavor and color to the buttery crust delivering that flaky texture we all crave.
- Double pie crust: Whether homemade or store-bought, this forms the golden, flaky foundation and top layer of your pie.
- Fresh sweet cherries (6 cups, pitted): The star ingredient, juicy and naturally vibrant, giving the pie its signature burst of flavor.
- Granulated sugar (3/4 cup): Sweetens the filling just enough to complement the cherries without overwhelming them.
- Cornstarch (1/4 cup): Acts as a thickener so your filling sets perfectly and isn’t runny after baking.
- Lemon juice (1 tablespoon): Adds brightness and a touch of acidity to balance the cherries’ sweetness.
- Almond extract (1/2 teaspoon): Provides a subtle, nutty aroma that pairs beautifully with cherry flavor.
- Ground cinnamon (1/4 teaspoon): A gentle warmth that deepens the overall taste without overpowering.
- Salt (1/8 teaspoon): Enhances the flavors and balances the sweetness perfectly.
- Butter (1 tablespoon, cut into small pieces): Adds richness and a silky finish to the filling.
- Egg (1, beaten): Used as an egg wash to achieve that irresistible golden shine on the crust.
- Coarse sugar (1 tablespoon, optional): Sprinkled on top for a touch of crunch and sparkle.
How to Make Baked Fresh Cherry Pie Recipe
Step 1: Prepare the Oven and Pie Crust
Start by preheating your oven to a toasty 400°F (200°C). Roll out the bottom pie crust and gently fit it into your 9-inch pie dish, making sure there are no air pockets. This careful preparation ensures a sturdy base to pile on all those luscious cherries.
Step 2: Mix the Cherry Filling
Grab a large bowl and toss together the pitted cherries, sugar, cornstarch, lemon juice, almond extract, cinnamon, and salt. Give it a good mix until every cherry is evenly coated with this sweet and fragrant blend. The cornstarch here is your secret weapon for a thick, spoonable filling.
Step 3: Assemble the Pie
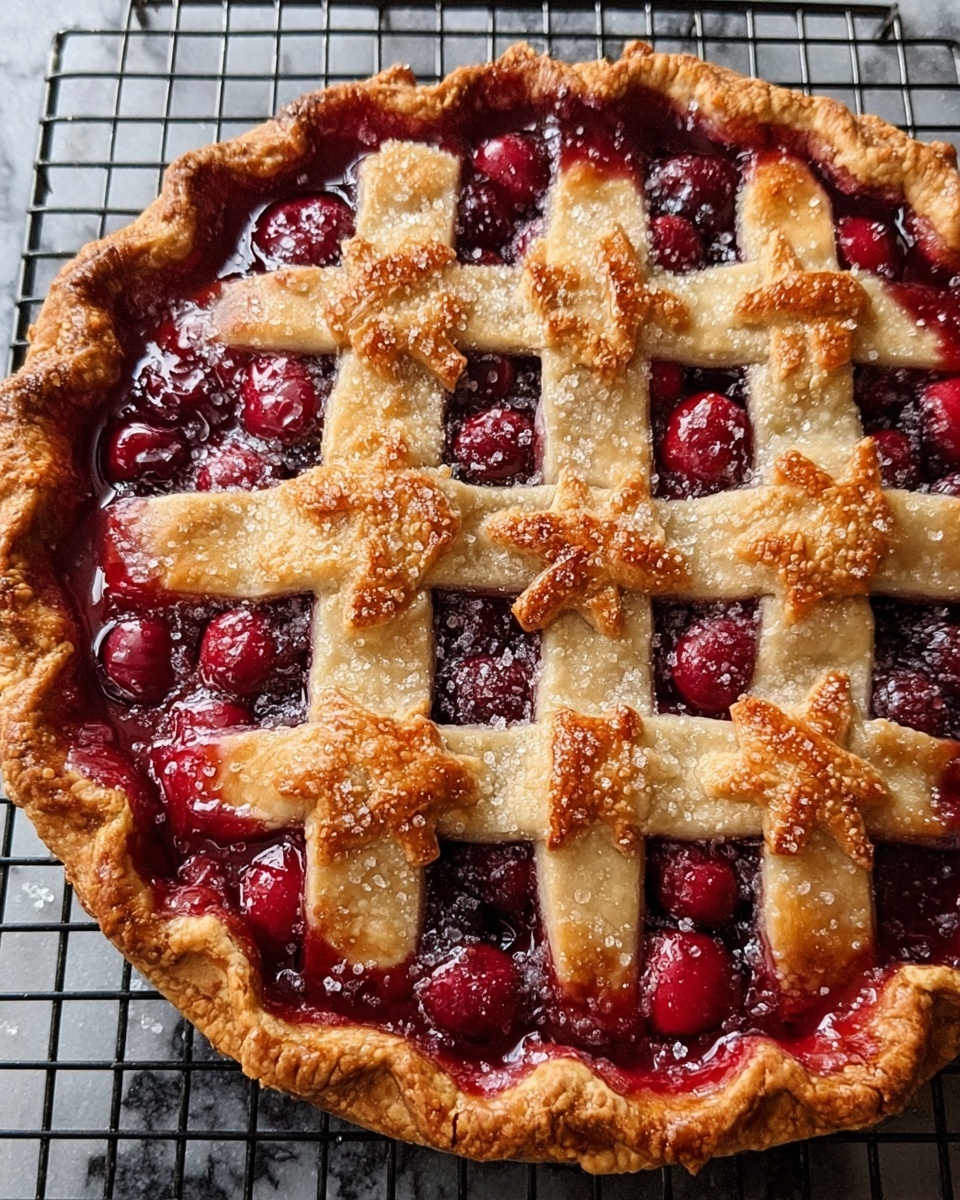
Pour the cherry mixture into the prepared crust, spreading it out evenly. Dot the filling with small pieces of butter—this will melt into little pockets of richness as your pie bakes. Next, roll out the top crust and place it over your cherries, deciding if you want to go classic with slits for steam or create an eye-catching lattice pattern. Trim the edges neatly and crimp them to seal in all that cherry goodness.
Step 4: Add the Finishing Touches
Brush the top crust generously with the beaten egg for that glossy golden finish. If you love a little sparkle and crunch, sprinkle coarse sugar on top. This step might be small, but it turns your pie from delicious to irresistible.
Step 5: Bake to Perfection
Place your pie on a baking sheet to catch any drips, and pop it into the oven. Bake for 20 minutes at 400°F, then turn the heat down to 350°F (175°C) and continue baking for another 35 to 40 minutes. You’ll know it’s done when the crust is a gorgeous golden brown and the filling is bubby and fragrant. Let your masterpiece cool completely to set before slicing.
How to Serve Baked Fresh Cherry Pie Recipe
Garnishes
For an extra touch of indulgence, serve your pie with a scoop of vanilla ice cream or a dollop of freshly whipped cream. A sprinkle of toasted almond slivers can add a delightful crunch that complements the almond extract in the filling. Fresh mint leaves offer a refreshing pop of color and aroma if you want something unexpected but lovely.
Side Dishes
This cherry pie shines all on its own but pairs wonderfully with light, fruity accompaniments like a mixed berry salad or a citrus sorbet. If you’re serving at a larger meal, consider a simple green salad with a tangy vinaigrette to balance the richness of the pie’s buttery crust and sweet filling.
Creative Ways to Present
Elevate your pie presentation by cutting neat, uniform slices and plating each with a drizzle of warm chocolate or caramel sauce. For a charming rustic touch, serve small individual pies using mini tart pans. If you want to surprise your guests, bake the pie inside a cast-iron skillet and serve it directly from there for a cozy, homey vibe.
Make Ahead and Storage
Storing Leftovers
Once your Baked Fresh Cherry Pie Recipe has cooled, cover it loosely with plastic wrap or foil and keep it in the refrigerator. It should stay fresh for up to 4 days, retaining much of its flavor and texture. This means you can enjoy your cherry goodness for several days without worry.
Freezing
If you’d like to keep this deliciousness longer, freeze the unbaked pie wrapped tightly in plastic wrap and foil for up to 3 months. When ready to bake, thaw it overnight in the refrigerator, then proceed with baking instructions. For baked leftovers, wrap slices individually and freeze; thaw them in the fridge the day before eating.
Reheating
To warm up leftover slices, place them in a preheated oven at 350°F (175°C) for about 15 minutes until heated through and the crust regains its crispness. Avoid microwaving if you want to preserve that wonderful flaky texture; the oven method is your best friend here.
FAQs
Can I use frozen cherries instead of fresh?
You absolutely can substitute frozen cherries if fresh ones aren’t available—just thaw and drain them well to avoid excess liquid. You might also want to adjust the cornstarch slightly to ensure the filling thickens nicely.
What if I prefer a tart cherry pie?
Using tart cherries is a fantastic choice! They give a lovely tangy flavor, but you should increase the sugar to about 1 cup to balance the tartness. The rest of the recipe remains the same.
Can I make the pie crust from scratch?
Definitely! Homemade pie crust adds a special personal touch, and its flaky texture is unbeatable. Just make sure your dough is well chilled before rolling to make handling easier and the baking results perfect.
Why does my cherry pie filling sometimes turn out runny?
Runny filling usually happens if the thickener isn’t used enough or the pie wasn’t baked long enough. Using the right amount of cornstarch and baking until the filling bubbles will ensure a set, luscious filling every time.
How long should the pie cool before serving?
Cooling for at least 2 hours is key. This resting time allows the filling to thicken and set, making slicing cleaner and helping each piece hold its shape beautifully on the plate.
Final Thoughts
If you love the idea of a dessert that captures the juicy, sweet, and slightly tangy magic of cherries wrapped in flaky golden crust, this Baked Fresh Cherry Pie Recipe is a must-try. It’s a classic that never loses its charm and always delights the senses. Trust me, once you bake this pie, it will become a cherished favorite you’ll want to make again and again. So roll up your sleeves and get ready to share a slice of pure happiness with everyone around your table!
Print
Baked Fresh Cherry Pie Recipe
- Prep Time: 30 minutes
- Cook Time: 1 hour
- Total Time: 1 hour 30 minutes
- Yield: 8 slices
- Category: Dessert
- Method: Baking
- Cuisine: American
- Diet: Vegetarian
Description
This Baked Fresh Cherry Pie features a flaky double crust filled with juicy, sweet cherries perfectly balanced with hints of almond extract and cinnamon. Ideal for summer gatherings or any dessert craving, this classic American pie offers a luscious, bubbling fruit filling enclosed in a golden-brown crust, delivering a delightful homemade treat that’s both comforting and crowd-pleasing.
Ingredients
Pie Crust
- 1 double pie crust (homemade or store-bought)
Filling
- 6 cups fresh sweet cherries, pitted
- 3/4 cup granulated sugar
- 1/4 cup cornstarch
- 1 tablespoon lemon juice
- 1/2 teaspoon almond extract
- 1/4 teaspoon ground cinnamon
- 1/8 teaspoon salt
- 1 tablespoon butter, cut into small pieces
Topping
- 1 egg, beaten (for egg wash)
- 1 tablespoon coarse sugar (for sprinkling, optional)
Instructions
- Preheat Oven: Preheat your oven to 400°F (200°C) to prepare for baking the pie.
- Prepare Bottom Crust: Roll out the bottom pie crust and carefully fit it into a 9-inch pie dish, ensuring it is evenly spread and there are no air bubbles.
- Make Cherry Filling: In a large bowl, combine the pitted cherries with sugar, cornstarch, lemon juice, almond extract, cinnamon, and salt. Stir thoroughly so the cherries are evenly coated with the mixture.
- Assemble Pie: Pour the cherry mixture into the prepared bottom crust. Dot the top of the filling with small pieces of butter to enrich the flavor and texture.
- Add Top Crust: Roll out the top crust and place it over the cherry filling. You can cover it fully, making slits for steam to escape, or create a lattice pattern. Trim and crimp the edges to seal the pie securely.
- Egg Wash and Sugar: Brush the top crust with the beaten egg to create a golden finish when baked. Sprinkle with coarse sugar if desired to add texture and sweetness.
- Bake Pie: Place the pie on a baking sheet and bake at 400°F (200°C) for 20 minutes. Then reduce the oven temperature to 350°F (175°C) and bake for an additional 35–40 minutes, or until the crust is golden brown and the filling is bubbling.
- Cool: Remove the pie from the oven and allow it to cool completely, preferably for at least 2 hours, to ensure the filling sets properly before slicing and serving.
Notes
- You can use tart cherries instead of sweet cherries; if so, increase the sugar to 1 cup for balanced sweetness.
- A cherry pitter is recommended to speed up the pitting process.
- For best results, let the pie cool thoroughly before slicing to allow the filling to firm up.