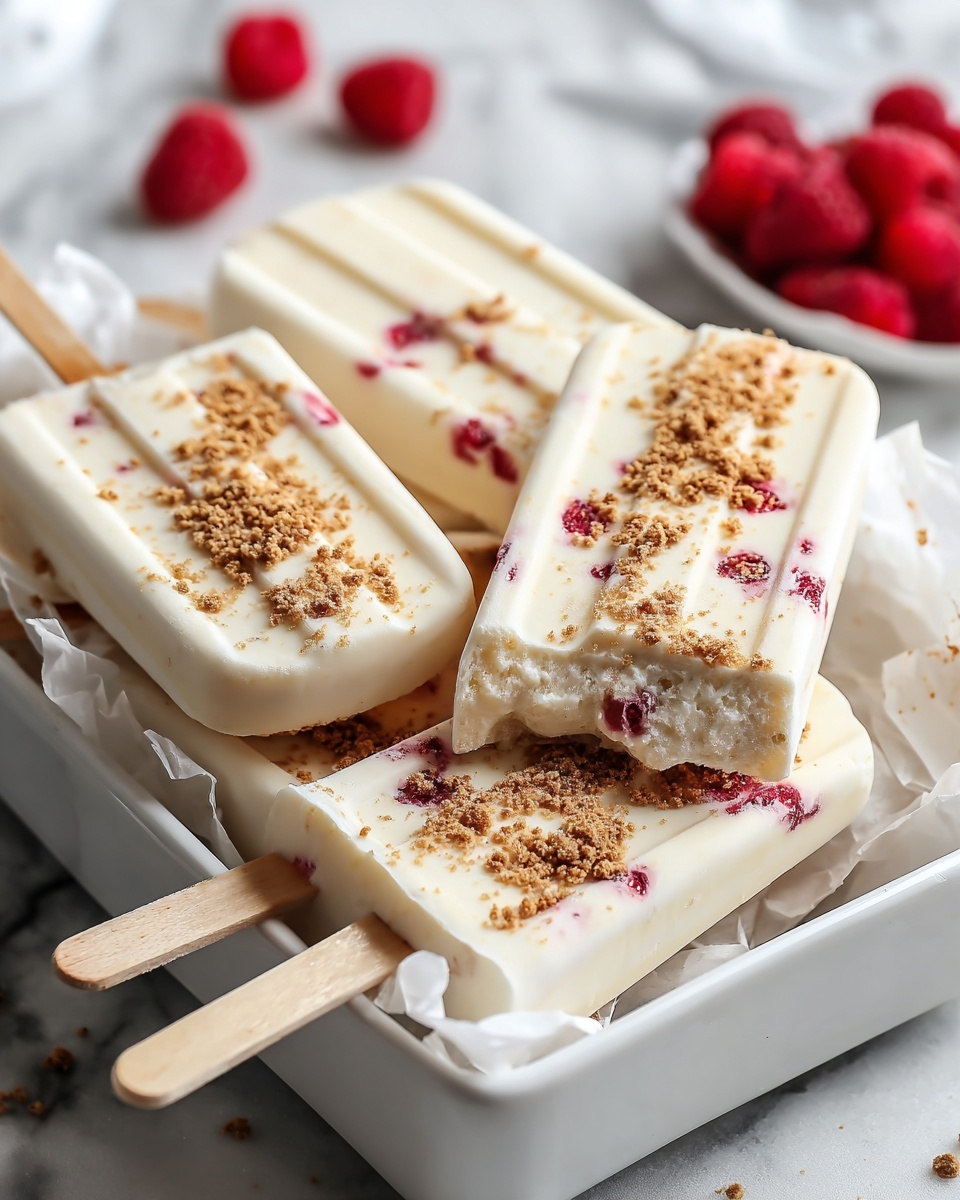
If you have a soft spot for tropical flavors and a craving for something cool and indulgent, you are going to absolutely love this Creamy Coconut Ice Cream Bars Recipe. It combines the lusciousness of coconut cream with a smooth, velvety texture that melts in your mouth, making it a perfect treat for warm days or when you just need that little moment of sweet luxury. These bars are incredibly easy to make at home and deliver so much richness without any complicated fuss, turning a handful of simple ingredients into a refreshing delight that feels like a vacation in every bite.
Ingredients You’ll Need
Nothing fancy here, just straightforward ingredients that work in harmony to create those silky, creamy bars bursting with coconut goodness. Each one plays an important role, whether it’s building the creamy texture, adding natural sweetness, or enhancing that tropical flavor.
- Milk powder: Adds creaminess and a subtle milky richness that complements the coconut perfectly.
- Sugar: Balances the flavors with just the right amount of sweetness.
- Condensed milk: Gives a smooth texture and extra sweetness, making every bite irresistibly luscious.
- Coconut cream (or whipping cream): The star ingredient that delivers rich, tropical flavor and velvety texture.
- Coconut milk (or regular milk): Lights up the coconut essence while keeping the bars perfectly soft.
- Cornstarch: Helps thicken the mixture gently for that ideal creamy consistency.
- Food flavoring (optional): Vanilla or fruit essences are great for adding a subtle personal touch if you want to get creative.
How to Make Creamy Coconut Ice Cream Bars Recipe
Step 1: Blend the Base Ingredients
Start by combining the coconut cream, coconut milk, milk powder, sugar, and condensed milk in a medium pot. This mixture is the foundation, and blending them well ensures every scoop is smooth and flavorful right from the start.
Step 2: Gently Heat and Stir
Place the pot over low heat, stirring constantly. This careful warming prevents burning and helps the sugar dissolve evenly, setting the stage for that creamy texture without lumps or scorching.
Step 3: Thicken with Cornstarch
Slowly sprinkle the cornstarch into the warm mixture while stirring continuously. This step is the secret to achieving that perfect thick and creamy texture that holds together beautifully once frozen.
Step 4: Add Flavor Boost (Optional)
Take your mixture off the heat and stir in any food flavoring you like, such as vanilla or fruit essence. This little touch can elevate the bars, making them uniquely yours and adding delightful aroma and taste layers.
Step 5: Pour into Molds and Freeze
Pour the luscious mixture into ice cream molds, carefully insert the popsicle sticks, and pop them into the freezer. Let them chill for at least 4 hours to set fully into creamy bars that are easy to enjoy and perfect for cooling down.
Step 6: Unmold and Enjoy
Once frozen solid, remove the bars from the molds and treat yourself to the creamy, coconut-rich goodness you just crafted with your own hands. It’s a simple pleasure that never fails to delight.
How to Serve Creamy Coconut Ice Cream Bars Recipe
Garnishes
Elevate your bars with a sprinkling of toasted shredded coconut or a drizzle of dark chocolate. These garnishes add texture and contrast, making each bite even more exciting and visually appealing.
Side Dishes
Pair your coconut ice cream bars with fresh tropical fruits like mango slices or pineapple chunks. The bright, juicy fruits enhance the creamy bars and add a refreshing burst of natural sweetness.
Creative Ways to Present
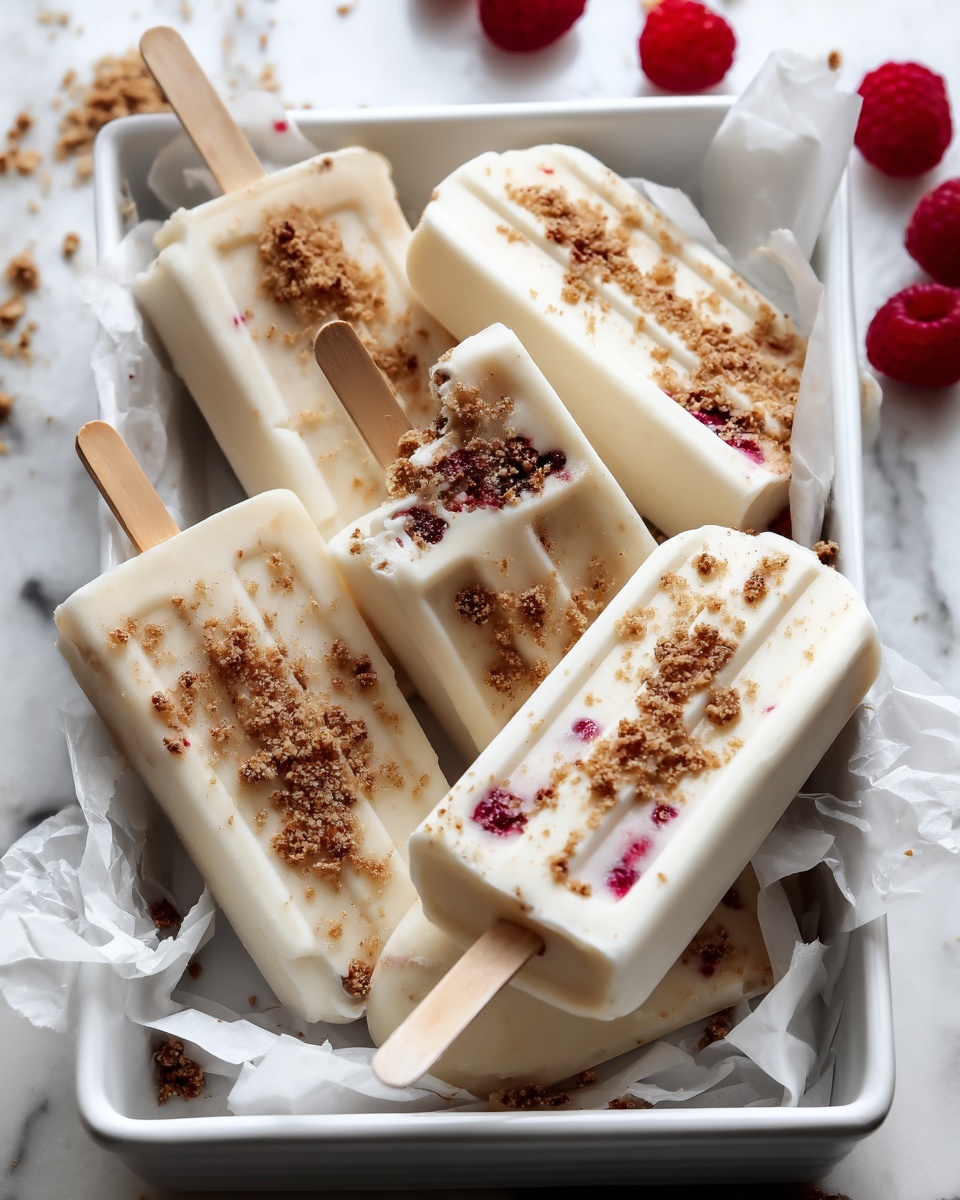
For a fun twist, serve the bars on a decorative wooden board with edible flowers or as part of a tropical dessert platter. Wrapping them individually in colorful parchment paper or placing them in small clear bags tied with twine makes a charming gift or party treat.
Make Ahead and Storage
Storing Leftovers
If you happen to have leftovers (which might be tough), keep them stored in an airtight container in the freezer. Properly sealed, they will maintain their creamy texture and flavor without picking up freezer odors.
Freezing
This recipe is made for freezing. After pouring the mixture into molds, letting it set for at least 4 hours ensures the bars will freeze evenly and stay creamy without icy crunchiness. Make sure your freezer is set to a cold, steady temperature.
Reheating
These bars are best enjoyed straight from the freezer. If you’d like softer bars, let them sit at room temperature for a few minutes before serving, but avoid microwaving, as it will melt the bars instead of gently softening them.
FAQs
Can I use regular milk instead of coconut milk?
Yes, regular milk can be substituted if you prefer a milder coconut flavor. Using coconut milk, however, intensifies the taste and richness that makes this recipe so special.
What if I don’t have an ice cream mold?
No worries! You can pour the mixture into a shallow dish and freeze it, stirring every 30 minutes or so to break up ice crystals, then cut into bars once firm.
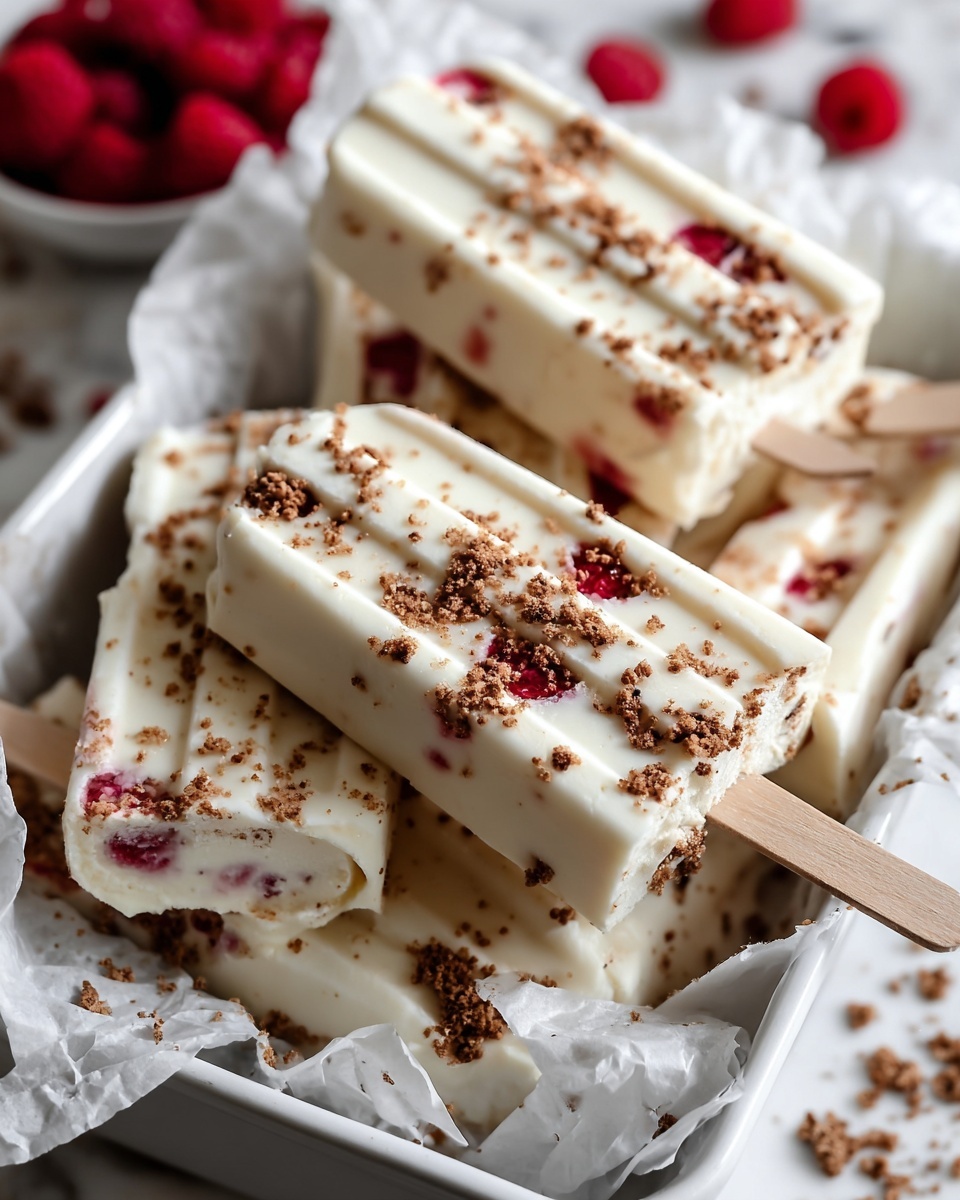
Can I add fruit to the ice cream bars?
Absolutely! Small pieces of fruit like mango, pineapple, or even berries can be folded into the mixture before freezing for added texture and flavor bursts.
How long do these ice cream bars last in the freezer?
Properly stored in an airtight container, they should stay fresh and delicious for up to 2 weeks without losing that creamy texture.
Is this recipe dairy-free?
Use coconut cream and coconut milk as recommended, and replace milk powder and condensed milk with dairy-free alternatives to make it fully vegan and dairy-free.
Final Thoughts
Once you try this Creamy Coconut Ice Cream Bars Recipe, you’ll wonder why you ever bought store-bought! It’s an easy, joyful way to bring tropical paradise into your own kitchen without any fuss, perfect for sharing with family and friends or sneaking a quiet moment to yourself. Grab these simple ingredients, get creative with flavors, and treat yourself to a batch of blissfully creamy coconut bars that will brighten your day every time.
Print
Creamy Coconut Ice Cream Bars Recipe
- Prep Time: 10 minutes
- Cook Time: 10 minutes
- Total Time: 4 hours 20 minutes
- Yield: 4 to 6 ice cream bars
- Category: Dessert
- Method: Stovetop
- Cuisine: International
Description
These creamy ice cream bars offer a delightful blend of coconut cream and milk with a smooth, thick texture achieved through gentle stovetop cooking. Infused with optional vanilla or fruit essence, this homemade frozen treat is simple to make and perfect for a refreshing dessert.
Ingredients
Base Ingredients
- 35g milk powder
- 15g sugar
- 10g condensed milk
- 160g coconut cream (or whipping cream)
- 200g coconut milk (or regular milk)
- 10g cornstarch
- 2g food flavoring (optional, e.g., vanilla or fruit essence)
Instructions
- Combine Ingredients: In a medium pot, mix the coconut cream, coconut milk, milk powder, sugar, and condensed milk until all ingredients are fully blended.
- Heat Mixture: Place the pot over low heat and stir constantly to prevent burning or lumps from forming in the mixture.
- Thicken Mixture: Slowly add the cornstarch while stirring continuously until the mixture thickens to a creamy consistency.
- Add Flavoring: Remove the pot from heat and stir in the food flavoring of your choice, such as vanilla or fruit essence, for added aroma and taste.
- Freeze Ice Cream Bars: Pour the thickened mixture into ice cream molds, insert popsicle sticks, and place them in the freezer for at least 4 hours until fully set.
- Serve: Once frozen, remove the ice cream bars from the molds and enjoy your creamy, homemade frozen treat!
Notes
- Use coconut cream for a richer, dairy-free option, or substitute with whipping cream for a traditional creamy texture.
- Adjust the sugar quantity to taste, especially if using sweetened condensed milk.
- Ensure constant stirring during heating to prevent lumps and sticking.
- Freezing time can be extended to improve firmness.
- Flavoring is optional but recommended for added depth and aroma.