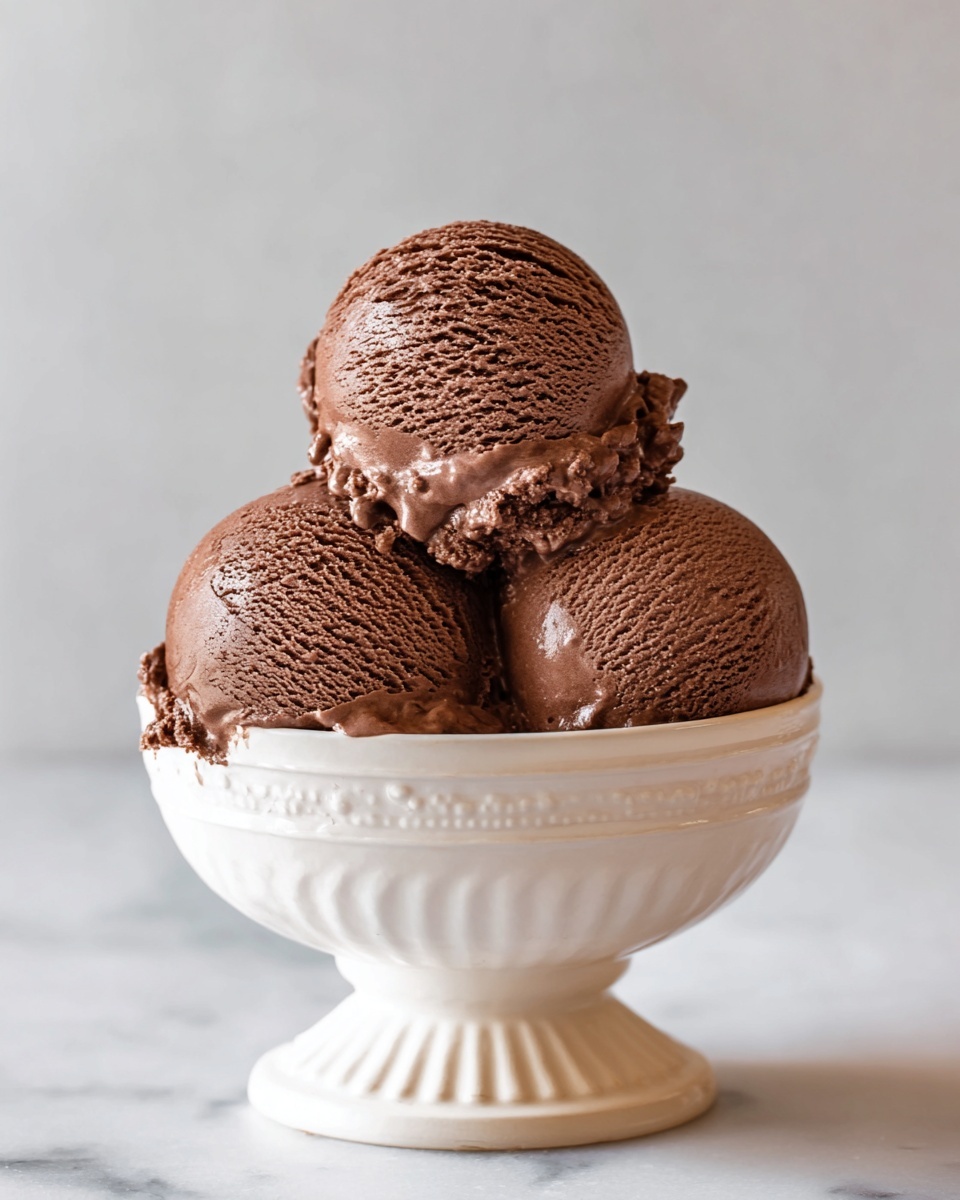
If you have a hankering for something luscious, comforting, and utterly indulgent, this Homemade Chocolate Ice Cream Recipe is just what you need to brighten your day. Imagine a creamy, rich chocolate treat that melts perfectly on your tongue, made right in your own kitchen with simple ingredients you probably already have. This recipe takes classic chocolate ice cream to new heights of deliciousness, combining smooth cocoa with a velvety texture that will have you coming back for scoop after scoop. Whether you’re a seasoned dessert lover or new to making ice cream from scratch, this recipe is your ticket to achieving café-quality chocolate ice cream at home.
Ingredients You’ll Need
The magic behind this Homemade Chocolate Ice Cream Recipe lies in its simplicity. Each ingredient plays a vital role in creating a luscious texture, deep chocolate flavor, and creamy consistency that feels like a dream on a hot day. Let’s break down what you’ll need to get started.
- 2 cups heavy cream: This is the base of your ice cream, contributing to its rich and creamy texture.
- 1 cup whole milk: Adds additional creaminess and a slight sweetness that balances the cocoa.
- 3/4 cup granulated sugar: Sweetens the ice cream and enhances the overall flavor.
- 1 cup unsweetened cocoa powder: Gives your ice cream its rich chocolate flavor with real depth.
- 1 teaspoon pure vanilla extract: Enhances the overall flavor profile, adding warmth and balance.
- 1/2 cup chocolate chips (optional): For added texture and delightful bursts of chocolate in every bite.
- 1 pinch salt: Enhances sweetness and balances flavors, bringing out the chocolate notes beautifully.
How to Make Homemade Chocolate Ice Cream Recipe
Step 1: Combine and Heat Your Base
Start by pouring the heavy cream, whole milk, granulated sugar, cocoa powder, and a pinch of salt into a medium saucepan. Whisk everything together over medium heat until the sugar and cocoa powder have completely dissolved and the mixture looks smooth and glossy. This step is essential to infuse the cream and milk with that deep chocolate flavor, setting the stage for incredible richness.
Step 2: Add Vanilla and Cool Down
Once your chocolate mixture is heated through and well combined, remove the saucepan from heat and stir in the pure vanilla extract. Let it cool for 10 to 15 minutes at room temperature so the flavors meld together and the mixture isn’t too hot when it goes into the refrigerator.
Step 3: Chill the Mixture
Transfer this lovely chocolate custard into a bowl, cover it tightly with plastic wrap, and pop it in the fridge. Chilling for at least 2 to 4 hours—or even better, overnight—allows the flavors to deepen and the base to become crisp-cold, which helps the ice cream churn beautifully.
Step 4: Churn to Perfection
Pour your chilled chocolate base into your ice cream maker and let it churn according to the manufacturer’s instructions, which usually takes 20 to 25 minutes. This is where the magic happens—the mixture thickens and aerates to create that signature creamy ice cream texture.
Step 5: Add Chocolate Chips (Optional)
If you want an extra chocolate surprise, fold in chocolate chips during the last few minutes of churning. These add fun, chocolaty bursts and a slight crunch that complements the smooth ice cream beautifully.
Step 6: Freeze Until Firm
Transfer your freshly churned ice cream into an airtight container, smooth out the top with a spatula, and freeze it for at least 4 hours or until firm. For best results, let it freeze overnight so your Homemade Chocolate Ice Cream Recipe is perfectly set and ready for scooping.
Step 7: Scoop and Enjoy
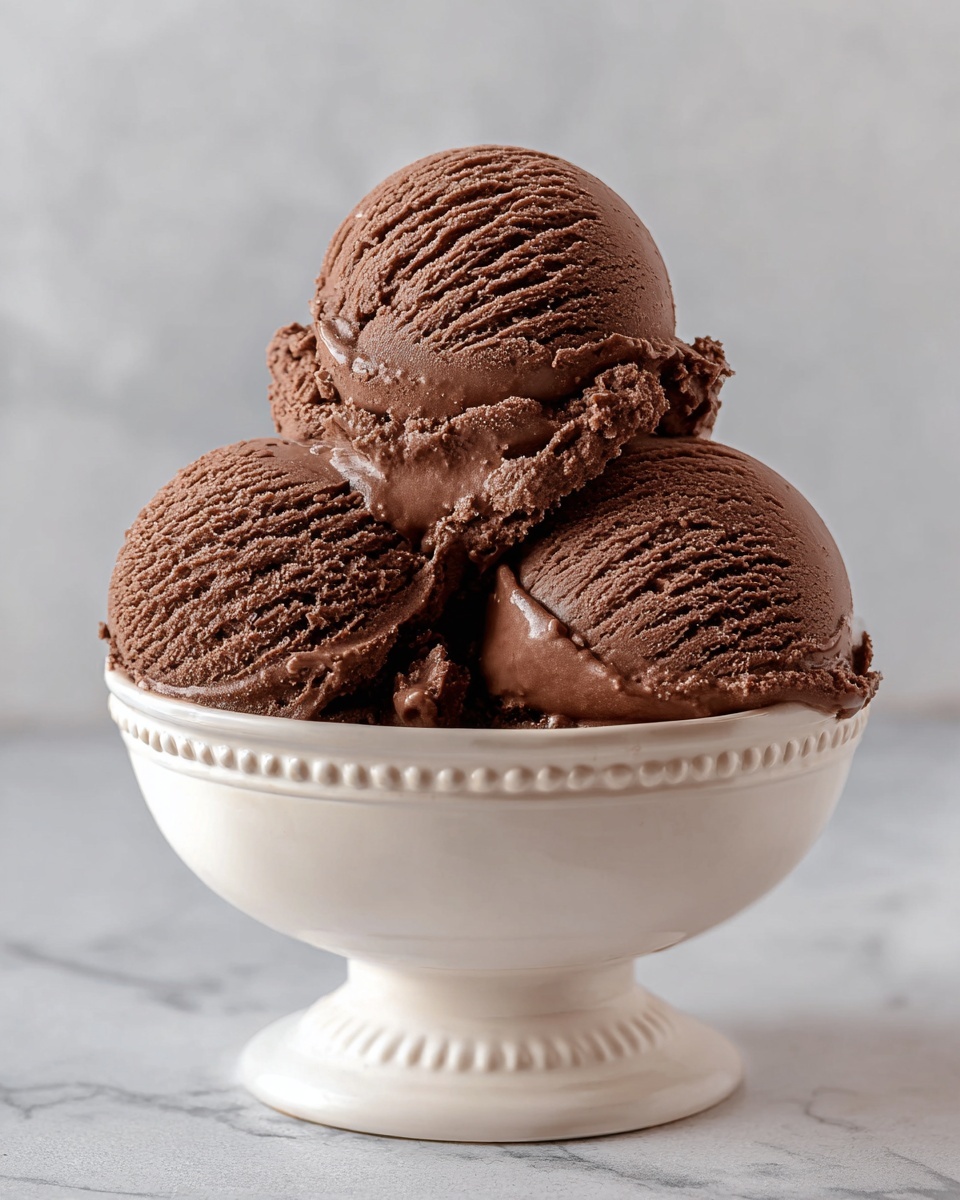
Once frozen solid, scoop your homemade chocolate goodness into bowls or cones. That first bite will be nothing short of heavenly, offering a rich chocolate punch with every creamy mouthful.
How to Serve Homemade Chocolate Ice Cream Recipe

Garnishes
Garnishing your homemade chocolate ice cream can elevate it from delicious to spectacular. Try topping it with fresh berries, a sprinkle of toasted nuts, or even a drizzle of fudge or caramel sauce. A few flakes of sea salt add a surprising and delightful contrast that makes the chocolate flavor pop.
Side Dishes
This ice cream pairs beautifully with warm desserts like brownies, chocolate lava cake, or freshly baked cookies. For a lighter touch, serve it alongside fruit crisps or a bowl of mixed berries to add a fresh, tangy balance to the richness.
Creative Ways to Present
To impress your guests, serve your Homemade Chocolate Ice Cream Recipe in creative ways like in waffle cones, inside hollowed-out chocolate cups, or layered in parfait glasses with whipped cream and cookie crumbles. You can also sprinkle crushed candy or mint leaves on top to add visual appeal.
Make Ahead and Storage
Storing Leftovers
If you have any leftover ice cream, make sure to store it in an airtight container to prevent ice crystals from forming and preserve the creamy texture. Press a piece of parchment or wax paper directly on the surface before sealing to keep it fresh longer.
Freezing
This Homemade Chocolate Ice Cream Recipe freezes wonderfully. Just ensure your freezer temperature is set properly and the container is sealed tight. For the best texture, consume within two weeks.
Reheating
Since ice cream isn’t meant to be reheated, the best way to enjoy leftovers is to let them soften slightly at room temperature for 5 to 10 minutes before scooping. This brings back the creamy softness without melting it too much.
FAQs
Can I make this ice cream without an ice cream maker?
Yes! You can use the freeze-and-stir method by placing the mixture in a shallow container and stirring vigorously every 30 minutes as it freezes. It won’t be as smooth as machine-churned, but it’s still delicious.
What type of cocoa powder is best for this recipe?
Use unsweetened cocoa powder for a true chocolate flavor. Dutch-processed cocoa will give a milder taste and darker color, while natural cocoa has a more robust, slightly acidic flavor. Both work well depending on your preference.
Can I substitute dairy ingredients for a vegan version?
You can substitute coconut cream and a plant-based milk like almond milk, and use a dairy-free chocolate alternative. Be aware that the texture and flavor might differ slightly but still will be delightful.
How long does homemade ice cream last in the freezer?
Stored properly in an airtight container, homemade ice cream is best enjoyed within two weeks to maintain flavor and texture.
Why does my ice cream get icy or hard after freezing?
This typically happens if the ice cream isn’t churned enough or stored in a container that’s not airtight, allowing moisture to freeze and form crystals. Make sure to churn well and use proper storage techniques.
Final Thoughts
Making this Homemade Chocolate Ice Cream Recipe is such a rewarding experience; you get to enjoy the freshest, richest chocolate ice cream with your own hands. It’s simple enough for anyone to try, yet the results are impressive and decadent. So, gather your ingredients, fire up your ice cream maker, and treat yourself and your loved ones to a scoop of creamy, dreamy chocolate heaven. You won’t regret it!
Print
Homemade Chocolate Ice Cream Recipe
- Prep Time: 15 minutes
- Cook Time: 10 minutes
- Total Time: 4 hours 25 minutes (including chilling and freezing times)
- Yield: 6 – 6.6 servings
- Category: Dessert
- Method: Churning
- Cuisine: American
Description
This homemade chocolate ice cream recipe delivers a rich, creamy, and indulgent treat made from simple ingredients. Combining the smoothness of heavy cream and whole milk, the deep flavor of cocoa powder, and a hint of vanilla, this easy-to-make ice cream is perfect for chocolate lovers. Optional chocolate chips add delightful bursts of texture and extra chocolate goodness.
Ingredients
Base Ingredients
- 2 cups heavy cream
- 1 cup whole milk
- 3/4 cup granulated sugar
- 1 cup unsweetened cocoa powder
- 1 pinch salt
Flavoring
- 1 teaspoon pure vanilla extract
Optional Add-ins
- 1/2 cup chocolate chips
Instructions
- Combine Ingredients: In a medium saucepan, combine the heavy cream, whole milk, granulated sugar, unsweetened cocoa powder, and a pinch of salt. Whisk the mixture over medium heat until all ingredients are dissolved and incorporated, ensuring a smooth chocolate base.
- Add Vanilla Extract: Remove the saucepan from heat and stir in the pure vanilla extract to enhance the overall flavor profile. Then, let the mixture cool for 10-15 minutes to prepare for chilling.
- Chill the Mixture: Transfer the cooled chocolate mixture into a bowl and cover it with plastic wrap. Refrigerate for at least 2-4 hours or overnight to develop flavor and achieve the right temperature for churning.
- Churn the Ice Cream: Pour the chilled mixture into your ice cream maker and churn according to the manufacturer’s instructions, typically for 20-25 minutes. This process aerates the mixture and begins forming the creamy texture of ice cream.
- Incorporate Chocolate Chips: During the last few minutes of churning, fold in the optional chocolate chips to add bursts of chocolate texture throughout the ice cream.
- Freeze to Firm Up: Transfer the churned ice cream into an airtight container and smooth the top with a spatula. Freeze the ice cream for at least 4 hours or overnight until firm and scoopable.
- Serve and Enjoy: Once fully frozen, scoop the homemade chocolate ice cream into bowls or cones and enjoy a rich, creamy dessert.
Notes
- For a smoother texture, ensure the mixture is fully chilled before churning.
- Homemade ice cream is best stored in an airtight container to avoid ice crystals.
- You can substitute chocolate chips with chopped nuts or other mix-ins as desired.
- If you don’t have an ice cream maker, you can freeze the mixture and stir every 30 minutes to break up ice crystals until firm.