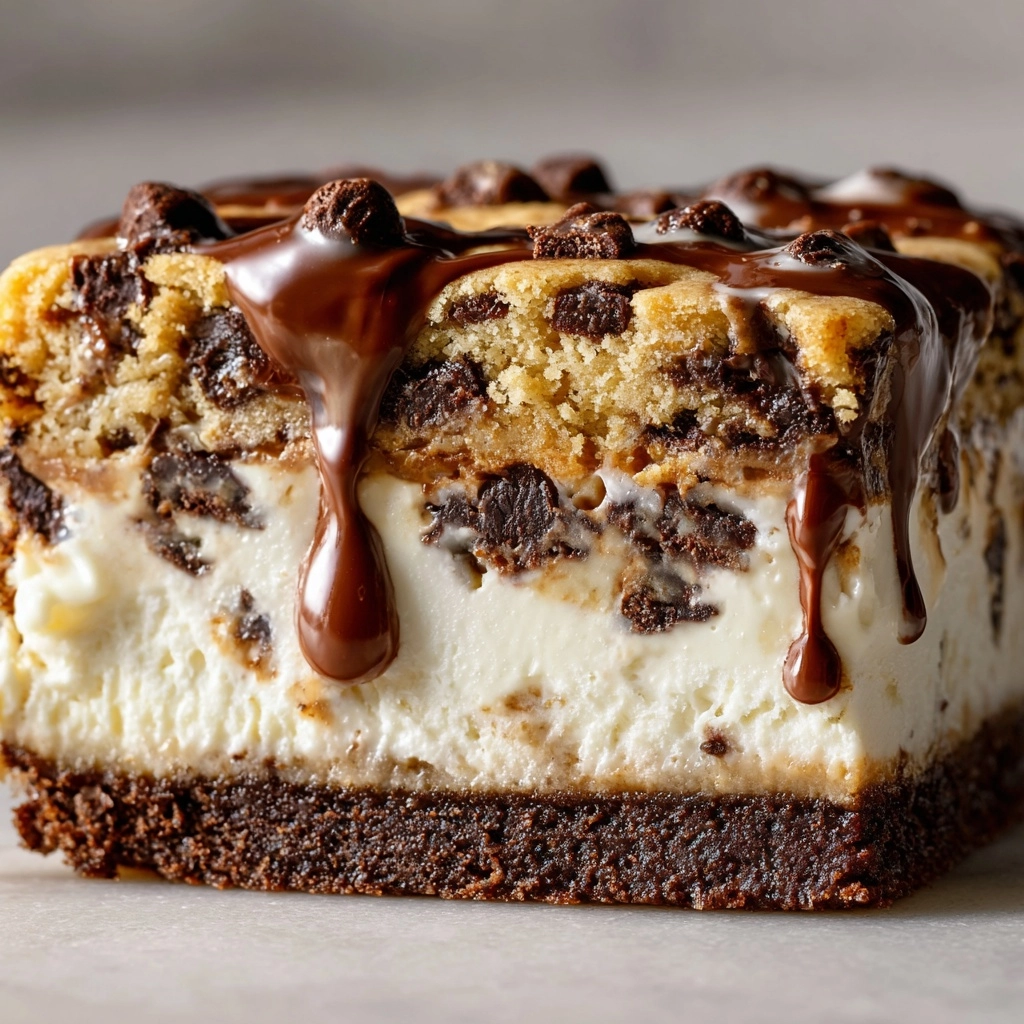
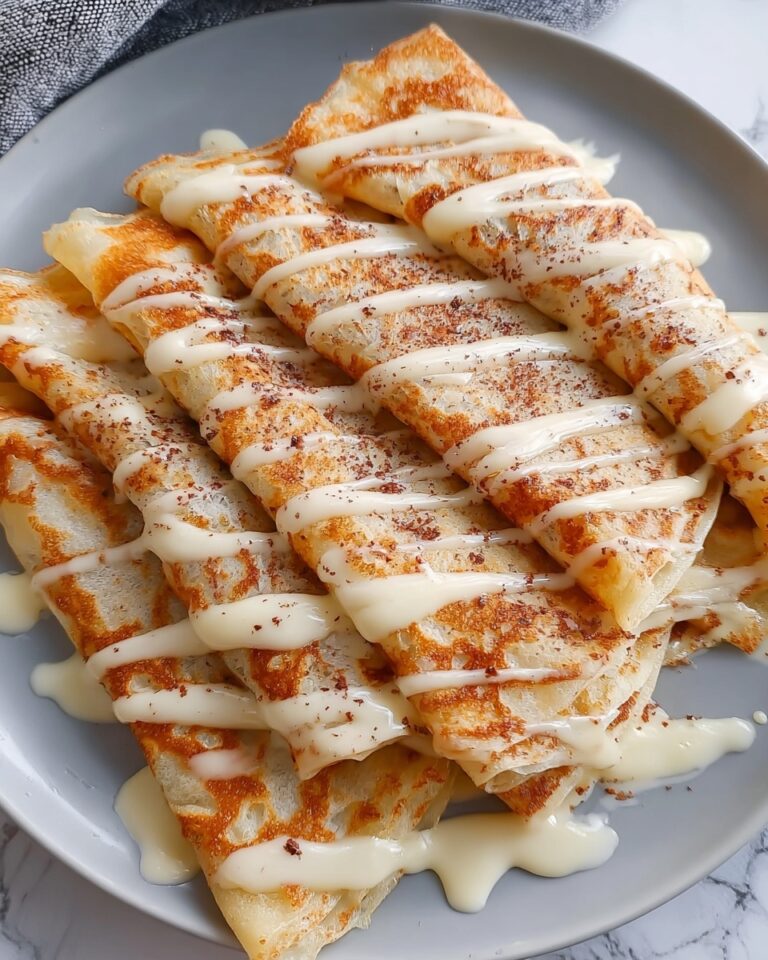
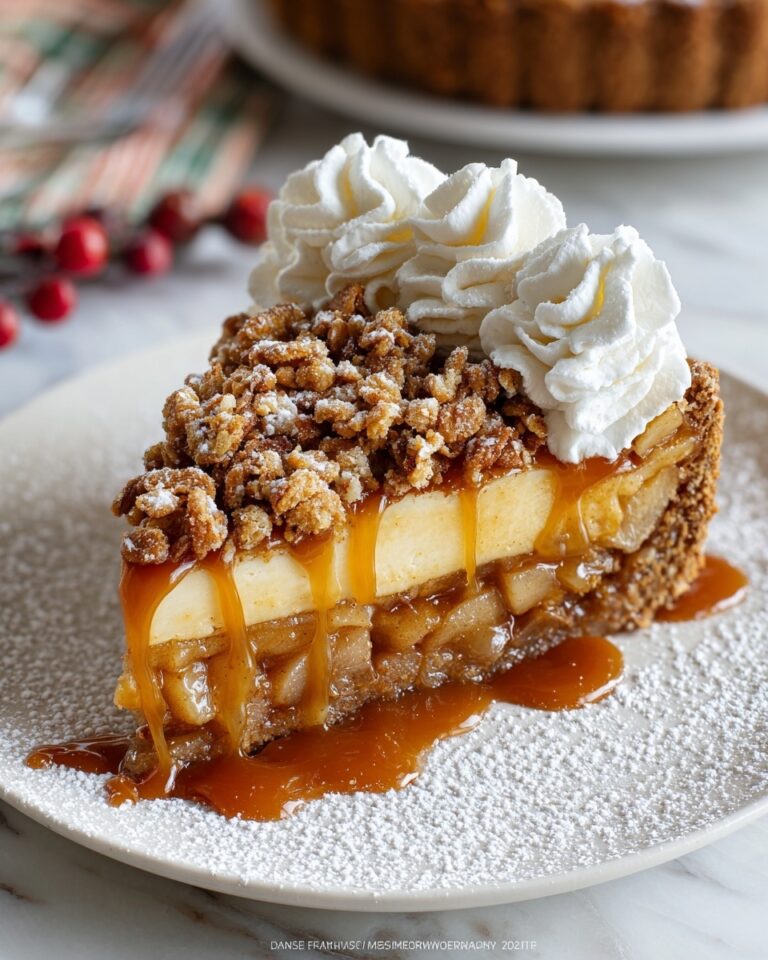
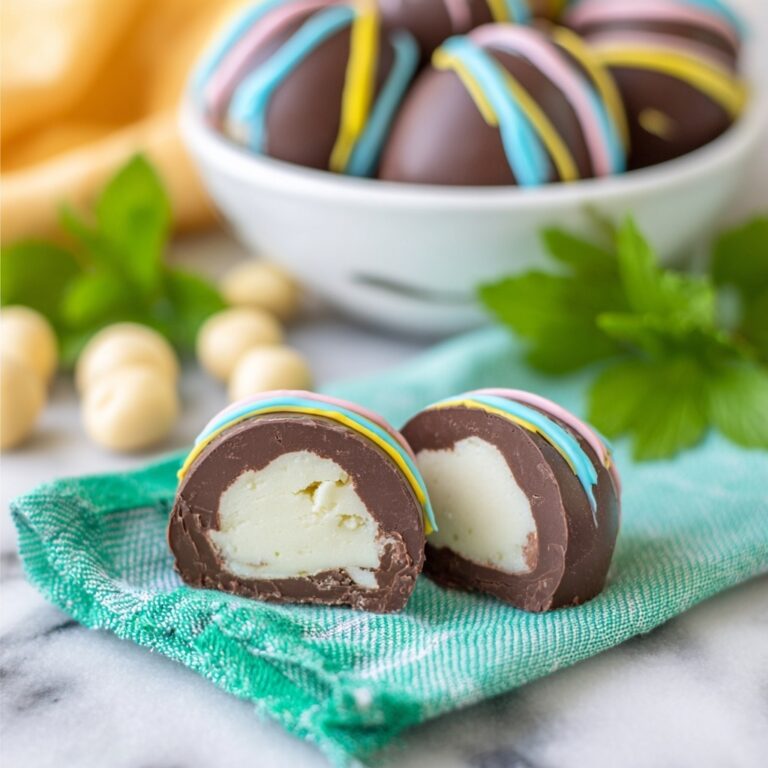
If you’re hunting for a show-stopping dessert that’s also delightfully easy to pull off, let me introduce you to Crispy Cheesecake Cookie Croffles. Imagine flaky, buttery puff pastry packed with velvety cheesecake filling, mini chocolate chips or cookie crumbles, all pressed golden and crisp in a waffle iron—it’s pure bliss in every bite. This playful fusion of croissant, cheesecake, and cookie brings the best of all worlds into one irresistible treat, perfect for cozy brunches, festive gatherings, or whenever your sweet tooth strikes.
Ingredients You’ll Need
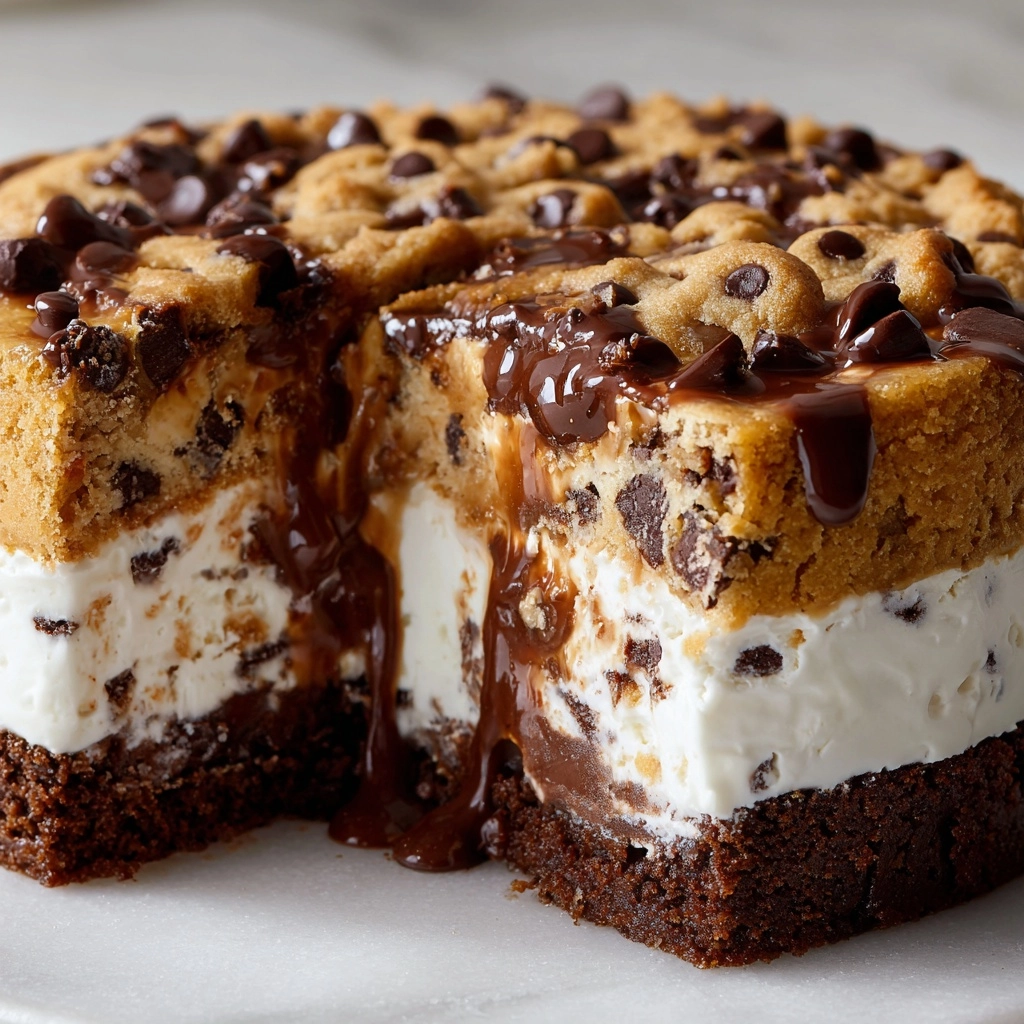
The magic of Crispy Cheesecake Cookie Croffles is how quickly you can whip them up with just a few essentials. Each ingredient is chosen to play a starring role, lending texture, richness, or a pop of flavor—no fancy supermarket trip required.
- Puff pastry: The secret to flawless layers and a crisp, golden waffle—make sure it’s thawed for easy folding.
- Cream cheese: Softened cream cheese creates that luscious, tangy cheesecake core—let it warm up to mix smoothly.
- Granulated sugar: Just enough sweetness to complement the cream cheese without overpowering it.
- Vanilla extract: A splash brings signature cheesecake warmth and coziness to the filling.
- Lemon zest (optional): This little sprinkle brightens and balances the richness—totally worth it if you have a lemon handy!
- Mini chocolate chips or crushed cookies: For pops of texture and that crave-worthy, dessert-style finish.
- Butter (melted): Brushing the pastry with butter helps every fold toast up perfectly in the waffle iron.
- Crushed graham crackers or cookie crumbs: A delicate coating for crunch and that classic cheesecake vibe.
- Powdered sugar (optional): A snowy dusting on top adds a sweet, pretty finish before serving.
How to Make Crispy Cheesecake Cookie Croffles
Step 1: Prep the Waffle Iron
Preheat your waffle iron to a medium setting—this ensures even, golden browning and a crisp finish. Don’t rush this step; if your iron isn’t hot enough, the croffles won’t get that signature crunch on the outside. While it’s warming up, gather your ingredients and set up your workspace. A bit of prep now means once you start assembling, everything flows effortlessly!
Step 2: Make the Cheesecake Filling
In a small mixing bowl, combine the softened cream cheese, granulated sugar, vanilla extract, and a touch of lemon zest (if using). Work it together with a spoon until silky and smooth. This is the heart of the Crispy Cheesecake Cookie Croffles—a fluffy, sweet-and-tangy layer that contrasts beautifully with the crunchy pastry shell.
Step 3: Prepare the Puff Pastry
Lightly roll out your sheet of thawed puff pastry to even out any creases, then slice it into four equal squares. You don’t need to overwork the dough—just give it a gentle touch so it remains light and airy in the waffle iron. This step is all about setting the stage for those signature flaky layers.
Step 4: Fill and Shape
Spoon a generous tablespoon of the cream cheese filling into the center of each pastry square. Sprinkle a few mini chocolate chips or a pinch of crushed cookies over the filling for that extra surprise in every bite. Fold each square diagonally or gather the corners into a bundle, then gently seal the edges—just enough so the filling stays put as everything puffs up in the iron.
Step 5: Butter and Crumb
Using a pastry brush, coat the outside of each filled bundle with melted butter to help achieve that irresistible crispiness. Roll or lightly pat each croffle with crushed graham crackers or cookie crumbs until you have a delicate, even coating. This adds a sweet, golden crunch and that unmistakable cookie-cheesecake aroma.
Step 6: Cook to Perfection
Place one croffle at a time into your hot waffle iron—don’t overcrowd so each one cooks evenly. Close the lid and let it cook for 4 to 6 minutes, checking for a deeply golden, beautifully crisp finish. As you lift the lid, get ready for a waft of warm, buttery, slightly caramelized perfection. Let each croffle cool for a minute or two so the filling sets before dusting with powdered sugar.
How to Serve Crispy Cheesecake Cookie Croffles
Garnishes
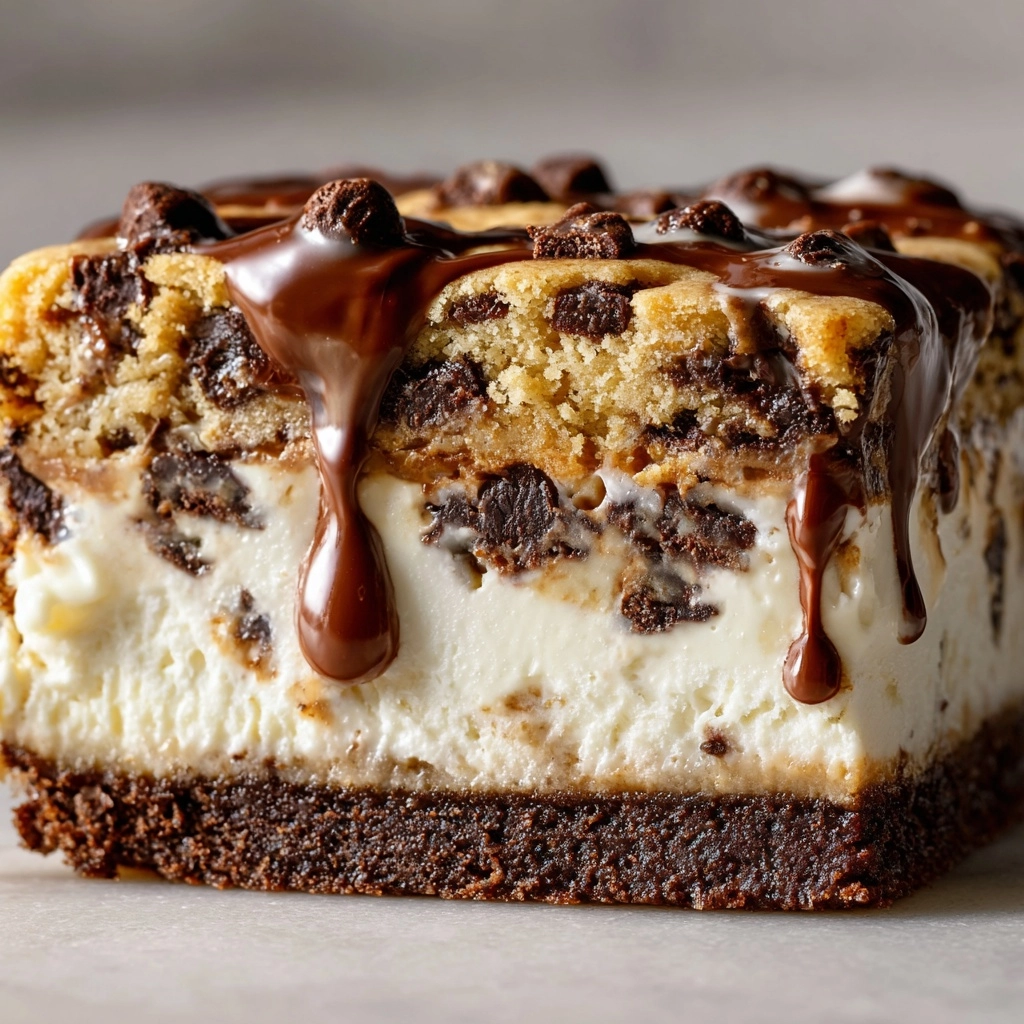
For a picture-perfect finish, dust your Crispy Cheesecake Cookie Croffles with powdered sugar just before serving. You can also add a few fresh berries, a drizzle of melted chocolate, or even a dollop of whipped cream on the side. Each garnish transforms these beauties into something a little extra special for your brunch table or dessert spread!
Side Dishes
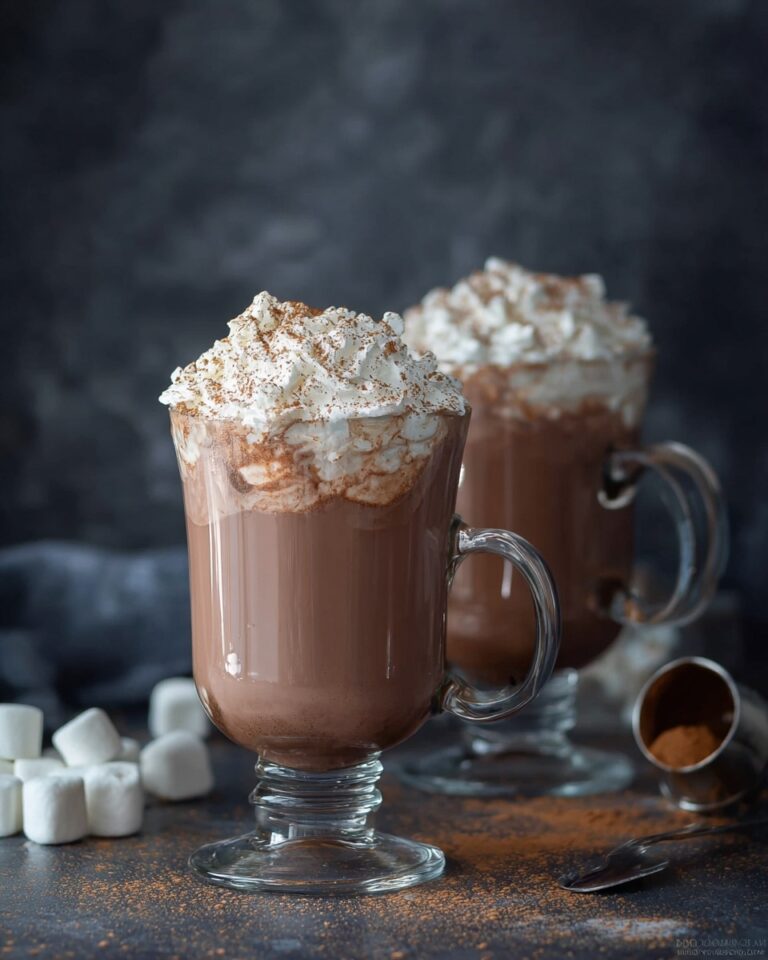
These croffles truly shine solo, but if you’d like to round out your dessert or brunch, try serving them with a tangy fruit salad, scoops of vanilla ice cream, or a mug of rich hot chocolate. The creamy and crunchy textures play so well with juicy fruits or a cold scoop of gelato, making it a decadent affair from start to finish.
Creative Ways to Present
Turn Crispy Cheesecake Cookie Croffles into a dessert centerpiece by stacking them in a tower with berries tucked in between, or cut them into strips for dipping into chocolate sauce. For parties, offer a toppings bar with different sprinkles, syrups, and jams—let your guests customize their own croffles for interactive, memorable fun!
Make Ahead and Storage
Storing Leftovers
If you end up with leftover Crispy Cheesecake Cookie Croffles (it’s rare, but it happens), place them in an airtight container. They’ll stay good at room temperature for a few hours, or refrigerated for up to two days. The texture will soften a bit, but the flavors remain dreamy.
Freezing
For longer storage, let the croffles cool completely, then wrap them individually in plastic wrap and store them in a freezer-safe bag. They keep wonderfully for up to one month—just thaw in the fridge overnight before reheating.
Reheating
To recapture that freshly made crunch, pop refrigerated or thawed croffles into a toaster oven or bake at 350°F for 5–7 minutes. Avoid microwaving if you can; while convenient, it can make the pastry a bit too soft rather than crisp.
FAQs
Can I make Crispy Cheesecake Cookie Croffles without a waffle iron?
While a waffle iron delivers the signature look and crunchy texture, you can use a panini press or even bake the filled pastries in the oven at 400°F until puffed and golden. The results will be slightly different but still delicious.
What other fillings can I use inside my croffles?
Get creative! Try a spoonful of fruit jam, swirl in peanut butter, or swap the chocolate chips for chopped nuts or caramel bits. The croffle is your canvas for all kinds of delectable variations.
Should I serve these warm or cold?
Crispy Cheesecake Cookie Croffles are undeniably best enjoyed warm, straight off the waffle iron when the pastry is crisp and the filling soft. But they’re still tasty at room temperature or even chilled—just know the texture will be less crunchy.
Can I prep the croffles ahead of time for a party or brunch?
Absolutely! Assemble the unbaked croffles and keep them wrapped in the fridge for up to four hours before cooking. When ready to serve, simply brush with butter, crumb, and cook as instructed for maximum freshness and crunch.
Are these croffles vegetarian?
Yes, as long as your puff pastry is made without animal products (some brands use butter, some use vegetable oil), Crispy Cheesecake Cookie Croffles are a fabulous vegetarian dessert option.
Final Thoughts
There’s something truly magical about pulling a batch of Crispy Cheesecake Cookie Croffles from the waffle iron, watching those golden layers reveal their creamy, sweet center. If you’re ready to surprise your taste buds and impress your friends, this recipe is an absolute must-try. Gather your ingredients and treat yourself—these croffles may just become your new go-to sweet treat!
Print
Crispy Cheesecake Cookie Croffles Recipe
- Prep Time: 10 minutes
- Cook Time: 20 minutes
- Total Time: 30 minutes
- Yield: 4 croffles
- Category: Dessert
- Method: Waffle Iron
- Cuisine: Fusion
- Diet: Non-Vegetarian
Description
Indulge in the delightful fusion of crispy waffles and creamy cheesecake with these Crispy Cheesecake Cookie Croffles. These delectable treats are perfect for a sweet breakfast or a satisfying dessert.
Ingredients
Puff Pastry:
- 1 sheet puff pastry (thawed if frozen)
Cheesecake Filling:
- 4 oz cream cheese (softened)
- 2 tablespoons granulated sugar
- ½ teaspoon vanilla extract
- ¼ teaspoon lemon zest (optional)
- 2 tablespoons mini chocolate chips or crushed cookies
Additional:
- 1 tablespoon butter (melted, for brushing)
- 2 tablespoons crushed graham crackers or cookie crumbs
- powdered sugar for dusting (optional)
Instructions
- Preheat Waffle Iron: Preheat a waffle iron to medium heat.
- Prepare Filling: Mix cream cheese, sugar, vanilla extract, and lemon zest until smooth.
- Prepare Pastry: Roll out puff pastry and cut into squares. Spread cream cheese filling, add chocolate chips, fold, and seal.
- Cook Croffles: Brush with butter, coat with crumbs, and cook in waffle iron until golden brown and crisp.
- Serve: Dust with powdered sugar if desired and serve warm.
Notes
- For a fruity twist, add raspberry or strawberry jam to the filling.
- Best enjoyed fresh, can be reheated in a toaster oven.
Nutrition
- Serving Size: 1 croffle
- Calories: 310
- Sugar: 10g
- Sodium: 160mg
- Fat: 21g
- Saturated Fat: 10g
- Unsaturated Fat: 9g
- Trans Fat: 0g
- Carbohydrates: 25g
- Fiber: 1g
- Protein: 4g
- Cholesterol: 30mg
