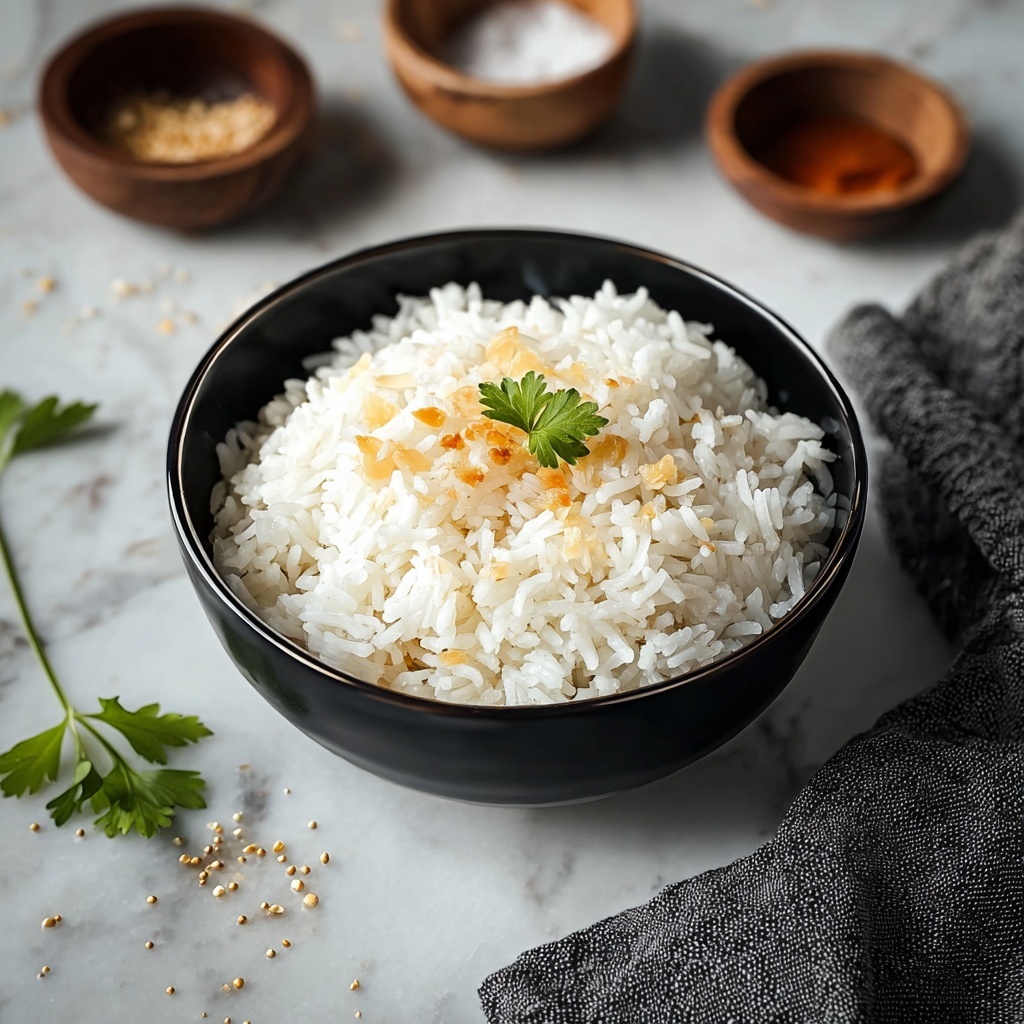
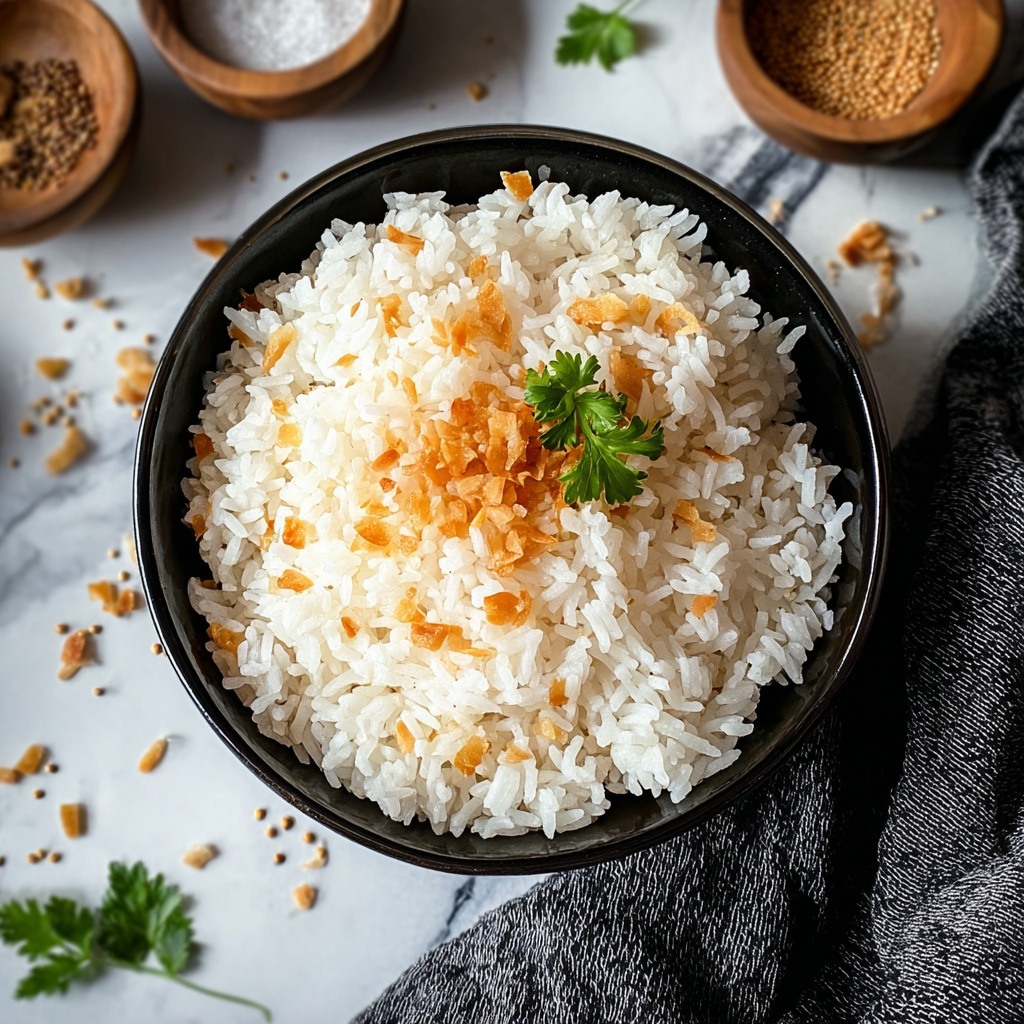
If you love the delightful crunch of perfectly crisped rice combined with the subtle tang of seasoned sushi rice, you’re going to adore this Crispy Fried Rice Bites Recipe. These little morsels deliver a satisfying texture and comforting flavor that make them an irresistible snack or appetizer. With simple ingredients and straightforward steps, this recipe transforms everyday rice into a golden, crispy treat that’s perfect for sharing or indulging all on your own.
Ingredients You’ll Need
There’s something wonderfully simple and essential about the ingredients in this recipe. Each one plays a crucial role to build the perfect balance of texture, flavor, and visual appeal in your crispy fried rice bites.
- 2 cups sushi rice: Provides the sticky, tender base that crisps wonderfully when fried.
- 2 1/4 cups water: Hydrates the rice perfectly for a fluffy yet firm texture.
- 1 tablespoon rice vinegar: Adds a gentle tang that brightens the rice without overpowering.
- 1 teaspoon sugar: Balances the acidity with a touch of sweetness.
- 1/2 teaspoon salt: Enhances the natural flavors of the rice mix.
- 2 tablespoons vegetable oil: Essential for frying to achieve that golden, crispy crust.
- Soy sauce or dipping sauce of choice (optional): Provides an extra flavor kick when serving your bites.
How to Make Crispy Fried Rice Bites Recipe
Step 1: Rinse and Cook the Rice
Begin by rinsing your sushi rice under cold water until the water runs clear—this removes excess starch, making the rice less sticky and perfect for crisping. Then, in a medium saucepan, combine the rinsed rice with 2 1/4 cups of water. Bring it to a boil to start the cooking process.
Step 2: Simmer and Steam for Tender Rice
Once boiling, reduce the heat to low and cover the pan tightly. Let the rice simmer for about 18 to 20 minutes, which allows the water to be absorbed slowly and the rice to cook evenly. Afterward, remove it from heat but keep it covered for an additional 10 minutes to let the rice steam to perfection.
Step 3: Season the Rice
While the rice is resting, mix the rice vinegar, sugar, and salt in a small bowl until everything dissolves. Transfer the cooked rice to a larger bowl and gently fold in the vinegar mixture with a wooden spoon or rice paddle. This step brightens up the rice, infusing it with subtle layers of flavor as it cools to room temperature.
Step 4: Shape Your Crispy Fried Rice Bites
Now the fun part—using damp hands to keep the rice from sticking, shape it into small, tight rectangles or discs. The size and compactness matter here because they’ll fry up to crispy, golden perfection, holding their shape nicely during cooking.
Step 5: Fry to Golden Crispness
Heat the vegetable oil in a non-stick skillet over medium heat. Carefully place your rice bites into the oil without overcrowding to ensure even frying. Cook each side for about 3 to 4 minutes or until you see a beautiful golden-brown crust. Flip them gently with a spatula to crisp up the other side as well.
Step 6: Drain and Serve
Once fried, transfer your crispy rice bites to a paper towel-lined plate to remove excess oil. Serve them warm alongside soy sauce or your favorite dipping sauce to elevate the experience.
How to Serve Crispy Fried Rice Bites Recipe
Garnishes
Think fresh and vibrant garnishes like finely chopped scallions, toasted sesame seeds, or a drizzle of spicy mayo. These not only add color but also boost the flavor profile, making each bite an exciting combination of textures and tastes.
Side Dishes
Crispy Fried Rice Bites pair wonderfully with light, fresh sides such as cucumber salad, pickled vegetables, or even steamed edamame. These sides create a balance with the rich fried texture and offer a refreshing contrast.
Creative Ways to Present
Serve your bites stacked on elegant plates, drizzled with sauces artistically, or even threaded on skewers as finger food for parties. You could also add small dollops of avocado or wasabi-infused cream for a trendy twist with an Asian flair.
Make Ahead and Storage
Storing Leftovers
If you have leftovers, place the Crispy Fried Rice Bites in an airtight container and refrigerate. They’ll keep well for up to 2 days, retaining good flavor though the texture might soften slightly.
Freezing
For longer storage, freeze the bites in a single layer on a baking sheet first, then transfer to a freezer-safe bag or container. This prevents sticking and allows you to reheat just the amount you want.
Reheating
To bring back their irresistible crispiness, reheat the leftovers in a non-stick pan over medium heat with a little oil, flipping to warm both sides evenly. Avoid the microwave since it can make the bites soggy.
FAQs
Can I use different types of rice?
While sushi rice works best for its stickiness and texture, you could try short-grain rice as a substitute. Avoid long-grain varieties as they may not hold together well for shaping and frying.
Do I have to use rice vinegar?
The rice vinegar adds a subtle but important tang that elevates the flavor overall. If you don’t have it, a mild apple cider vinegar can work in a pinch, but it will slightly change the taste.
Can I bake these instead of frying?
Frying is key to achieving that crispy crust, but you can bake them on a greased sheet at 400°F (200°C) for about 20 minutes, flipping halfway through. The texture will be crisper than steaming but less crunchy than frying.
What dipping sauces go well?
Classic soy sauce is a perfect match, but experiment with spicy mayo, ponzu, or even a sweet chili sauce. Each brings a unique dimension to the bites.
How do I prevent the rice from sticking to my hands?
Keep your hands damp when shaping the rice. This simple trick makes molding easier and keeps the rice forming tight, neat bites ready for frying.
Final Thoughts
This Crispy Fried Rice Bites Recipe is one of those delightful discoveries that bring joy with every bite! Easy to make yet full of flavor and texture, it’s sure to become a favorite snack or appetizer in your kitchen. I can’t wait for you to try it and share these crunchy little delights with your loved ones.
Print
Crispy Fried Rice Bites Recipe
- Prep Time: 0h 30m
- Cook Time: 0h 40m
- Total Time: 1h 10m
- Yield: 8-10 rice cakes
- Category: Appetizer
- Method: Frying
- Cuisine: Japanese
Description
This Crispy Rice recipe transforms simple sushi rice into golden, crunchy rice cakes perfect for snacking or serving as an appetizer. The rice is cooked perfectly tender with a hint of seasoning, shaped into compact forms, and then pan-fried until crispy on both sides. Served with soy sauce or a dipping sauce of your choice, these crispy rice cakes offer delightful texture and flavor that will impress and satisfy.
Ingredients
Rice and Seasoning
- 2 cups sushi rice
- 2 1/4 cups water
- 1 tablespoon rice vinegar
- 1 teaspoon sugar
- 1/2 teaspoon salt
For Frying
- 2 tablespoons vegetable oil
For Serving (Optional)
- Soy sauce or dipping sauce of choice
Instructions
- Rinse the rice: Rinse the sushi rice under cold water until the water runs clear to remove excess starch, ensuring a perfect texture for cooking.
- Cook the rice: Combine the rinsed rice and 2 1/4 cups of water in a medium saucepan and bring to a boil over medium-high heat.
- Simmer the rice: Once boiling, reduce heat to low, cover with a tight-fitting lid, and let simmer for 18-20 minutes until water is absorbed and rice is tender.
- Steam the rice: Remove from heat and let it sit covered for an additional 10 minutes to allow the rice to steam and finish cooking evenly.
- Prepare seasoning mixture: In a small bowl, mix rice vinegar, sugar, and salt until sugar and salt dissolve completely.
- Flavor the rice: Transfer the cooked rice to a large bowl, gently fold in the vinegar mixture using a wooden spoon or rice paddle, coating the rice evenly, then let it cool to room temperature.
- Shape the rice: Using damp hands to prevent sticking, shape the cooled rice into small, tight rectangles or discs.
- Heat the oil: Warm the vegetable oil in a non-stick skillet over medium heat, preparing to fry the rice cakes.
- Fry the rice cakes: Place the shaped rice into the skillet without overcrowding and fry until golden brown and crispy on one side, about 3-4 minutes. Carefully flip and fry the other side until equally crispy.
- Drain excess oil: Remove the crispy rice from the pan and place on a paper towel-lined plate to drain any excess oil.
- Serve: Serve the crispy rice warm with soy sauce or your preferred dipping sauce for a delicious appetizer or snack.
Notes
- Using sushi rice is essential for the right sticky texture that holds the rice cakes together.
- Make sure the rice is fully cooled before shaping to avoid it falling apart during frying.
- Adjust frying time slightly depending on your stove and pan to achieve perfect crispiness without burning.
- You can experiment with different dipping sauces like spicy mayo, eel sauce, or ponzu for varied flavor profiles.
- For a healthier option, you can reduce the amount of oil or bake the rice cakes at 400°F (200°C) for about 15-20 minutes, flipping halfway through.