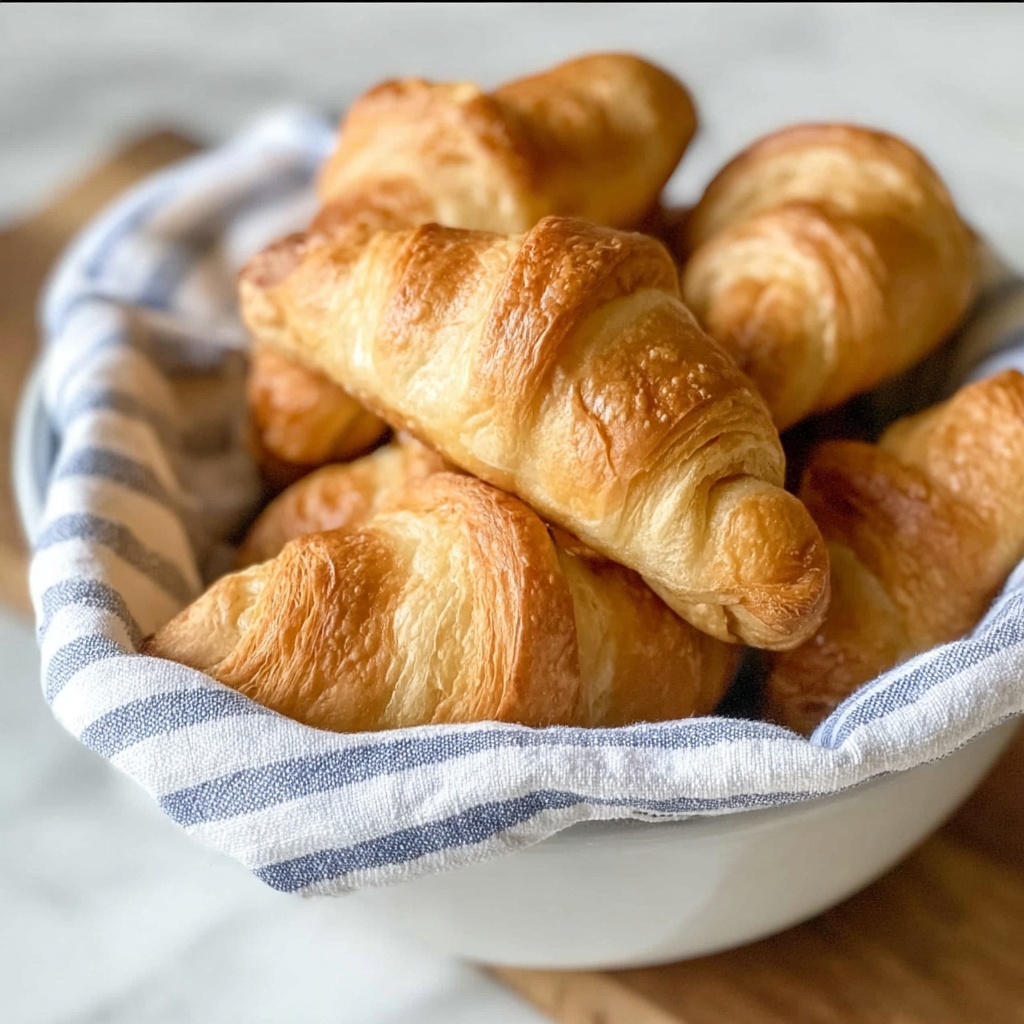
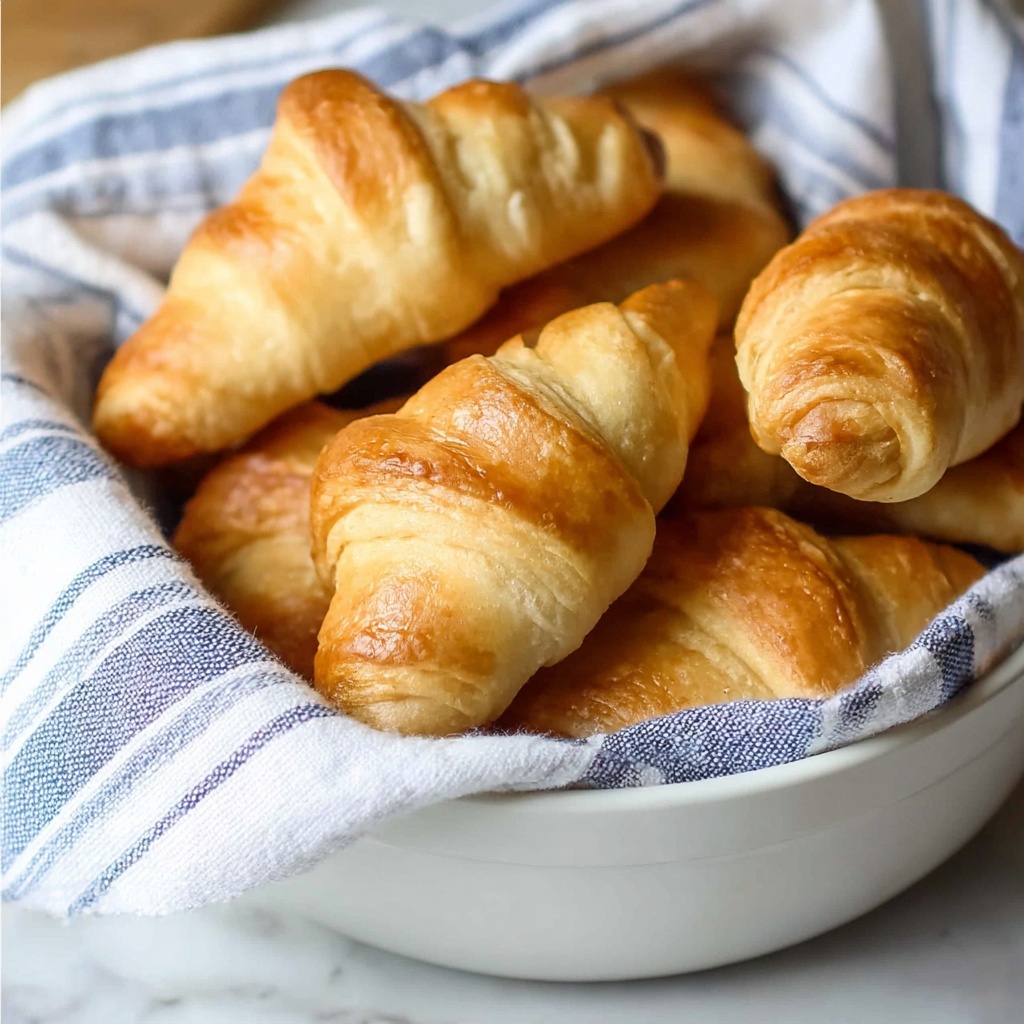
There is something truly magical about fresh, buttery rolls straight from your oven. The Homemade Crescent Rolls with Honey Butter Recipe is my absolute go-to when I want to impress friends or just treat my family to something special. These crescent rolls come out perfectly soft and flaky with a golden-brown crust, and when paired with the sweet and creamy honey butter, they become a heavenly combination you’ll crave again and again. This recipe is straightforward enough for weeknight baking yet elegant enough to accompany holiday meals or brunches. Trust me, once you make these rolls, store-bought ones just won’t cut it anymore.
Ingredients You’ll Need
The beauty of this recipe lies in its simple, high-quality ingredients that come together to create such a wonderfully rich and tender dough. Each element has its purpose, whether it’s the yeast bringing out that perfect rise or the honey adding just a touch of natural sweetness and moisture for that irresistible soft texture.
- Active dry yeast: This is the magic agent that makes your rolls rise beautifully and develop a lovely, airy crumb.
- Half-and-half: Using warm half-and-half helps activate the yeast and adds creaminess to the dough.
- Honey: Besides sweetness, honey keeps these rolls tender and adds a subtle floral note.
- Unsalted butter: Melted and cooled, it enriches the dough and ensures the melt-in-your-mouth texture we all adore.
- Granulated sugar: Balances the slight tang from the yeast and encourages a tender crumb.
- Large egg: Gives structure and adds richness to the dough.
- All-purpose flour: Provides the necessary structure to hold everything together, resulting in a soft yet sturdy roll.
- Kosher salt: Essential for enhancing flavors and balancing the sweetness beautifully.
- Homemade Honey Butter: The pièce de résistance for serving, offering that luscious sweet finish to every bite.
How to Make Homemade Crescent Rolls with Honey Butter Recipe
Step 1: Prepare Your Workspace and Ingredients
Start by greasing a large bowl where your dough will rise, making sure it’s well coated to prevent sticking. Also, line two baking sheets with aluminum foil and spray with nonstick spray — this prep ensures your rolls slide right off after baking with minimal fuss.
Step 2: Activate the Yeast
In a stand mixer bowl, combine the active dry yeast with warm half-and-half, honey, melted butter, and sugar. Let this mixture sit for about 5 minutes until it becomes foamy on top. This step is crucial to know your yeast is alive and ready to work its magic.
Step 3: Make the Dough
Switch to the dough hook attachment and add the beaten egg, 2 cups of flour, and kosher salt. Mix on low, gradually incorporating the remaining flour in small increments until you have a smooth, elastic, and slightly tacky dough. Keep mixing on medium speed for about 6 minutes to develop the dough’s strength and texture.
Step 4: Let the Dough Rise
Place your dough ball in the greased bowl, rolling it around to coat evenly in butter, cover with a clean dish towel, and set it in a warm spot. Allow it to double in size, approximately 1 hour. This rising stage is critical for those fluffy rolls.
Step 5: Shape the Crescent Rolls
Punch down the risen dough gently and divide it in half. Roll out each half into a 12-inch circle on a floured surface, then cut each circle into 12 wedges with a pizza cutter. Starting from the wide end, roll each wedge tightly toward the point, curving the ends slightly to form that classic crescent shape. Arrange them 2 inches apart on your prepared baking sheets for ample room to rise again.
Step 6: Second Rise
Cover the shaped rolls with a clean dish towel and let them rise once more in a warm place for 30-45 minutes, giving them time to puff up beautifully. If you want to bake later, simply refrigerate the rolls after this step for up to 24 hours.
Step 7: Bake to Golden Perfection
Preheat your oven to 350°F. Bake the rolls for 14-18 minutes or until they’re gorgeous golden brown on top. The aroma during baking is almost as delightful as the rolls themselves!
Step 8: Cool and Serve
Allow the rolls to cool slightly for at least 10 minutes before serving, so the texture settles just right. Serve them warm or at room temperature with an ample dollop of homemade honey butter for maximum indulgence.
How to Serve Homemade Crescent Rolls with Honey Butter Recipe
Garnishes
Sometimes, just a sprinkle of flaky sea salt or a drizzle of extra honey can elevate your homemade crescent rolls to something extraordinary. Freshly chopped herbs like rosemary or thyme also pair beautifully with the rolls, adding a hint of savory contrast to the honeyed perfection.
Side Dishes
These rolls shine brightly alongside everything from hearty soups and stews to festive holiday roasts. Imagine tearing into a warm, buttery crescent roll alongside creamy mashed potatoes or a vibrant garden salad — the perfect harmony of flavors and textures.
Creative Ways to Present
For brunch or special occasions, create a beautiful bread basket with these rolls nestled in a linen napkin. You can also turn them into mini sandwiches by filling them with ham and cheese or smoked turkey. Another fun idea: brush them with a little garlic butter and sprinkle parmesan for a savory twist.
Make Ahead and Storage
Storing Leftovers
After enjoying your fresh rolls, store any leftovers in an airtight container or resealable bag at room temperature. They will keep nice and soft for 2 to 3 days, perfect for a quick grab-and-go treat.
Freezing
If you want to keep these rolls fresh even longer, freeze them either baked or shaped but unbaked. Make sure they are well wrapped or stored in a freezer-safe container. Baked rolls can last up to 3 months frozen without losing their delightful texture.
Reheating
To bring back that fresh-baked taste, reheat the rolls in a 300°F oven for about 10 minutes or until warm throughout. Covering them lightly with foil will prevent over-browning while keeping them soft and tender as if freshly baked.
FAQs
Can I use milk instead of half-and-half?
Yes, you can substitute whole milk for half-and-half, but keep in mind that the rolls might be slightly less rich and tender. Half-and-half adds creaminess that really enhances the texture.
Do I need a stand mixer to make this recipe?
While a stand mixer makes kneading much easier, you can absolutely mix and knead this dough by hand. It just requires a bit more elbow grease to reach the right dough consistency.
Can I make these rolls vegan?
To make a vegan version, substitute butter with plant-based margarine, use a plant-based milk for half-and-half, and replace the egg with a flax egg or aquafaba. The texture will change slightly but can still be delicious!
What’s the best way to tell if the yeast is still good?
When you mix the yeast with warm liquid and sugar, it should become bubbly and foamy within 5–10 minutes. If this doesn’t happen, your yeast might be old or inactive and needs replacing.
Can I prepare the dough the night before?
Definitely! After shaping the crescent rolls, cover and refrigerate them for up to 24 hours. This slow rise enhances the flavor, and you can bake fresh rolls the next day hassle-free.
Final Thoughts
If you haven’t yet tried this Homemade Crescent Rolls with Honey Butter Recipe, I wholeheartedly encourage you to do so. There’s something so incredibly rewarding about pulling warm, golden crescent rolls out of your oven and sharing them with loved ones. The blend of buttery tenderness and sweet, luscious honey butter creates a moment of pure comfort and joy. Give this recipe a go, and I promise you’ll have a new favorite on your baking list!
Print
Homemade Crescent Rolls with Honey Butter Recipe
- Prep Time: 20 minutes
- Cook Time: 20 minutes
- Total Time: 1 hour 40 minutes
- Yield: 24 rolls
- Category: Bread
- Method: Baking
- Cuisine: American
Description
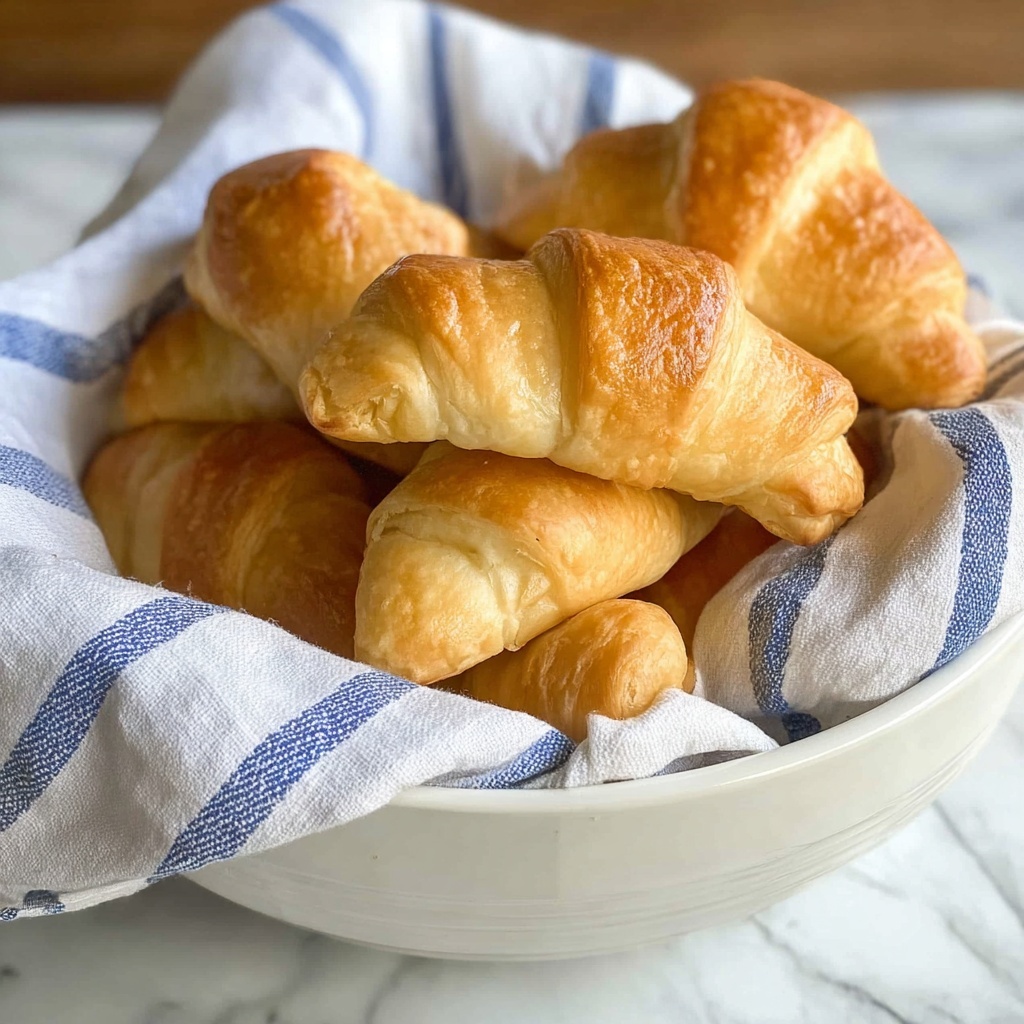
These homemade crescent rolls are soft, buttery, and slightly sweet, perfect for serving warm alongside any meal or with a smear of homemade honey butter. Made from scratch with active dry yeast, warm half-and-half, honey, and melted butter, these rolls have a tender, elastic dough that rises beautifully and bakes into golden, flaky crescents. Ideal for holiday dinners, brunches, or any occasion that calls for fresh, irresistible bread rolls.
Ingredients
Dough Ingredients
- 1 tablespoon active dry yeast (9 grams)
- 1¼ cups half-and-half, warm at 110°F (284 grams)
- 2 tablespoons honey (44 grams)
- 10 tablespoons unsalted butter, melted and cooled (141 grams; 1 stick + 2 tablespoons)
- ¼ cup granulated sugar (50 grams)
- 1 large egg, beaten (50 grams)
- 4 to 4½ cups all-purpose flour (480–540 grams), divided
- 1½ teaspoons kosher salt (5 grams)
For Serving
- Homemade Honey Butter (optional, for serving)
Instructions
- Prepare the bowl and baking sheets: Grease or butter a large bowl for the dough to rise in and set it aside. Line two baking sheets with aluminum foil and spray the foil with nonstick spray to prevent the rolls from sticking.
- Activate the yeast: In the stand mixer bowl fitted with the paddle attachment, combine the active dry yeast, warm half-and-half, honey, melted butter, and sugar. Let this mixture sit undisturbed for 5 minutes, until it becomes foamy, indicating the yeast is active and ready.
- Mix the dough: Swap to the dough hook attachment. Add the beaten egg, 2 cups of flour, and the kosher salt to the yeast mixture. Beat at low speed, gradually adding the remaining flour in half-cup increments. Continue beating until a smooth, elastic, and slightly tacky dough ball forms, about 1 minute.
- Knead the dough: Increase the mixer speed to medium and knead the dough for about 6 minutes until it pulls away from the sides of the bowl and is smooth and elastic, signaling proper gluten development.
- First rise: Place the dough ball in the greased bowl, turning it to coat all sides. Cover with a clean, lightweight dish towel and let it rise in a warm spot until doubled in size, roughly 1 hour.
- Shape the rolls: Gently punch down the risen dough and transfer it to a lightly floured countertop. Divide the dough in half. Roll one half into a 12-inch circle and cut it into 12 equal wedges using a pizza cutter. Repeat with the second half. Starting from the wide end, roll each wedge towards the point to form crescent shapes. Arrange them point-side down and slightly curve the ends on the prepared baking sheets, spacing them about 2 inches apart.
- Second rise: Cover the shaped rolls with a clean dish towel and let them rise in a warm place until doubled in size, about 30 to 45 minutes. At this stage, the rolls can also be refrigerated for up to 24 hours if you want to bake them later.
- Bake the rolls: If baking immediately, preheat your oven to 350°F (177°C). Bake the rolls for 14 to 18 minutes until they turn lightly golden brown on top.
- Cool and serve: Allow the rolls to cool for at least 10 minutes before serving. Enjoy them warm or at room temperature with a spread of homemade honey butter if desired.
Notes
- You can refrigerate the shaped rolls after the second rise for up to 24 hours before baking to prepare ahead of time.
- If you do refrigerate the rolls, allow them to come back to room temperature before baking to ensure even cooking and proper rise.
- Use room temperature ingredients where possible for best dough consistency and yeast activation.
- Half-and-half can be substituted with whole milk, but the rolls may be slightly less rich.
- The dough will be slightly tacky; avoid adding too much extra flour during kneading to keep the rolls soft and tender.
- Makes 24 rolls, perfect for large gatherings or meals.