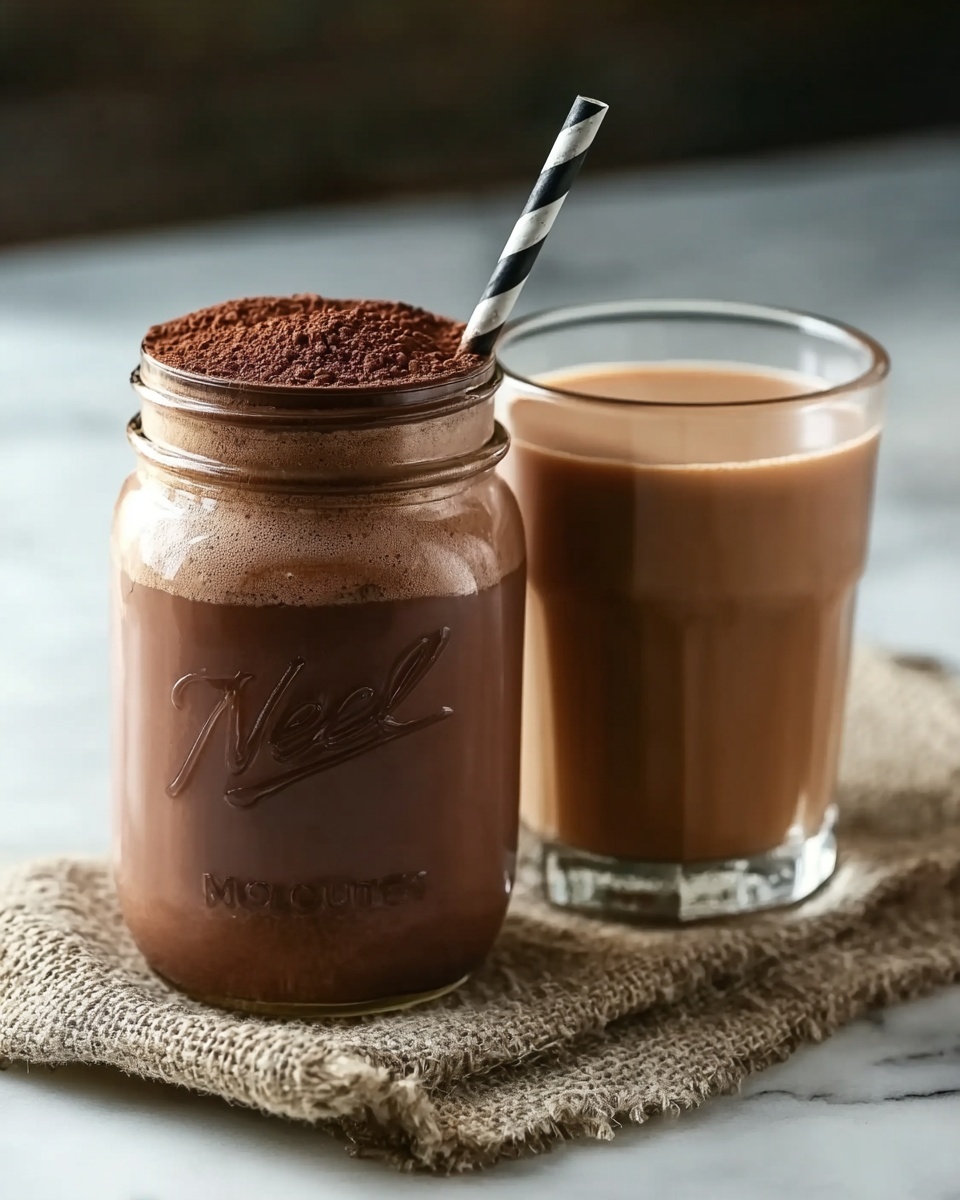
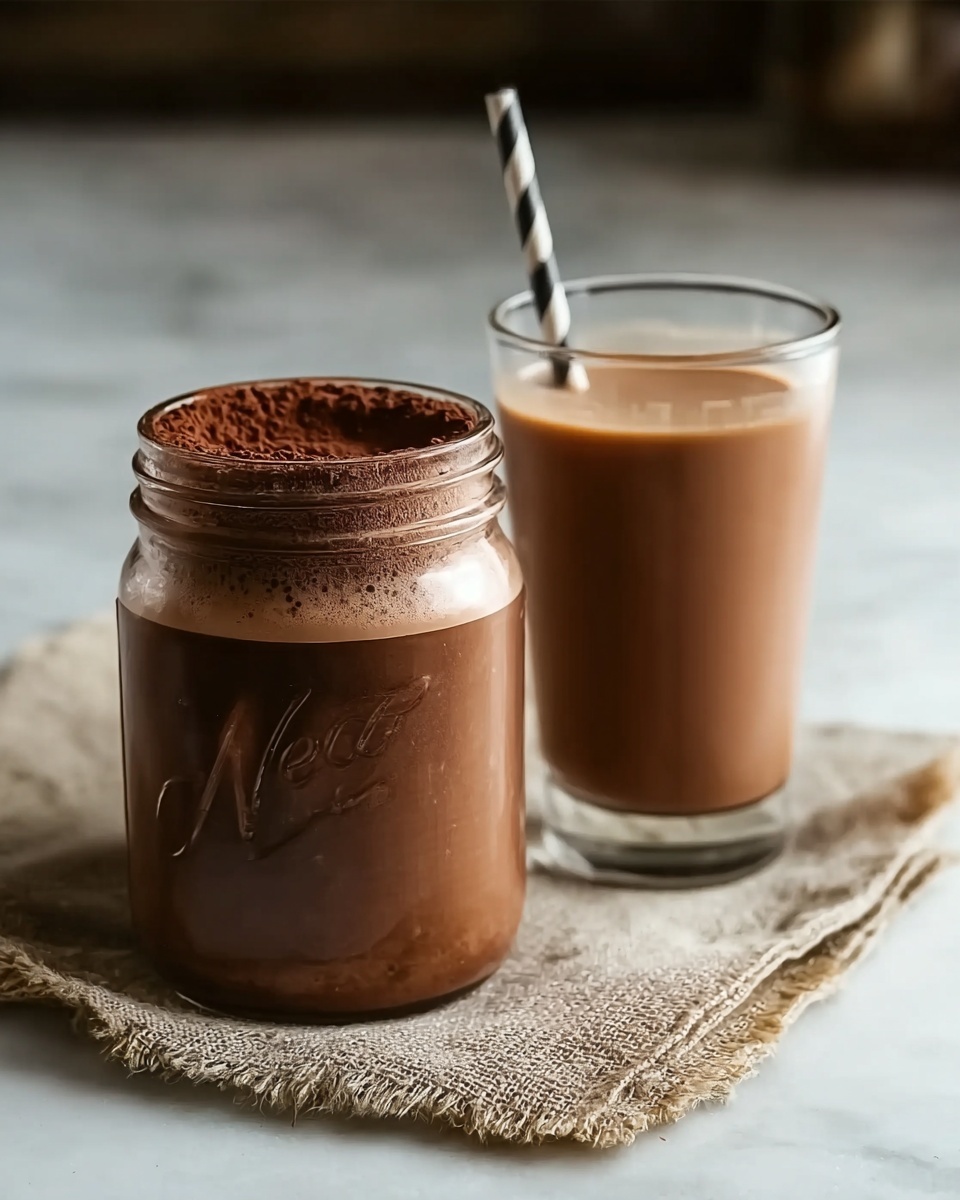
If there’s one cozy, delightful treat that brings back childhood memories and makes any moment special, it’s a glass of perfectly mixed chocolate milk made from a Homemade Nesquik Recipe. This easy-to-make, no-fuss recipe delivers the rich, sweet cocoa flavor you love in a ready-to-use powder form that you control entirely. Whether you want a quick afternoon pick-me-up or a nostalgic hug in a cup, this mix blends beautifully with cold or warm milk, offering a velvety chocolate taste that’s just the right balance of sweetness and cocoa goodness. Plus, making it yourself means no additives and the freedom to tweak it exactly how you like.
Ingredients You’ll Need
Gathering simple ingredients is the key to creating this magic mix. Each one plays an important role in taste, texture, and overall richness. The combination is thoughtfully balanced, making this Homemade Nesquik Recipe incredibly satisfying.
- Unsweetened cocoa powder: The heart of the mix, providing that deep chocolate flavor that’s rich and intense.
- Powdered sugar: Adds the perfect amount of sweetness and helps the mix dissolve smoothly in milk.
- Salt: A tiny pinch that enhances all the flavors and balances the sweetness.
- Cornstarch (optional): Works wonders in smoothing out the texture for an ultra-creamy finish.
- Dry milk powder (optional): Boosts the creaminess and gives a lovely richness without needing fresh milk right away.
How to Make Homemade Nesquik Recipe
Step 1: Combine Your Dry Ingredients
Start by whisking together the unsweetened cocoa powder, powdered sugar, salt, cornstarch, and dry milk powder in a large mixing bowl. This ensures everything is evenly distributed and lump-free, which is super important because you want that smooth chocolate milk experience every time.
Step 2: Store Your Mix Properly
Once your ingredients are fully blended, transfer the powder to an airtight jar or container. Keep it stored in a cool, dry place where it won’t absorb moisture or odors, so your homemade mix stays fresh and ready for use.
Step 3: Mix into Milk as Desired
When you’re ready for a glass of chocolate milk, just stir 2 tablespoons of your Homemade Nesquik Recipe into 1 cup of cold or warm milk. Whisk or shake until fully dissolved. Feel free to adjust the amount depending on whether you want a richer chocolate flavor or something a bit lighter and more subtle.
How to Serve Homemade Nesquik Recipe
Garnishes
For a fun touch, sprinkle a little extra cocoa powder or mini chocolate chips on top. Whipped cream is always a hit and adds a luscious creaminess that turns your drink into a decadent treat. A little dusting of cinnamon or nutmeg can introduce a gentle spice that pairs beautifully with chocolate.
Side Dishes
Chocolate milk is a classic partner to cozy snacks. Think fresh-baked cookies, buttery toast, or simple fruit slices like strawberries or bananas. These sides complement the chocolate flavor beautifully and make your snack time feel indulgent yet balanced.
Creative Ways to Present
Serve your homemade chocolate milk in mason jars or cute glass mugs to add that personal touch. For hot chocolate lovers, layer the drink with marshmallows and drizzle some chocolate syrup on top. You can even freeze the mix as ice cubes for a cold chocolate infusion in your milk on a hot day.
Make Ahead and Storage
Storing Leftovers
Your Homemade Nesquik Recipe mix can be stored in an airtight container for up to six months, which means you can make a big batch and enjoy it whenever the craving strikes. Just be sure the container is sealed tight and kept away from heat and humidity to maintain freshness.
Freezing
Freezing the dry mix isn’t necessary and could cause moisture to get in, ruining the texture. It’s best stored at room temperature, but if you live in a very humid climate, storing it in the fridge in a tightly sealed container can help.
Reheating
Since this mix is simply stirred or shaken into milk, reheating only applies if you prefer your chocolate milk warm. Gently heat the prepared drink in a saucepan over low heat or in the microwave until it reaches your desired temperature, stirring occasionally to keep the chocolate smooth and creamy.
FAQs
Can I use regular cocoa powder instead of Dutch-processed?
Absolutely! Regular cocoa powder works just fine and delivers that classic chocolate flavor. Dutch-processed cocoa just gives a deeper, slightly less acidic taste if you want to experiment.
Is this Homemade Nesquik Recipe suitable for vegans?
Yes, if you skip the dry milk powder or substitute it with a plant-based milk powder, your mix can be vegan-friendly without losing much taste or texture.
How sweet is the mix compared to store-bought Nesquik?
The powdered sugar amount is similar, but you can easily adjust it to your liking by reducing or increasing sugar when mixing. It’s a great way to control exactly how sweet your chocolate milk is.
Can I use this mix for baking or desserts?
While it’s designed for drinks, you can definitely sprinkle this mix into recipes that call for cocoa and sugar, like pancakes or frostings, to add a sweet chocolate flavor with ease.
Is the cornstarch necessary?
Cornstarch is optional but recommended if you want your chocolate milk to have a silkier, thicker texture. It’s especially helpful if you’re using low-fat or non-dairy milk.
Final Thoughts
This Homemade Nesquik Recipe is not only super easy to whip up but also incredibly versatile and delicious. It captures all the nostalgic charm of classic chocolate milk while giving you full control over ingredients and flavor. Give it a try, and you might find it becoming your new go-to for cozy mornings, after-school treats, or anytime you want a little chocolatey comfort. Friends and family will love it just as much as you do!
Print
Homemade Nesquik Recipe
- Prep Time: 5 minutes
- Cook Time: 0 minutes
- Total Time: 5 minutes
- Yield: About 2 cups of mix (makes approximately 20 servings)
- Category: Beverage Mix
- Method: No-Cook
- Cuisine: American
- Diet: Gluten Free, Vegetarian
Description
This Homemade Nesquik recipe is a simple and delicious way to create your own chocolate milk mix at home using natural ingredients. Perfect for quickly mixing into milk for a rich and creamy chocolate drink, this no-cook recipe allows you to control the sweetness and chocolate intensity with ease. Ideal for families and anyone who loves a comforting glass of chocolate milk without any artificial additives.
Ingredients
Dry Mix Ingredients
- 1 cup unsweetened cocoa powder
- 1 1/2 cups powdered sugar
- 1/8 teaspoon salt
- 1 teaspoon cornstarch (optional for smoother texture)
- 1 tablespoon dry milk powder (optional for creaminess)
Instructions
- Combine Ingredients: In a large mixing bowl, whisk together the cocoa powder, powdered sugar, salt, cornstarch, and dry milk powder (if using) until evenly combined and free of lumps.
- Store the Mix: Transfer the mixture to an airtight jar or container and store in a cool, dry place.
- Prepare Chocolate Milk: To make chocolate milk, stir 2 tablespoons of the homemade Nesquik mix into 1 cup of cold or warm milk and whisk or shake until fully dissolved.
- Adjust to Taste: Adjust the amount of mix to taste for a richer or lighter chocolate flavor as preferred.
Notes
- For a deeper chocolate flavor, use Dutch-processed cocoa powder.
- To make a healthier version, reduce the powdered sugar by half and add a few drops of pure vanilla extract when mixing into milk.
- This mix keeps well for up to 6 months in an airtight container.