If you’ve ever yearned for that perfectly hearty, wholesome loaf that feels like a warm hug straight from the kitchen, you’re in for a treat with Mom’s Rye and Whole Wheat Bread Recipe. This beautiful blend of rye and whole wheat flours creates a rich, flavorful bread with just the right amount of chew and softness, boasting a deep brown crust and a tender crumb that keeps you coming back slice after slice. Whether you’re an experienced baker or just diving into the world of homemade bread, this recipe combines simple ingredients and a bit of patience to deliver a stunning result that feels truly home-baked and comforting.
Ingredients You’ll Need
Ready to gather the basics? The ingredient list for Mom’s Rye and Whole Wheat Bread Recipe is straightforward, featuring pantry staples that each lend their own magic—from flavor to texture to the bread’s inviting aroma.
- 2 1/4 cups luke warm water: Perfect temperature to activate the yeast without killing it.
- 1/2 tablespoon salt: Enhances flavor without overpowering, balancing the sweetness and depth.
- 1 1/2 tablespoons sugar: Feeds the yeast and adds a subtle sweetness that brightens the bread’s rustic character.
- 2 teaspoons active dry yeast: The powerhouse that makes your bread rise beautifully.
- 3/4 cup whole wheat flour: Brings a nutty, wholesome flavor and hearty texture.
- 3/4 cup rye flour: Adds an earthy note and a slightly dense crumb for authentic rye bread appeal.
- 3/4 cup better for bread flour: A blend that boosts gluten strength, helping your loaf hold its shape.
- Plus 2 1/2 cups better for bread flour: Additional flour for kneading to the perfect dough consistency.
- 2 tablespoons canola oil, plus more for greasing: Keeps the dough tender and prevents sticking during proofing and baking.
How to Make Mom’s Rye and Whole Wheat Bread Recipe
Step 1: Activate and Mix Your Base
Start by combining the luke warm water, sugar, and salt in your mixing bowl. This simple but crucial combo creates the perfect environment to awaken the yeast, setting the stage for that magical rise. Stir it gently until the sugar and salt completely dissolve—this ensures even yeast activation throughout the batter.
Step 2: Incorporate Flours and Yeast, Then Let Rise
Next, sift together the whole wheat flour, rye flour, better for bread flour, and yeast. Sifting is key: it evenly distributes ingredients and aerates the flour. Add everything to the salted water mixture and whisk vigorously until well blended. The batter will be somewhat loose but full of promise. Let it rise uncovered on the counter for 3 hours, stirring once an hour to encourage airiness and bubbly fermentation. This slow fermentation builds the deep flavors that make Mom’s Rye and Whole Wheat Bread Recipe so special.
Step 3: Add More Flour Gradually
Switch to your stand mixer fitted with a dough hook and slowly add 1/2 cup of the bread flour. Mix until incorporated, then continue adding the rest of the flour, about a heaping tablespoon at a time. This gentle, gradual process, which takes about 20 minutes, allows the dough to slowly absorb the flour, resulting in a wonderfully elastic and smooth texture.
Step 4: Incorporate Oil and Continue Kneading
Once the flour is fully absorbed, pour in 2 tablespoons of canola oil and keep mixing on speed 2 for about 20 more minutes. You’ll notice the dough becoming less sticky and starting to pull away from the bowl’s sides. This stage strengthens gluten and builds that perfect chewy yet tender crumb. Trust the process even if the dough seems to behave a bit unpredictably at first—it will come together beautifully at the end.
Step 5: First Rise and Preparing for Shaping
Removing the dough hook, leave the dough in the bowl to rise uncovered until it doubles in size—about 45 minutes. This is an exciting transformation as the dough becomes puffed and airy, blossoming with flavor intensity.
Step 6: Shape and Proof in Pans
Grease your bread pans, counter, and hands with some canola oil to prevent sticking. Punch down the dough gently, then divide it into two equal sections. Place each portion into its pan, carefully molding it to fit snugly with no gaps in the corners. This close fit promotes an even rise and uniform baking. Let the dough rest and rise again until it has grown nearly two and a half to three times its original size—around 1 1/2 hours. This final proof makes a real difference in the bread’s lightness.
Step 7: Bake and Finish
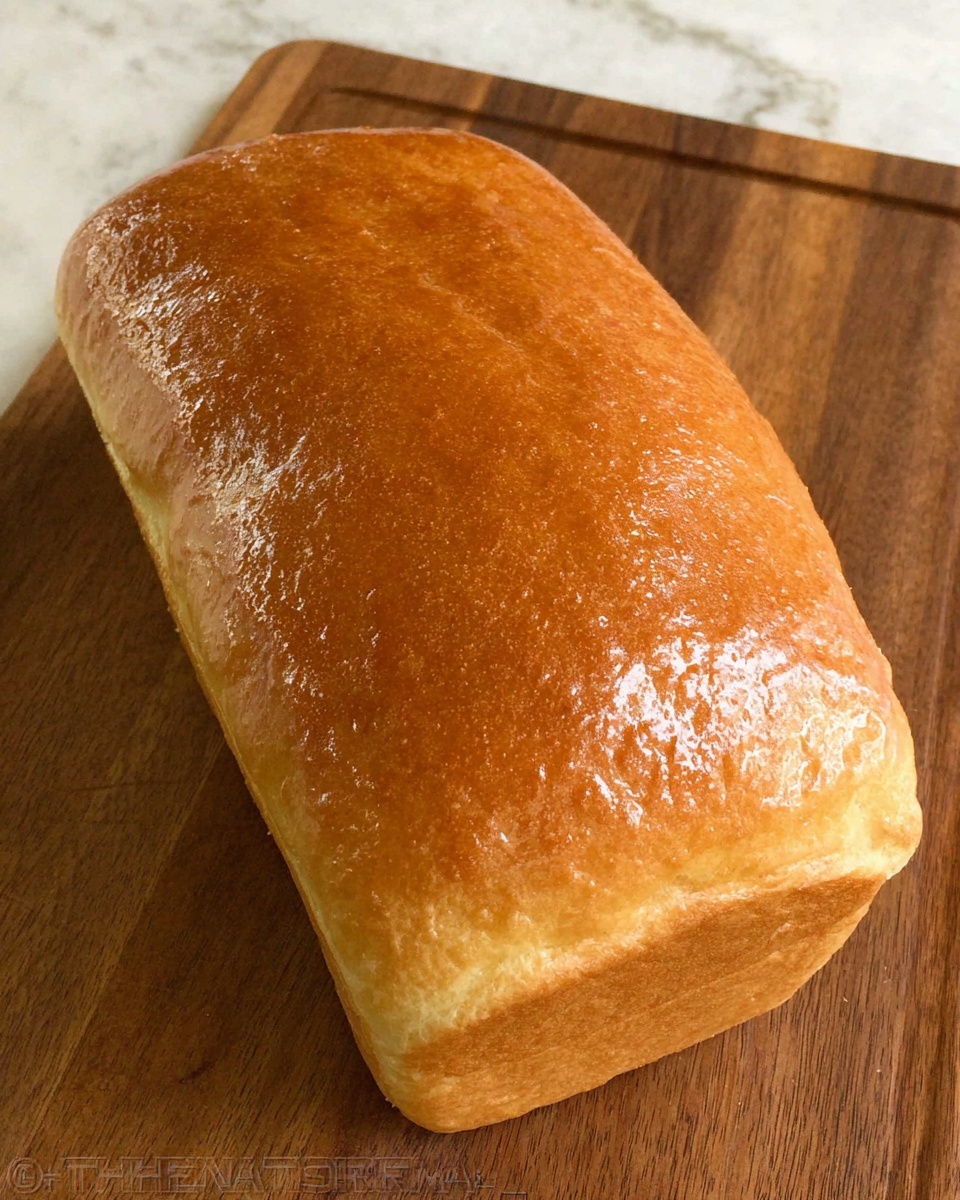
Bake your loaves at 360 degrees Fahrenheit for 55 minutes. When they come out, brush the tops with butter right away to give that shiny, soft crust and add a touch of richness. Remove from the pans immediately and cool on a wire rack to avoid sogginess from trapped steam. The aroma at this stage is nothing short of irresistible—pure kitchen magic wrapped in crusty perfection.
How to Serve Mom’s Rye and Whole Wheat Bread Recipe
Garnishes
You can enhance each slice of Mom’s Rye and Whole Wheat Bread Recipe with simple yet delightful garnishes. A smear of butter and a sprinkle of flaky sea salt elevate the bread’s natural flavors. Or try spreading cream cheese with fresh herbs for a fresh, tangy contrast. Toasting slices gives an additional crunch and warmth that makes toppings like avocado or smoked salmon sing.
Side Dishes
This bread pairs beautifully with a variety of meals. Think robust vegetable soups, creamy stews, or hearty salads. Its dense crumb adds substance beside softer, lighter mains, making it a perfect companion for your weeknight dinners or weekend lunches. Don’t overlook its potential alongside sharp cheeses or charcuterie boards either—each slice is a vessel for flavor exploration.
Creative Ways to Present
Looking to impress? Turn your Mom’s Rye and Whole Wheat Bread Recipe into open-faced sandwiches with vibrant toppings, or slice and serve alongside dips of hummus or beetroot spread. For gatherings, cutting the bread into little cubes for croutons or bread pudding adds a delightful twist. The bread’s dense texture and nuanced flavor make it versatile and star-worthy in many presentations.
Make Ahead and Storage
Storing Leftovers
Once cooled, store your bread in a paper bag or a bread box to maintain the crust’s crispness yet keep the interior moist. Avoid plastic bags for everyday storage as they can trap moisture and make the crust soggy. If you plan to consume within two days, keeping it at room temperature is best.
Freezing
Mom’s Rye and Whole Wheat Bread Recipe freezes wonderfully without losing its charm. Slice completely and wrap individual portions tightly in plastic wrap, then place in a freezer-safe bag. This lets you thaw only what you need and enjoy fresh-tasting bread on demand. When you want a slice, just pop it out to thaw or toast it straight from frozen.
Reheating
To bring your bread back to life, toast slices in a toaster or oven to refresh the crust and warm the soft interior. If you have a whole loaf, wrapping it lightly in foil and warming it in a 350-degree oven for 10-15 minutes will restore its freshness and invite that just-baked allure again.
FAQs
Can I use instant yeast instead of active dry yeast in Mom’s Rye and Whole Wheat Bread Recipe?
Yes! Instant yeast can be used but reduce the rising time slightly as it acts faster than active dry yeast. You can add it directly to the dry ingredients without dissolving in water first. Just keep an eye on your dough as it may rise quicker.
Why is there a long first rise uncovered in the recipe?
The uncovered rise encourages natural fermentation and development of flavor as the surface dries slightly, creating a better crust later. Stirring occasionally also helps aerate and activate the yeast fully, contributing to a lively dough.
Can I substitute the canola oil with another oil?
Absolutely! Mild oils like vegetable, sunflower, or even light olive oil work well. Avoid strong flavored oils that might overpower the subtle rye and wheat base.
What if my dough is too sticky or too dry during mixing?
If sticky, gradually add a little more bread flour, a tablespoon at a time. If too dry, add a teaspoon of water incrementally. A slightly tacky dough is best—it should come away from the bowl sides but feel soft and elastic.
How do I know when the bread is fully baked?
Bread is done when it has a deep golden-brown crust and sounds hollow when tapped on the bottom. You can also use a thermometer; the internal temperature should reach about 190-200°F to ensure it’s cooked through.
Final Thoughts
There’s something so deeply comforting in making and sharing bread that’s truly homemade, especially when it’s as nourishing and flavorful as Mom’s Rye and Whole Wheat Bread Recipe. It’s well worth the time and care it asks for, rewarding you with loaves that fill your kitchen with warmth and your heart with pride. I encourage you to dive in and give this recipe a try—you might just find a new favorite to bake over and over again.
Print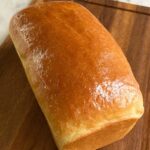
Mom’s Rye and Whole Wheat Bread Recipe
- Prep Time: 6 hours
- Cook Time: 55 minutes
- Total Time: 6 hours 55 minutes
- Yield: 2 Loaves (about 9×5 inch each)
- Category: Bread
- Method: Baking
- Cuisine: American
- Diet: Vegetarian
Description
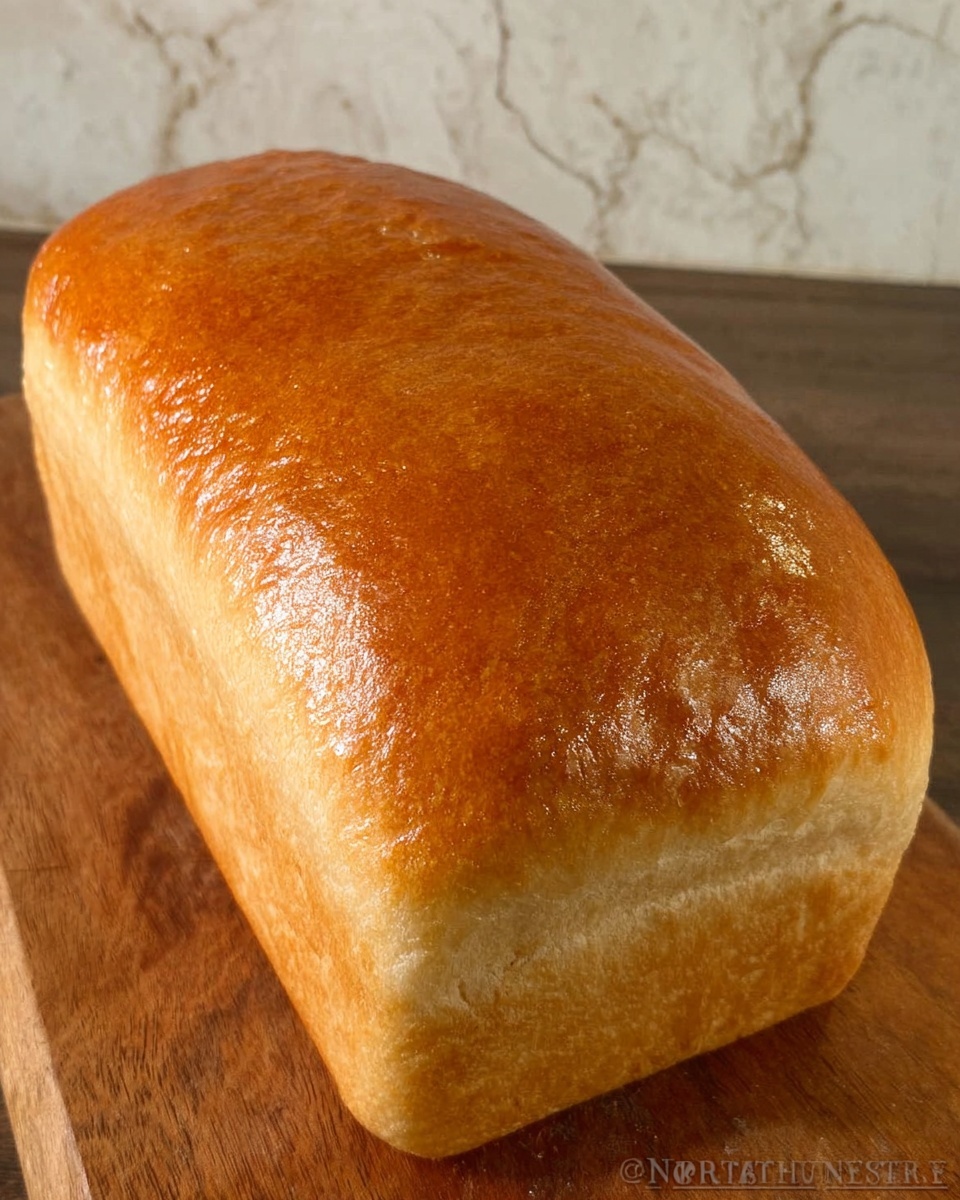
This classic Mom’s Rye and Whole Wheat Bread recipe combines the hearty flavors of rye and whole wheat flours with a tender crumb achieved through a careful slow rise and gentle mixing. Using a stand mixer with a dough hook, this recipe produces two delicious loaves of homemade bread with a golden crust and moist interior, perfect for sandwiches or toast.
Ingredients
Liquids and Yeast
- 2 1/4 cups lukewarm water (about 100˚F)
- 2 tsp active dry yeast
- 2 Tbsp canola oil plus more for greasing
Dry Ingredients
- 1/2 Tbsp salt
- 1 1/2 Tbsp sugar
- 3/4 cup whole wheat flour
- 3/4 cup rye flour
- 3/4 cup better for bread flour
- 2 1/2 cups better for bread flour (divided as 1/2 cup then 2 cups)
Instructions
- Mix liquids and dissolve salt and sugar: In a large KitchenAid mixer bowl, combine the lukewarm water, sugar, and salt. Stir until fully dissolved to prepare the yeast starter environment.
- Sift flours and yeast, then mix: Sift together the whole wheat flour, rye flour, better for bread flour, and yeast directly into the salted water mixture. Ensure nothing left in the sifter is discarded; add it all to the bowl. Whisk until smooth and let the mixture rise, uncovered, on the counter for about 3 hours, stirring every hour until bubbly.
- Add more flour gradually while mixing: Attach the dough hook to your mixer and add 1/2 cup better for bread flour to the starter. Mix well, scraping the bowl as needed. Then, gradually add the remaining 2 cups bread flour one heaping tablespoon at a time, allowing the dough to absorb each addition thoroughly. This process takes about 20 minutes.
- Add oil and continue mixing: Incorporate 2 tablespoons canola oil into the dough and continue mixing on speed 2 for about 20 more minutes. The dough will go through phases of sticking and becoming less sticky. Once the dough no longer sticks to the bowl, remove the hook and let the dough rise, uncovered, in the bowl until doubled in volume, approximately 45 minutes.
- Prepare pans and shape dough: Grease your bread pans, counter, and hands lightly with canola oil. Punch down the risen dough to release gas and transfer it to the counter. Pinch the dough into two equal sections and place each piece into a greased bread pan. Shape the dough neatly to fill corners without gaps.
- Final rise and bake: Let the dough rise on the counter until it has grown 2 1/2 to 3 times its original size, about 1 1/2 hours. Bake the loaves at 360˚F for 55 minutes until golden and cooked through.
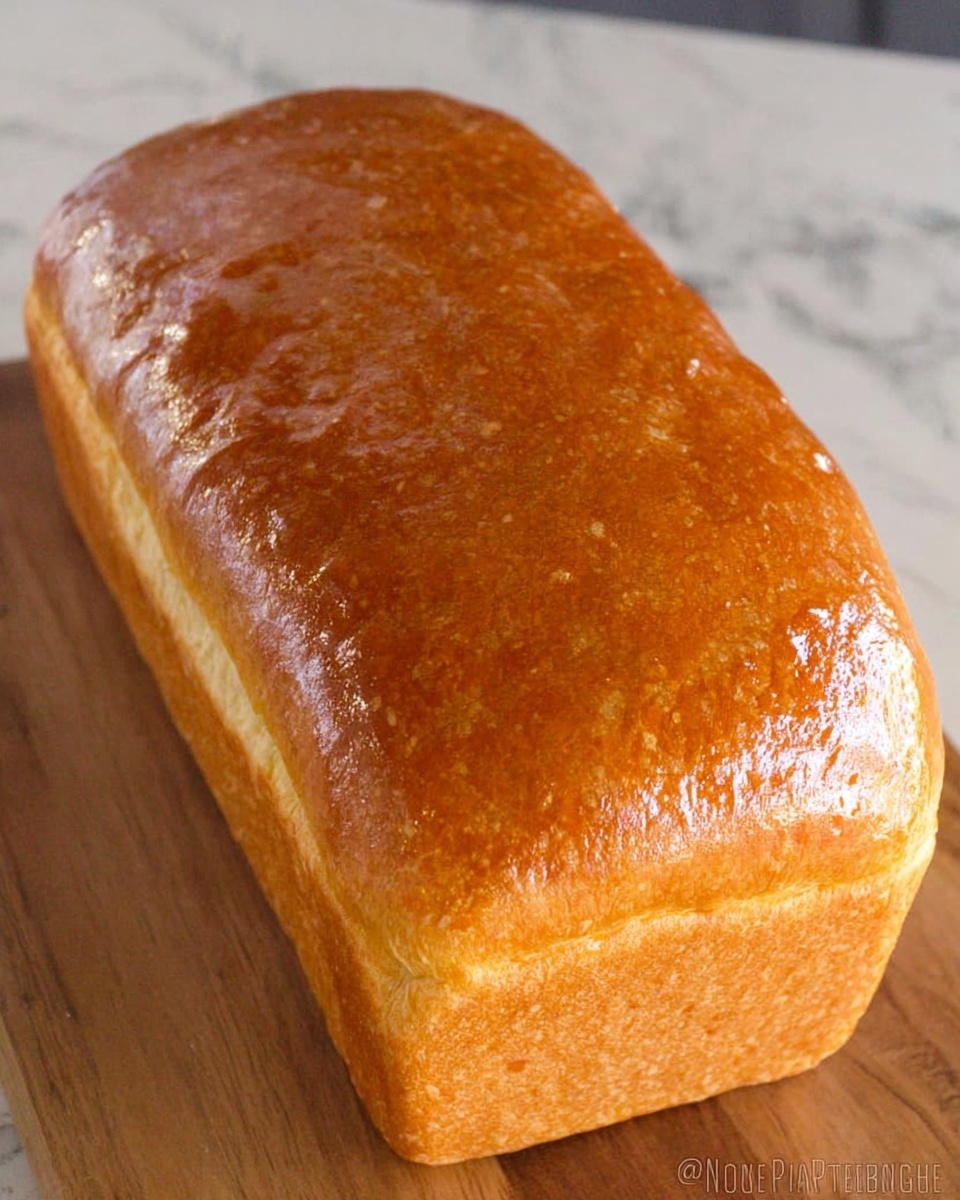
- Cool and finish: Once baked, immediately brush the tops of the loaves with butter for a soft, flavorful crust. Remove bread from pans and cool on a wire rack to prevent sogginess from steam inside the pans.
Notes
- Ensure water used is around 100˚F to activate yeast properly without killing it.
- Do not discard any flour left in the sifter after sifting; it contains valuable flour for the dough.
- Mixing times are long to develop gluten and ensure proper texture.
- Let bread cool completely on wire racks to maintain crust texture.
- Using canola oil for greasing keeps bread from sticking and adds tenderness.