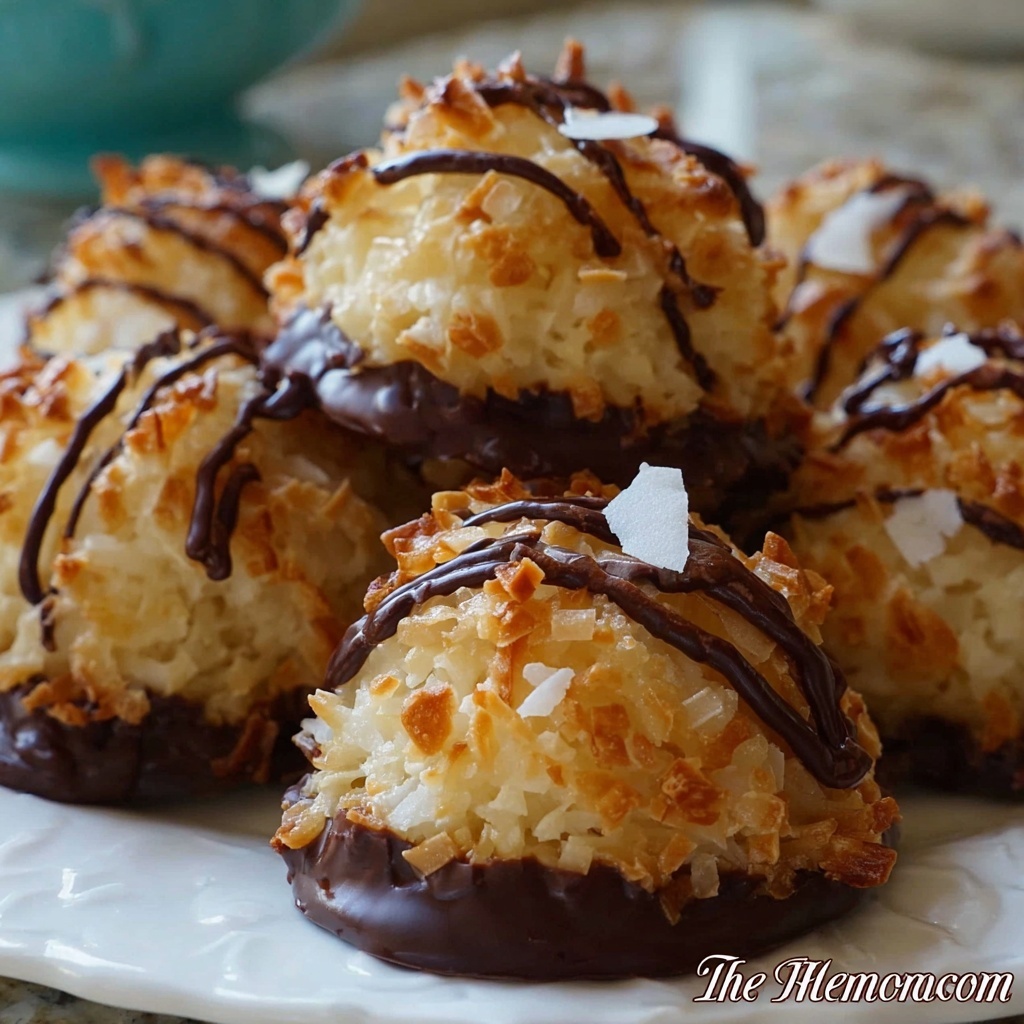
If you adore the perfect blend of chewy caramel, toasty coconut, and rich chocolate, then this No-Bake Samoa Cookies Recipe is going to become your next favorite treat. These cookies capture all the iconic flavors of the beloved Samoa cookie in a simple, no-bake form that’s as fun to make as it is to eat. With a gorgeous golden coconut base coated in luscious caramel and drizzled with dark chocolate, these bite-sized delights are ideal for satisfying your sweet tooth without turning on the oven.
Ingredients You’ll Need
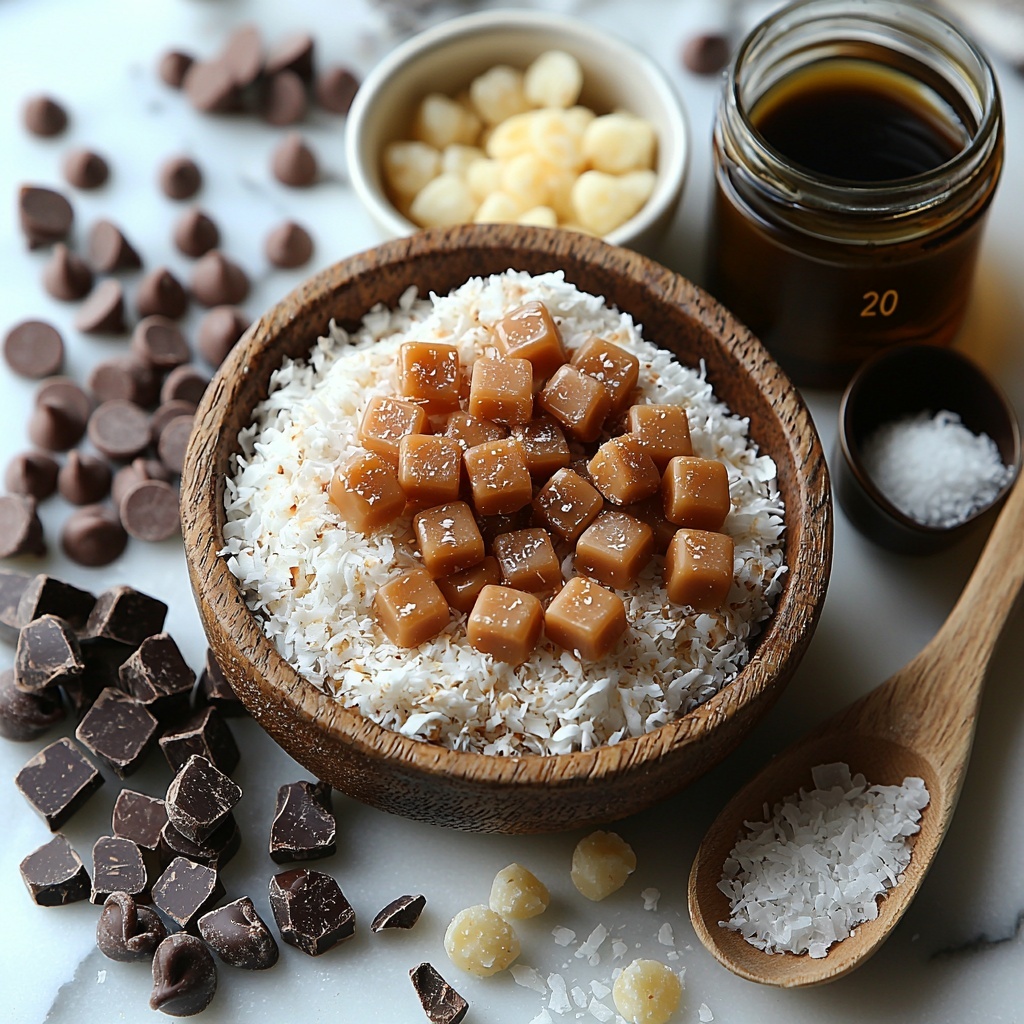
Gathering the right ingredients is key to making these No-Bake Samoa Cookies sing with flavor. Each component plays a crucial role, from the crunchy texture of the toasted coconut to the luscious smoothness of the melted caramel and the glossy, indulgent chocolate finish.
- Sweetened shredded coconut: Toasting it enhances the flavor and adds the perfect crunch you want in every bite.
- Soft caramel candies: Using soft caramels ensures a creamy, gooey binding agent that holds the cookies together deliciously.
- Heavy cream: This helps melt the caramel smoothly, making the mixture silky and spreadable.
- Vanilla extract: A splash of vanilla deepens the overall flavor with subtle warmth and richness.
- Salt: Just a pinch balances the sweetness and intensifies the caramel’s depth.
- Dark or semi-sweet chocolate chips: Their slightly bitter notes offset the caramel’s sweetness perfectly and add a shiny finish.
- Coconut oil or shortening (optional): This keeps the melted chocolate silky and easy to dip your cookies.
How to Make No-Bake Samoa Cookies Recipe
Step 1: Toast the Coconut
Start by toasting the shredded coconut in a dry skillet over medium heat, stirring constantly for 5 to 7 minutes. You’ll know it’s ready when the coconut turns a beautiful golden brown and releases its nutty aroma. Toasting not only deepens the flavor but also gives the cookies that unmistakable texture that makes every bite so satisfying.
Step 2: Melt the Caramel
Meanwhile, combine the soft caramel candies and heavy cream in a small saucepan over low heat. Gently stir to melt the caramels until the mixture is smooth and creamy—no lumps allowed. Once silky, stir in the vanilla extract and a pinch of salt to enhance the flavor, making your caramel filling irresistibly rich and balanced.
Step 3: Mix Caramel with Coconut
Pour your warm caramel mixture over the toasted coconut. Use a sturdy spoon or spatula to stir everything together thoroughly, ensuring every coconut flake is evenly coated. This sticky caramel-coconut blend is the heart of your cookies, so be generous and make sure it’s well mixed for that classic Samoa taste.
Step 4: Shape the Cookies
Using a tablespoon or small cookie scoop, portion out the mixture onto a sheet lined with parchment paper. Shape each mound into neat little domes with your hands or the back of a spoon. After all your cookies are formed, pop them into the fridge for about 30 minutes to chill and firm up, making the next step much easier.
Step 5: Dip the Cookies in Chocolate
While your coconut-caramel cookies chill, melt the chocolate chips in the microwave in short bursts, stirring frequently. Adding a teaspoon of coconut oil or shortening helps the chocolate stay fluid and glossy. Dip the bottoms of each cookie halfway into the melted chocolate and place them back on the parchment. This chocolate coating adds decadent flavor and acts as a tasty base for your cookies.
Step 6: Drizzle and Set
Finally, drizzle the remaining melted chocolate over the tops of the cookies with a spoon or fork, creating that delicious signature look reminiscent of the classic Samoa cookie. Leave the cookies at room temperature or put them briefly in the fridge to let the chocolate set completely before serving. Your No-Bake Samoa Cookies are now ready to delight!
How to Serve No-Bake Samoa Cookies Recipe
Garnishes
Add a sprinkle of toasted coconut flakes on top of the chocolate drizzle for an extra layer of texture and to highlight the tropical flavors. A light dusting of sea salt can also be a fantastic contrast to the sweetness, elevating every mouthful.
Side Dishes
These cookies pair wonderfully with a simple cup of coffee or a vanilla latte for a cozy afternoon treat. They also compliment vanilla or coconut-flavored ice cream beautifully, turning a scoop into an indulgent dessert experience.
Creative Ways to Present
Stack these cookies in a rustic wooden box or arrange them on a decorative platter with fresh pineapple slices or bright berries to give your presentation a fun, beachy vibe. For parties, try using them as charming edible accents on top of frosted cupcakes or dessert platters.
Make Ahead and Storage
Storing Leftovers
You can keep leftover No-Bake Samoa Cookies in an airtight container at room temperature for up to 3 days. If your kitchen is warm, storing them in the fridge will prevent the chocolate from melting and keep them fresh for about a week.
Freezing
These cookies freeze well! Place them in a single layer on a baking sheet until frozen, then transfer to a freezer-safe container or bag. They’ll keep for up to 2 months. Let them thaw at room temperature before enjoying the full chewy and chocolatey experience.
Reheating
No reheating is necessary since these are best enjoyed chilled or at room temperature. If you find the chocolate too firm out of the fridge, simply let the cookies sit a few minutes to soften slightly before indulging.
FAQs
Can I use unsweetened coconut?
Yes, but keep in mind that the sweetened shredded coconut adds a subtle sweetness that balances the caramel and chocolate. If you use unsweetened, you might want to add a touch of sugar to the caramel mix.
What if I don’t have coconut oil for the chocolate?
No worries! You can melt the chocolate chips on their own. The coconut oil just helps give the chocolate a shinier finish and easier dipping consistency but is not essential.
Can I replace caramel candies with homemade caramel?
Absolutely! If you prefer, you can make your own caramel sauce from scratch and use that instead. Just make sure it’s thick and creamy enough to hold the cookies together well.
How long do these No-Bake Samoa Cookies last?
Stored properly, they last about 3 days at room temperature and up to one week in the fridge. For longer storage, freezing is your best bet.
Are these cookies gluten-free?
Yes, this recipe naturally contains no gluten, making it a great option for anyone avoiding gluten. Just double-check your caramel candies’ ingredients to be sure.
Final Thoughts
Making this No-Bake Samoa Cookies Recipe is like capturing the very essence of a classic favorite with effortless ease. Whether you’re a longtime lover of Samoas or just craving something sweet and chewy without heating up the kitchen, these cookies are the perfect solution. I can’t wait for you to try them and see just how simple it is to create such a delicious, crowd-pleasing treat!
Print
No-Bake Samoa Cookies Recipe
- Prep Time: 15 minutes
- Cook Time: 10 minutes
- Total Time: 45 minutes
- Yield: 12 servings
- Category: Dessert
- Method: Stovetop
- Cuisine: American
- Diet: Gluten Free
Description
Delight in these easy No-Bake Samoa Cookies inspired by the classic caramel, coconut, and chocolate flavors of Samoa treats. Perfect for a quick sweet fix, these cookies combine toasted coconut and smooth caramel into bite-sized mounds, dipped in rich chocolate and drizzled with more chocolate for a beautifully indulgent finish—all without turning on your oven.
Ingredients
Coconut Mixture
- 1 ½ cups sweetened shredded coconut
- 1 ½ cups soft caramel candies (such as Werther’s or Kraft)
- 2 tablespoons heavy cream
- ½ teaspoon vanilla extract
- 1 pinch salt
Chocolate Coating
- 1 cup dark or semi-sweet chocolate chips
- 1 teaspoon coconut oil or shortening (optional)
Instructions
- Toast the Coconut: Heat a dry skillet over medium heat and stir the shredded coconut continuously for 5 to 7 minutes until it becomes golden brown and releases a fragrant aroma. Remove from heat and allow it to cool completely.
- Melt the Caramel: Place the caramel candies and heavy cream into a small saucepan over low heat. Stir consistently until the caramel melts fully and the mixture is smooth. Remove from heat and stir in vanilla extract and a pinch of salt.
- Mix with Coconut: Pour the warm caramel mixture over the toasted coconut in a mixing bowl. Stir well until the coconut is evenly coated with the caramel.
- Shape the Cookies: Using a tablespoon, scoop portions of the coconut-caramel mixture onto a tray lined with parchment paper. Shape each portion into a mound or dome form. Place the tray in the refrigerator and chill for about 30 minutes to firm up.
- Dip in Chocolate: Melt the chocolate chips with the optional coconut oil or shortening in the microwave in short bursts, stirring until smooth. Dip the bottoms of the chilled coconut mounds into the melted chocolate to coat, then place them back on the parchment-lined tray.
- Drizzle & Set: Use a spoon or a piping method to drizzle the remaining melted chocolate over the tops of the cookies. Allow the chocolate to set at room temperature or refrigerate briefly until firm. The cookies are ready to serve once the chocolate is fully set.
Notes
- Be sure to toast the coconut evenly to avoid burning and to bring out its natural sweetness.
- If you prefer a firmer cookie, chill them longer before dipping in chocolate.
- The optional coconut oil helps the chocolate coating set with a glossy finish and makes dipping easier.
- Store the cookies in an airtight container at room temperature or in the refrigerator for up to one week.
- These cookies are naturally gluten-free but always check your ingredients if you have dietary restrictions.