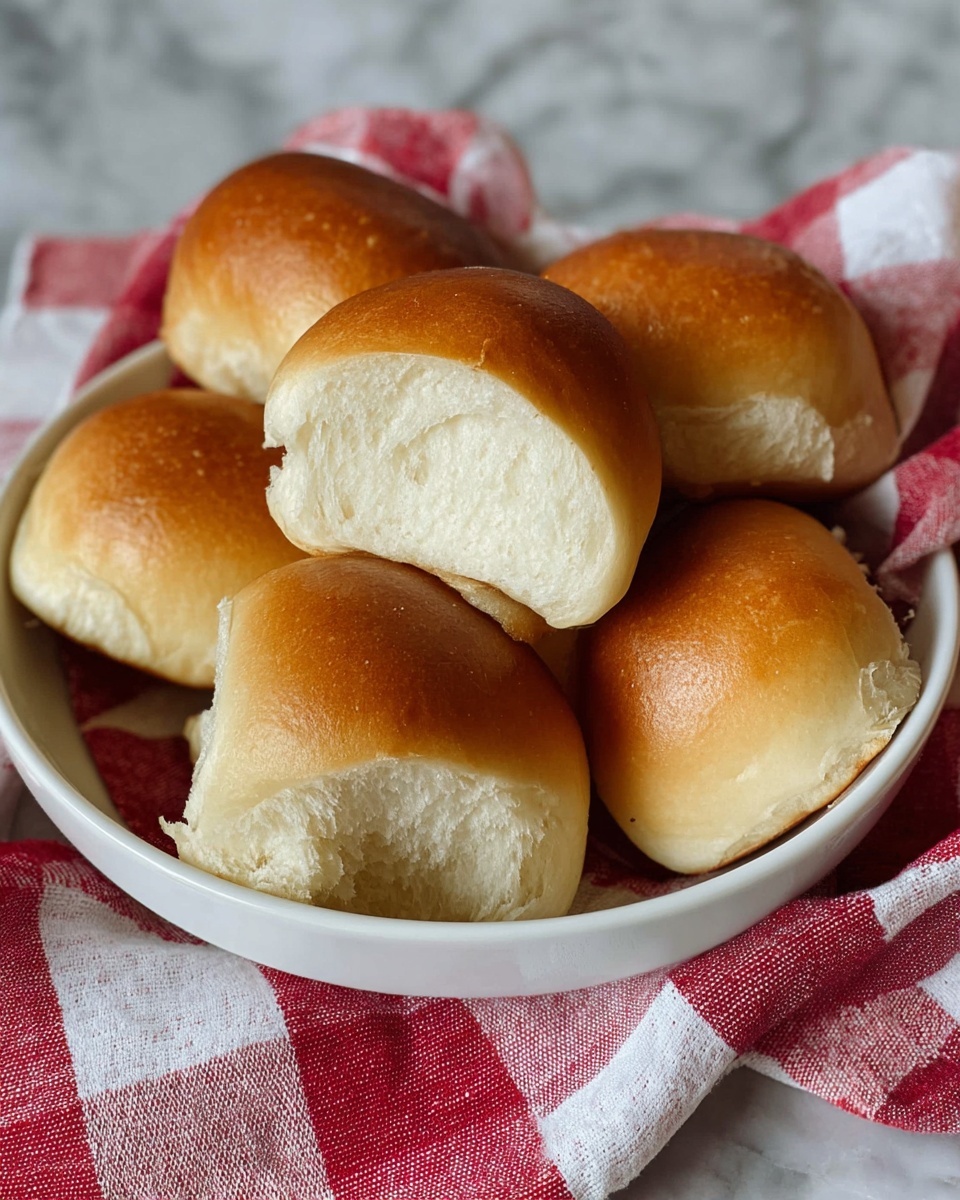
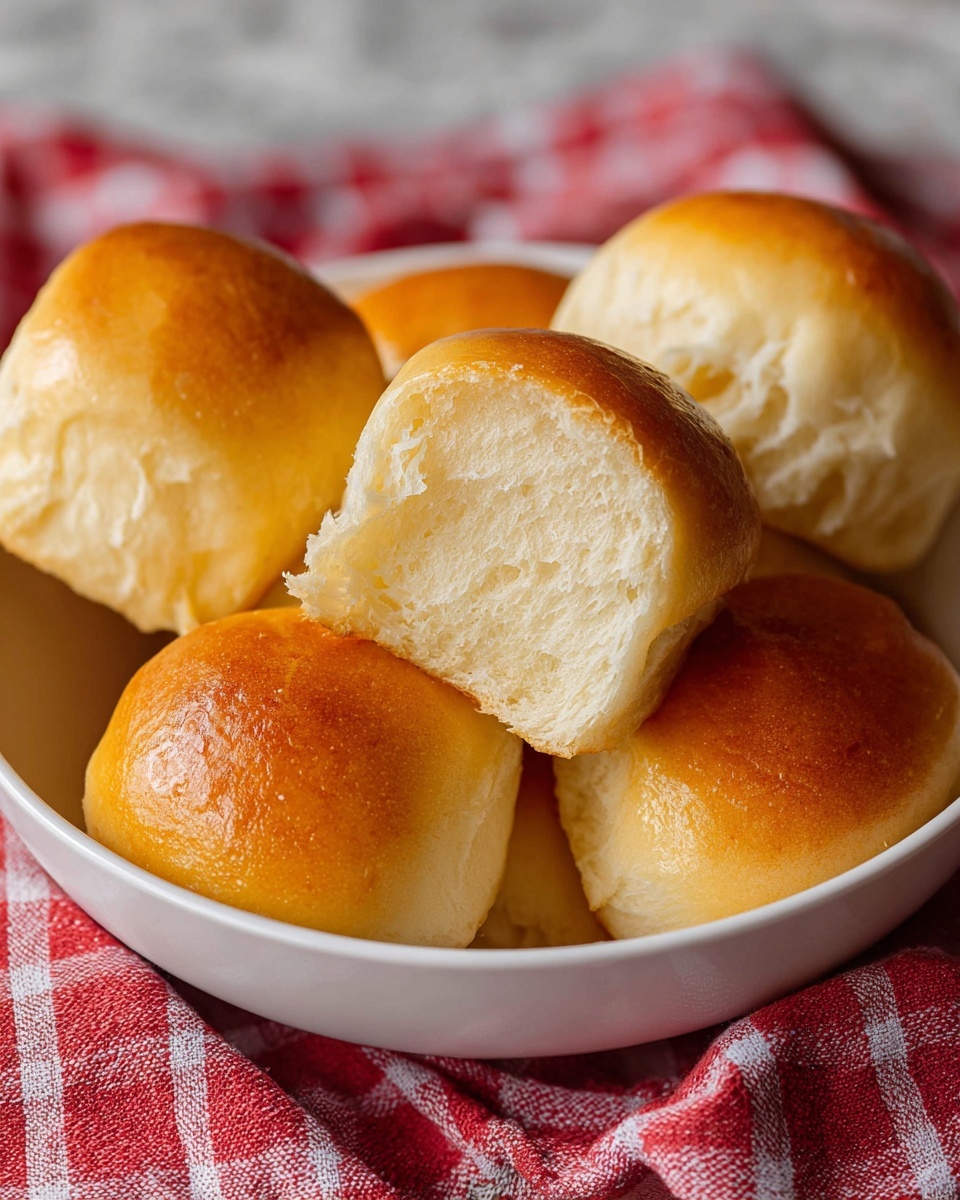
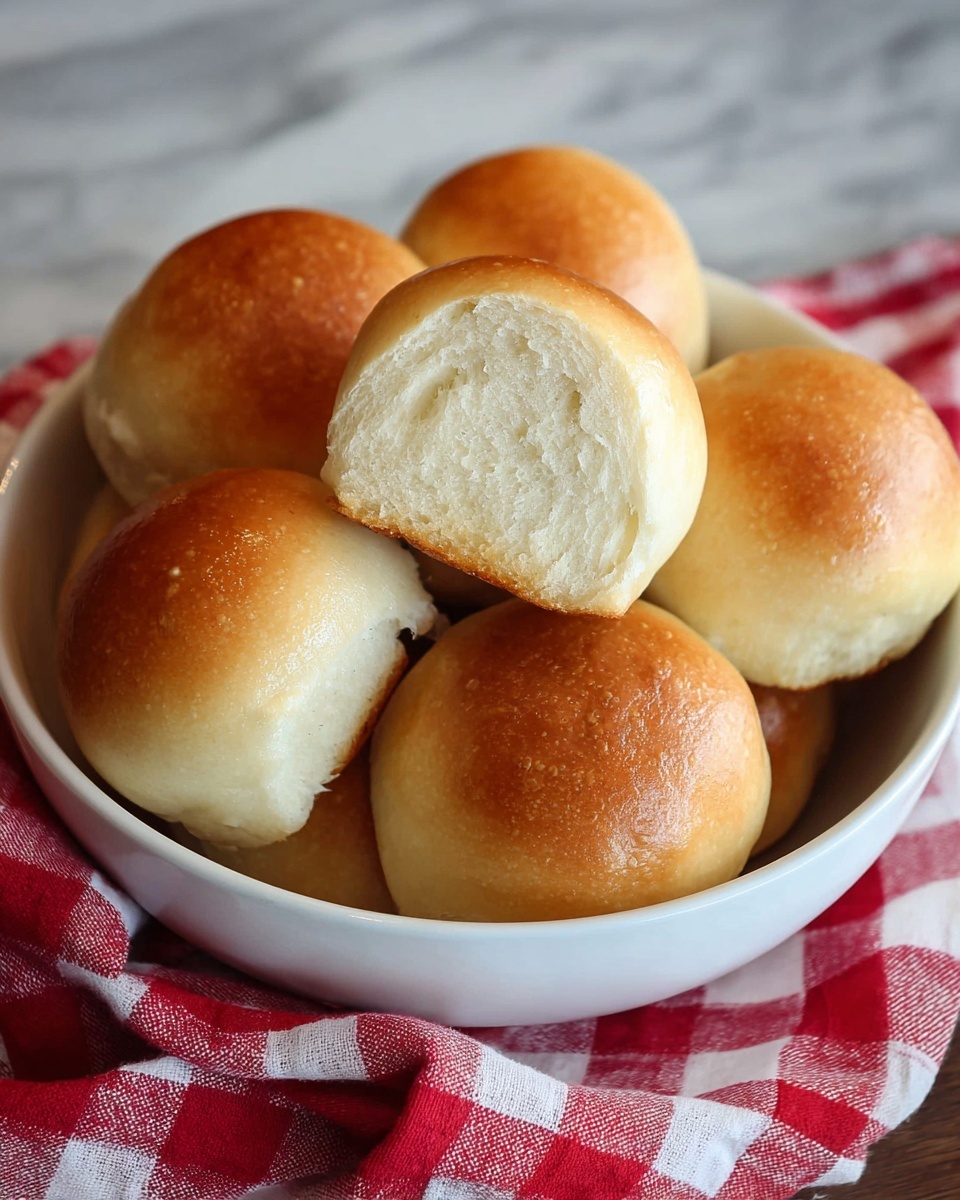
If you’ve been on the hunt for a warm, fluffy, and irresistibly tangy bread to elevate your meals, then this Sourdough Dinner Rolls Recipe is exactly what you need. These rolls combine the delightful chew of sourdough with a buttery softness that feels like a comforting hug with every bite. They’re perfect for family dinners, holiday feasts, or just because you want to treat yourself to something special. Once you make these, you’ll understand why they become a cherished favorite in any kitchen!
Ingredients You’ll Need
Getting the ingredients right is the first step toward a perfect batch of sourdough rolls. Each component plays a crucial role in developing the taste, texture, and beautiful golden color of the finished rolls.
- Unsalted butter (2 Tbsp melted, plus more to brush): Adds rich flavor and helps create a soft crumb with a tender crust.
- Whole milk (1 cup, room temperature): Provides moisture and a bit of creaminess, contributing to the rolls’ tender texture.
- Granulated sugar (2 Tbsp): Feeds the yeast in the sourdough starter so your rolls rise beautifully while adding just a touch of sweetness.
- Fine sea salt (1 tsp): Enhances flavor and balances the tanginess of the sourdough.
- Bread flour (3 cups) or all-purpose flour: Gives structure and chew, essential for that perfect roll bite.
- Active sourdough starter (½ cup): The heart of the recipe, responsible for the unique flavor and leavening.
- Salted butter (1 tsp, to brush over rolls): Brushed on after baking for a shiny finish and a burst of buttery goodness.
How to Make Sourdough Dinner Rolls Recipe
Step 1: Make the Dough
Start by combining milk, melted butter, sugar, and salt in a stand mixer bowl or large mixing bowl. Gently stir these together until the sugar dissolves completely. This mixture creates a flavorful base that ensures your rolls are tender and lightly sweetened.
Step 2: Knead the Dough
Next, add the bread flour and your active sourdough starter to the wet ingredients. Mix everything with a paddle attachment or a sturdy spatula until fully combined. Cover the bowl with a damp towel and let the dough rest for 30 minutes, allowing the gluten strands to relax for easier kneading. Then, switch to the dough hook and knead on medium-low speed for 10-12 minutes until the dough is smooth and springs back when poked. No stand mixer? Knead by hand for about 8-10 minutes and feel the magic develop through your fingertips!
Step 3: First Proofing
Transfer your dough into a buttered bowl, cover again with a damp towel, and leave it on the counter overnight for 8-12 hours. This slow rise is where the characteristic tangy flavor develops and the dough nearly doubles in volume. Patience here rewards you with phenomenal flavor and texture.
Step 4: Form the Rolls
Once your dough has risen, divide it into 12 equal portions using a bench scraper or a knife. Shape each into a smooth ball by pinching the sides underneath and gently rolling between your hands and a clean surface. This technique tightens the dough’s surface and seals the seam at the bottom, giving the rolls a gorgeous rise and a springy texture.
Step 5: Second Proofing
Place your shaped rolls into a buttered 9×13 glass baking dish, leaving a bit of space for expansion. Cover with a damp tea towel and let them proof again until almost doubled in size. Depending on your room’s warmth, this can take anywhere from 2 to 4 hours. This proofing stage ensures the rolls become airy and soft, ready for baking perfection. And don’t forget, you can pause here and refrigerate the rolls for later baking.
Step 6: Bake
Preheat your oven to 375°F and position your rack in the top third of the oven for that perfect golden crust. Bake the rolls for 25 to 30 minutes, or until the tops turn a rich, warm brown and the internal temperature hits 190°F. Once out of the oven, brush the rolls with melted butter before serving for that beautiful shine and extra buttery flavor. Now, get ready to enjoy the incredible aroma and taste of freshly baked sourdough dinner rolls!
How to Serve Sourdough Dinner Rolls Recipe
Garnishes
For a fun twist, sprinkle some flaky sea salt or fresh herbs like rosemary or thyme on top of the rolls right after brushing with butter. Garlic butter is another mouthwatering option; simply melt butter with minced garlic and brush it on while the rolls are warm.
Side Dishes
Sourdough dinner rolls pair wonderfully with almost any meal. Think hearty soups, vibrant salads, roasted vegetables, or classic holiday dinners. Their mellow tang and fluffy texture make them a perfect companion to rich stews or a decadent pasta dish that invites sopping up every last bit.
Creative Ways to Present
Try serving these rolls in a decorative basket lined with a colorful cloth napkin for an inviting centerpiece. You could also slice them in half and fill with savory ingredients like ham and cheese or use as slider buns for a casual, crowd-pleasing meal.
Make Ahead and Storage
Storing Leftovers
If you have leftovers, store the rolls in an airtight container or resealable bag at room temperature for up to two days. Keep them away from direct sunlight or heat to maintain their soft texture.
Freezing
You can freeze the rolls after baking by letting them cool completely, then placing them in a freezer-safe bag. They’ll stay fresh in the freezer for up to two months. To enjoy later, just thaw them overnight in the fridge or at room temperature and reheat gently.
Reheating
To bring your rolls back to life, wrap them in foil and warm in a 350°F oven for 10-15 minutes, or microwave individually wrapped in a damp paper towel for about 20 seconds. The goal is to restore that fresh-from-the-oven softness and warmth.
FAQs
Can I use all-purpose flour instead of bread flour?
Absolutely! While bread flour gives a chewier texture due to its higher protein content, all-purpose flour works well and will yield slightly softer rolls. Just be prepared for a slightly different crumb.
How active does my sourdough starter need to be?
Your sourdough starter should be bubbly and have roughly doubled in size after feeding for the best rise. This means it’s active and full of natural yeast, which is essential for the tangy flavor and good lift in these rolls.
Can I speed up the proofing time?
Because sourdough is a slow fermenting process, speeding up the proofing drastically can compromise flavor and texture. However, placing the dough in a warmer spot (around 80-90°F) can mildly reduce proofing times without losing quality.
Is it okay to replace milk with a dairy-free alternative?
Yes, you can substitute milk with almond, oat, or soy milk at room temperature. Just make sure it’s unsweetened and unflavored to maintain the intended taste and texture.
Can I make these rolls ahead and store them before baking?
Definitely! After shaping the rolls, proof them in the fridge overnight or up to 24 hours. This slow ferment enhances flavor and lets you bake fresh rolls when you’re ready.
Final Thoughts
There’s nothing quite as comforting as fresh, warm bread straight from the oven, and with this Sourdough Dinner Rolls Recipe, you get to enjoy that joy in a deliciously tangy, soft form. Whether you’re new to sourdough or a seasoned baker, these rolls are approachable, rewarding, and absolutely scrumptious. Grab your ingredients and give this recipe a try — your taste buds will thank you!
Print
Sourdough Dinner Rolls Recipe
- Prep Time: 15 minutes
- Cook Time: 30 minutes
- Total Time: 8 hours 45 minutes (including overnight proofing)
- Yield: 12 rolls
- Category: Bread
- Method: Baking
- Cuisine: American
Description
These Sourdough Dinner Rolls are soft, fluffy, and packed with a subtle tang from the active sourdough starter. Perfectly golden brown on the outside with a tender crumb inside, these rolls are ideal for family dinners or special occasions. The recipe features an overnight fermentation for enhanced flavor and texture, requiring minimal hands-on time and simple ingredients.
Ingredients
Wet Ingredients
- 2 Tbsp unsalted butter (melted, plus more to brush the pan)
- 1 cup whole milk (room temperature)
- ½ cup Active sourdough starter
- 1 tsp salted butter (to brush over rolls)
Dry Ingredients
- 2 Tbsp granulated sugar
- 1 tsp fine sea salt
- 3 cups bread flour (or all-purpose flour)
Instructions
- Make the Dough: In the bowl of a stand mixer or a large mixing bowl, add milk, melted butter, sugar, and salt, and stir together until the sugar dissolves.
- Knead the Dough: Add the flour and active sourdough starter. Mix with the paddle attachment or a firm spatula until combined. Cover with a damp kitchen towel and let rest for 30 minutes to loosen gluten. Then knead on speed 2 with the dough hook for 10–12 minutes until smooth and soft, or knead by hand for 8–10 minutes.
- First Proofing – Bulk Fermentation: Transfer the dough to a buttered mixing bowl, cover with a damp towel, and leave at room temperature overnight (8–12 hours). The dough should nearly double in size.
- Form the Rolls: Divide the dough into 12 equal pieces (~65g each). Shape each into a round ball by pinching the sides, then roll gently on a clean surface to tighten the outside and seal the seam.
- Second Proofing: Place rolls in a buttered 9×13 glass baking dish. Cover with a damp tea towel and proof until doubled—about 2 hours in a warm spot (80-90°F) or 3–4 hours at room temperature.
- Bake: Preheat the oven to 375°F. Bake the rolls in the upper third of the oven for 25–30 minutes until golden brown and an internal temperature of 190°F is reached. Brush rolls with melted butter as soon as they come out of the oven and serve warm.
Notes
- For best flavor development, do not shorten the overnight fermentation during the bulk proof.
- Use a kitchen thermometer to check the internal temperature for perfectly baked rolls.
- You can make the rolls ahead after the second proofing and refrigerate, then bake when ready.
- Adjust proofing times according to your kitchen temperature to avoid over or under proofing.